Watch Now This tutorial has a related video course created by the Real Python team. Watch it together with the written tutorial to deepen your understanding: Creating Asynchronous Tasks With Celery and Django
You’ve built a shiny Django app and want to release it to the public, but you’re worried about time-intensive tasks that are part of your app’s workflow. You don’t want your users to have a negative experience navigating your app. You can integrate Celery to help with that.
Celery is a distributed task queue for UNIX systems. It allows you to offload work from your Python app. Once you integrate Celery into your app, you can send time-intensive tasks to Celery’s task queue. That way, your web app can continue to respond quickly to users while Celery completes expensive operations asynchronously in the background.
In this tutorial, you’ll learn how to:
- Recognize effective use cases for Celery
- Differentiate between Celery beat and Celery workers
- Integrate Celery and Redis in a Django project
- Set up asynchronous tasks that run independently of your Django app
- Refactor Django code to run a task with Celery instead
If you’ve never used Celery in a Django app before, or if you’ve peeked into Celery’s documentation but couldn’t find your way around, then you’re in the right place. You’ll learn all you need to start running asynchronous tasks with Django and Celery.
You’ll integrate Celery into an existing Django app. Go ahead and download the code for that app so you can follow along:
Source Code: Click here to download the source code you’ll use to integrate Celery into your Django app.
Python Celery Basics
Celery is a distributed task queue that can collect, record, schedule, and perform tasks outside of your main program.
Note: Celery dropped support for Windows in version 4, so while you may still be able to get it to work on Windows, you’re better off using a different task queue, such as huey or Dramatiq, instead.
In this tutorial, you’ll focus on using Celery on UNIX systems, so if you’re trying to set up a distributed task queue on Windows, then this might not be the right tutorial for you.
To receive tasks from your program and send results to a back end, Celery requires a message broker for communication. Redis and RabbitMQ are two message brokers that developers often use together with Celery.
In this tutorial, you’ll use Redis as the message broker. To challenge yourself, you can stray from the instructions and use RabbitMQ as a message broker instead.
If you want to keep track of the results of your task runs, then you also need to set up a results back end database.
Note: Connecting Celery to a results back end is optional. Once you instruct Celery to run a task, it’ll do its duty whether you keep track of the task result or not.
However, keeping a record of all task results is often helpful, especially if you’re distributing tasks to multiple queues. To persist information about task results, you need a database back end.
You can use many different databases to keep track of Celery task results. In this tutorial, you’ll work with Redis both as a message broker and as a results back end. By using Redis, you limit the dependencies that you need to install because it can take on both roles.
You won’t do any work with the recorded task results in the scope of this tutorial. However, as a next step, you could inspect the results with the Redis command-line interface (CLI) or pull information into a dedicated page in your Django project.
Why Use Celery?
There are two main reasons why most developers want to start using Celery:
- Offloading work from your app to distributed processes that can run independently of your app
- Scheduling task execution at a specific time, sometimes as recurring events
Celery is an excellent choice for both of these use cases. It defines itself as “a task queue with focus on real-time processing, while also supporting task scheduling” (Source).
Even though both of these functionalities are part of Celery, they’re often addressed separately:
- Celery workers are worker processes that run tasks independently from one another and outside the context of your main service.
- Celery beat is a scheduler that orchestrates when to run tasks. You can use it to schedule periodic tasks as well.
Celery workers are the backbone of Celery. Even if you aim to schedule recurring tasks using Celery beat, a Celery worker will pick up your instructions and handle them at the scheduled time. What Celery beat adds to the mix is a time-based scheduler for Celery workers.
In this tutorial, you’ll learn how to integrate Celery with Django to perform operations asynchronously from the main execution thread of your app using Celery workers.
You won’t tackle task scheduling with Celery beat in this tutorial, but once you understand the basics of Celery tasks, you’ll be well equipped to set up periodic tasks with Celery beat.
How Can You Leverage Celery for Your Django App?
Celery isn’t only useful for web applications, but it’s certainly popular in that context. That’s because you can efficiently tackle some everyday situations in web development by using a distributed task queue such as Celery:
-
Email sending: You may want to send an email verification, a password reset email, or a confirmation of a form submission. Sending emails can take a while and slow down your app, especially if it has many users.
-
Image processing: You might want to resize avatar images that users upload or apply some encoding on all images that users can share on your platform. Image processing is often a resource-intensive task that can slow down your web app, mainly if you’re serving a large community of users.
-
Text processing: If you allow users to add data to your app, then you might want to monitor their input. For example, you may want to check for profanity in comments or translate user-submitted text to a different language. Handling all this work in the context of your web app can significantly impair performance.
-
API calls and other web requests: If you need to make web requests to provide the service that your app offers, then you can quickly run into unexpected wait times. This is true for rate-limited API requests just as much as other tasks, such as web scraping. It’s often better to hand off these requests to a different process.
-
Data analysis: Crunching data is notoriously resource-intensive. If your web app analyzes data for your users, you’ll quickly see your app become unresponsive if you’re handling all the work right within Django.
-
Machine learning model runs: Just like with other data analysis, waiting for the results of machine learning operations can take a moment. Instead of letting your users wait for the calculations to complete, you can offload that work to Celery so they can continue browsing your web app until the results come back.
-
Report generation: If you’re serving an app that allows users to generate reports from data they provided, you’ll notice that building PDF files doesn’t happen instantaneously. It’ll be a better user experience if you let Celery handle that in the background instead of freezing your web app until the report is ready for download.
The main setup for all these different use cases will be similar. As soon as you understand how to hand off compute- or time-intensive processes to a distributed task queue, you’ll free up Django to handle the HTTP request-response cycle.
In this tutorial, you’ll tackle the email sending scenario. You’ll start with a project in which Django handles the email sending synchronously. You’ll test to see how that freezes your Django app. Then, you’ll learn how to offload the task to Celery so you can experience how that’ll make your web app respond much more quickly.
Integrate Celery With Django
Now that you know what Celery is and how it can help you improve your web app’s performance, it’s time to integrate it so you can run asynchronous tasks with Celery.
You’ll focus on integrating Celery into an existing Django project. You’ll start with a stripped-down Django app with a minimal use case: collecting user feedback and delivering an email as a reply.
Set Up the Feedback App
Start by downloading the source code of the provided feedback app:
Source Code: Click here to download the source code you’ll use to integrate Celery into your Django app.
Unzip the downloaded file and use your terminal to navigate into the source_code_initial/ directory, where you should see a standard Django project folder structure:
source_code_initial/
│
├── django_celery/
│   ├── __init__.py
│   ├── asgi.py
│   ├── settings.py
│   ├── urls.py
│   └── wsgi.py
│
├── feedback/
│   │
│   ├── migrations/
│   │   └── __init__.py
│   │
│   ├── templates/
│   │   │
│   │   └── feedback/
│   │       ├── base.html
│   │       ├── feedback.html
│   │       └── success.html
│   │
│   │
│   ├── __init__.py
│   ├── admin.py
│   ├── apps.py
│   ├── forms.py
│   ├── models.py
│   ├── tests.py
│   ├── urls.py
│   └── views.py
│
├── .gitignore
├── manage.py
└── requirements.txt
Confirm that you’re inside of source_code_initial/, then create and activate a virtual environment:
$ python -m venv venv
$ source venv/bin/activate
(venv) $
Once your virtual environment is active, you can install Django:
(venv) $ python -m pip install django
Finish the local setup for the Django app by running the migrations and starting the development server:
(venv) $ python manage.py migrate
(venv) $ python manage.py runserver
You can now open up your browser to navigate to the app’s home page at https://localhost:8000, where a friendly-looking feedback form will greet you:
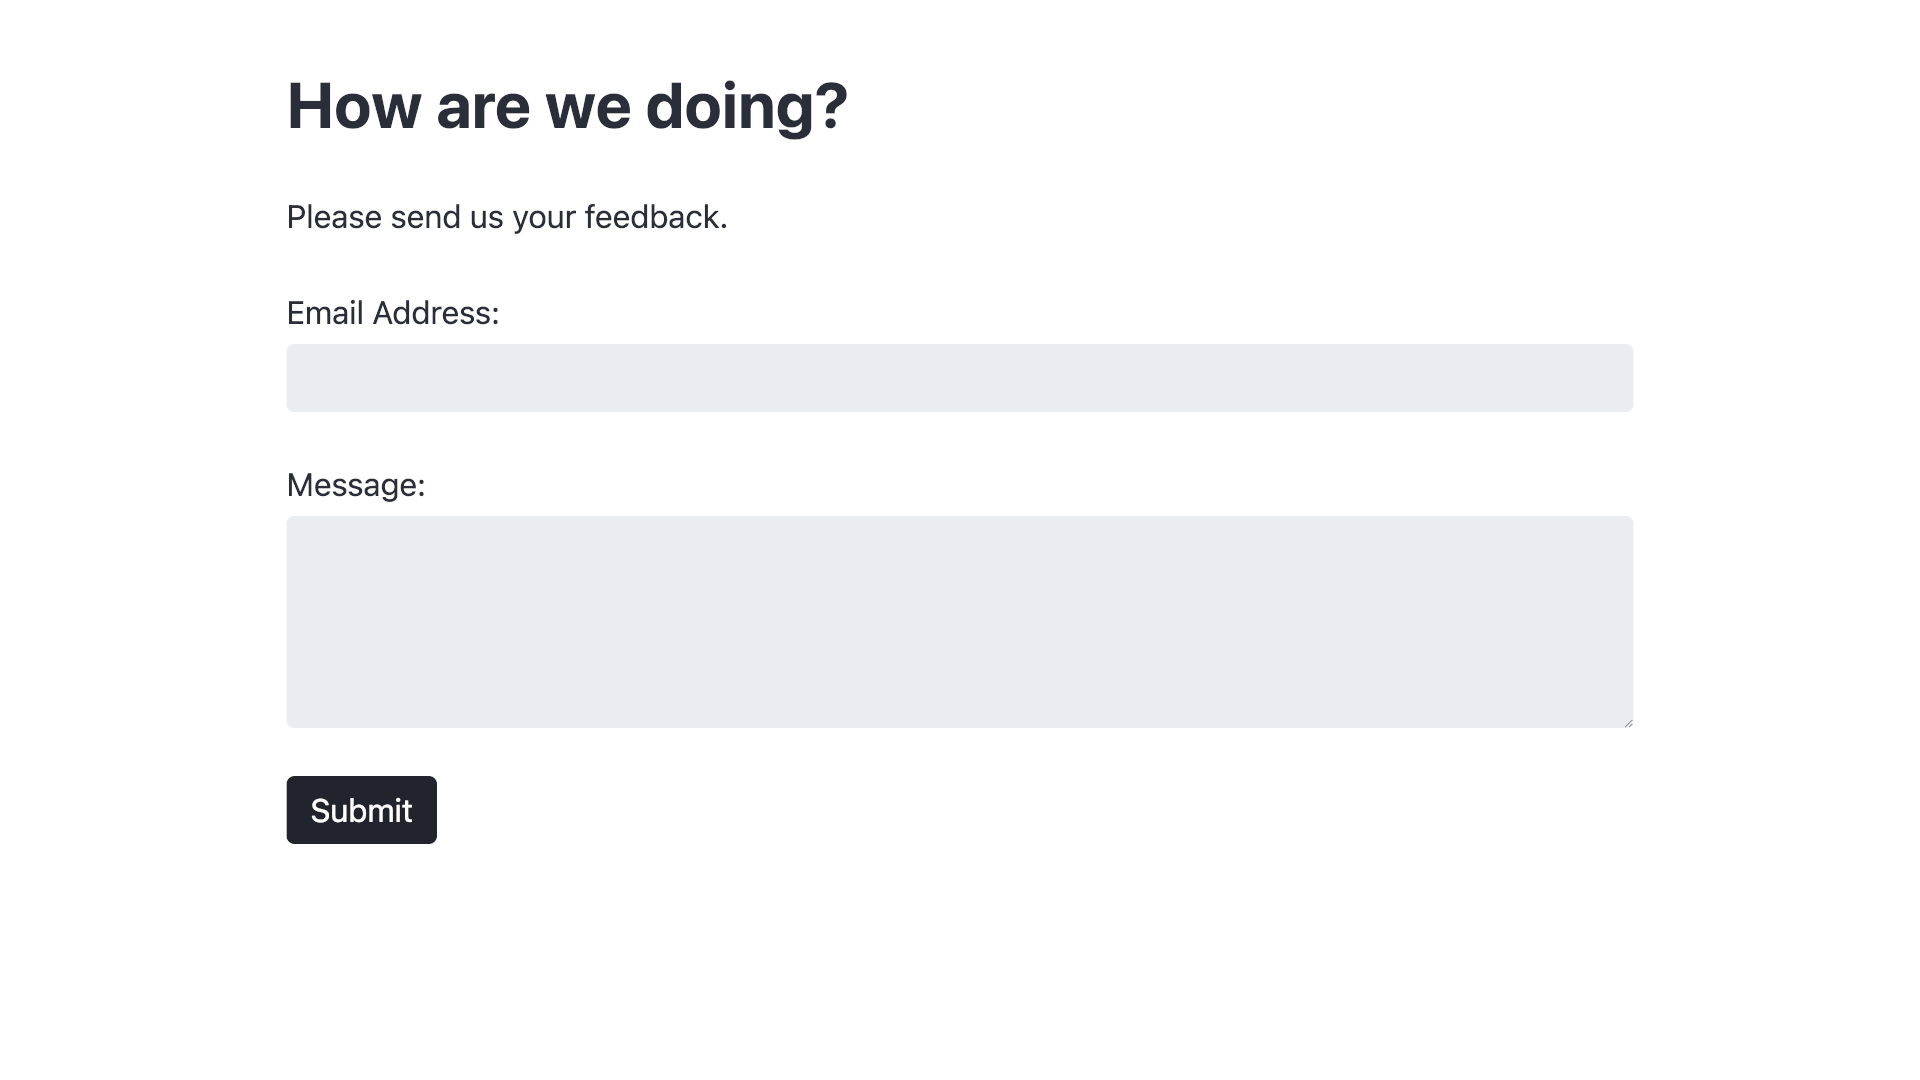
However, that feedback form currently only looks friendly. Go ahead and fill out the form and submit some feedback. Imagine that one of your web app’s users would run into a situation like this:
After you press the Submit button, the app freezes. You can see the little spinner symbol spinning in the browser tab, but the page is unresponsive, and you can still see all the information that you entered into the form.
It takes way too long for Django to process the form and redirect you to the success page!
Django freezes because it needs to synchronously process the email sending request before tackling the next task, which is to redirect a user to the success page.
The reason it freezes for so long is because of a sneaky time.sleep() call in .send_email() that simulates a time- or work-intensive task that could be associated with email sending.
Of course, in an actual application, you wouldn’t add even more time delay to your code by making Django sleep. However, whatever email service you use will, unfortunately, introduce some delays for you. Especially once your app starts serving many users, you’ll quickly run into limitations.
Note: Substitute the time.sleep() call with whatever work-intensive process you need to perform in your web app to serve your users.
Your Django application shouldn’t handle long-running tasks synchronously, because doing so impairs your app’s user experience and overall usefulness.
Instead, you’ll learn how to hand off this task to a Celery worker. Celery workers can tackle computations as a background task and allow your users to continue browsing your snazzy web app contently.
Install Celery as Your Task Queue
Now that you set up the feedback app and felt the lag that comes from email sending, you set out to improve the user experience.
Your first step in integrating Celery into your Django app is to install the Celery package into your virtual environment:
(venv) $ python -m pip install celery
Just installing Celery, however, isn’t enough. If you attempt to run the task queue, you’ll notice that Celery first seems to start up fine but then displays an error message that indicates that Celery can’t find a message broker:
(venv) $ python -m celery worker
[ERROR/MainProcess] consumer: Cannot connect to
⮑ amqp://guest:**@127.0.0.1:5672//: [Errno 61] Connection refused.
Trying again in 2.00 seconds... (1/100)
Celery needs a message broker to communicate with programs that send tasks to the task queue. Without a broker, Celery isn’t able to receive instructions, which is why it keeps trying to reconnect.
Note: You may notice the URL-like syntax in the target that Celery attempts to connect to. The protocol name, amqp, stands for Advanced Message Queuing Protocol and is the messaging protocol that Celery uses. The best-known project that implements AMQP natively is RabbitMQ, but Redis can also communicate using the protocol.
Before using Celery, you’ll need to install a message broker and define a project as a message producer. In your case, the producer is your Django app, and the message broker will be Redis.
Install Redis as Your Celery Broker and Database Back End
You need a message broker so that Celery can communicate with your task producer. You’ll use Redis because Redis can serve as both a message broker and a database back end at the same time.
Head back to your terminal and install Redis on your system:
After the installation is complete, you can start the Redis server to confirm that everything worked. Open up a new terminal window to start the server:
$ redis-server
This window will be your dedicated terminal window for Redis. Keep it open for the rest of this tutorial.
Note: Running redis-server starts the Redis server. You run Redis as a process that’s independent of Python, so you don’t need to have your virtual environment activated when you start it.
After running redis-server, your terminal will show the Redis logo as ASCII art, along with a few startup log messages. The most recent log message will tell you that Redis is ready to accept connections.
To test whether communicating with the Redis server works, start the Redis CLI in another new terminal window:
$ redis-cli
Once the prompt has changed, you can type ping and press Enter, then wait for the answer from Redis:
127.0.0.1:6379> ping
PONG
127.0.0.1:6379>
After starting the Redis CLI with redis-cli, you sent the word ping to the Redis server, which responded with an authoritative PONG. If you got this response, then your Redis installation was successful, and Celery will be able to communicate with Redis.
Quit the Redis CLI by pressing Ctrl+C before moving on to the next step.
Next, you’ll need a Python client to interface with Redis. Confirm that you’re in a terminal window where your virtual environment is still active, and then install redis-py:
(venv) $ python -m pip install redis
This command doesn’t install Redis on your system but only provides a Python interface for connecting to Redis.
Note: You’ll need to install Redis on your system and redis-py in your Python virtual environment so you can work with Redis from your Python programs.
After completing both installations, you’ve successfully set up the message broker. However, you haven’t yet connected your producer to Celery.
If you try to start Celery now and include the producer app name by passing the -A option together with the name of your Django app (django_celery), you’ll run into yet another error:
(venv) $ python -m celery -A django_celery worker
...
Error: Invalid value for '-A' / '--app':
Unable to load celery application.
Module 'django_celery' has no attribute 'celery'
So far, your distributed task queue can’t receive messages from your Django application because there’s no Celery app set up within your Django project.
In the next section, you’ll add the necessary code to your Django app so it can serve as a task producer for Celery.
Add Celery to Your Django Project
The final puzzle piece is connecting the Django app as a message producer to your task queue. You’ll start with the provided project code, so go ahead and download it if you haven’t done that yet:
Source Code: Click here to download the source code you’ll use to integrate Celery into your Django app.
Once you have the project code on your computer, navigate into the django_celery management app folder and create a new file called celery.py:
django_celery/
├── __init__.py
├── asgi.py
├── celery.py
├── settings.py
├── urls.py
└── wsgi.py
Celery recommends using this module to define the Celery application instance. Open the file in your favorite text editor or IDE and add the necessary code:
 1# django_celery/celery.py
 2
 3import os
 4from celery import Celery
 5
 6os.environ.setdefault("DJANGO_SETTINGS_MODULE", "django_celery.settings")
 7app = Celery("django_celery")
 8app.config_from_object("django.conf:settings", namespace="CELERY")
 9app.autodiscover_tasks()
You only need to add these few lines of code to the file. Read on to learn what each of them accomplishes:
-
Line 3: You import the built-in
osmodule, which you might be familiar with from working with files. You’ll use it in line 6 to set an environment variable. -
Line 4: You import
Celeryfrom thecelerypackage. You’ll use it in line 7 to create your Celery application instance. -
Line 6: You use .setdefault() of
os.environto assure that your Django project’ssettings.pymodule is accessible through the"DJANGO_SETTINGS_MODULE"key. -
Line 7: You create the Celery application instance and provide the name of the main module as an argument. In the context of your Django application, the main module is the Django app that contains
celery.py, so you pass"django_celery". -
Line 8: You define the Django settings file as the configuration file for Celery and provide a namespace,
"CELERY". You’ll need to preprend the namespace value, followed by an underscore (_), to every configuration variable related to Celery. You could define a different settings file, but keeping the Celery configuration in Django’s settings file allows you to stick with a single central place for configurations. -
Line 9: You tell your Celery application instance to automatically find all tasks in each app of your Django project. This works as long as you stick to the structure of reusable apps and define all Celery tasks for an app in a dedicated
tasks.pymodule. You’ll create and populate this file for yourdjango_celeryapp when you refactor the email sending code later.
With celery.py set up and attempting to fetch the necessary Celery settings from your settings.py file, you’ll next head over to settings.py to add these setting entries to the bottom of the file:
# django_celery/settings.py

# ...

# Celery settings
CELERY_BROKER_URL = "redis://localhost:6379"
CELERY_RESULT_BACKEND = "redis://localhost:6379"
These two entries give your Celery application instance enough information to know where to send messages and where to record the results. Because you’re using Redis as both your message broker and your database back end, both URLs point to the same address.
Note: These URLs could also point to different servers and services. For example, you could use RabbitMQ as your message broker and Redis as your results back end:
CELERY_BROKER_URL = "amqp://myuser:mypassword@localhost:5672/myvhost"
CELERY_RESULT_BACKEND = "redis://localhost:6379"
When you run your app in production, you’ll replace these URLs with the production locations of each service.
Note the CELERY_ namespace at the beginning of these setting variables. You need to add this because of the namespace="CELERY" argument that you passed to app.config_from_object() in line 8 of celery.py.
At this point, you’re nearly done integrating Celery into your web app. The final addition goes into __init__.py of your management app:
django_celery/
├── __init__.py
├── asgi.py
├── celery.py
├── settings.py
├── urls.py
└── wsgi.py
Open the file in your text editor. In a default Django project, each app folder has an __init__.py file which helps to mark it as a module. The file is empty by default, but you can add code to influence the import behavior.
To make sure that your Celery app is loaded when you start Django, you should add it to __all__:
# django_celery/__init__.py

from .celery import app as celery_app

__all__ = ("celery_app",)
Loading the Celery app on Django startup ensures that the @shared_task decorator will use it correctly. You’ll learn more about @shared_task in the next section.
Time to test your setup! Remember that the process you’re setting up requires at least three services to run at the same time:
- Producer: Your Django app
- Message Broker: The Redis server
- Consumer: Your Celery app
Because you’re using Redis, you’ll get the database back end as a bonus without running another service.
Open up three separate terminal windows and start all the programs if they’re not running yet.
Serve your web app with Django’s development server in the first window:
(venv) $ python manage.py runserver
Then start the Redis server in the second terminal window, in case you stopped it earlier:
$ redis-server
The redis-server command is the only one of the three commands that you can run outside your virtual environment, so make sure that your virtual environment is active in the other two terminal windows.
Note: You might receive an error if the Redis server is still running in the background. If that’s the case, then you’ll need to call SHUTDOWN before executing redis-server.
Finally, you can now also start Celery correctly without running into an error message:
(venv) $ python -m celery -A django_celery worker
When starting Celery with this command, you provide the name of the module that contains your Celery app instance, "django_celery", to -A.
Note: While the error message that you saw when running Celery before you installed Redis is gone, you may still see a warning related to Django’s DEBUG setting. You can ignore this warning for this example app, but you should always set DEBUG to False before deploying a site into production.
In summary, you only need to add code to the three mentioned files to integrate Celery into your Django app and prepare it for processing asynchronous tasks. With this base setup complete, you’re ready to write a task that you can hand off to Celery.
In the next section, you’ll refactor .send_email() to call an asynchronous Celery task instead of handling the email sending synchronously in Django.
Handle Workloads Asynchronously With Celery
You’ve successfully arranged the puzzle pieces necessary to run asynchronous tasks with Django, Redis, and Celery. But at this point, you haven’t yet defined any tasks to pass on to Celery.
Your final step to integrate Celery with Django and offload work to Celery’s distributed task queue is to refactor the email sending functionality into a Celery task.
Revisit the Synchronous Code
At the moment, your code defines the email sending functionality in .send_email() of FeedbackForm in forms.py:
 1# feedback/forms.py
 2
 3from time import sleep
 4from django.core.mail import send_mail
 5from django import forms
 6
 7class FeedbackForm(forms.Form):
 8    email = forms.EmailField(label="Email Address")
 9    message = forms.CharField(
10        label="Message", widget=forms.Textarea(attrs={"rows": 5})
11    )
12
13    def send_email(self):
14        """Sends an email when the feedback form has been submitted."""
15        sleep(20)  # Simulate expensive operation(s) that freeze Django
16        send_mail(
17            "Your Feedback",
18            f"\t{self.cleaned_data['message']}\n\nThank you!",
19            "support@example.com",
20            [self.cleaned_data["email_address"]],
21            fail_silently=False,
22        )
You define .send_email() in line 13. The method simulates an expensive operation that’ll freeze your app for twenty seconds with a call to sleep() in line 15. In lines 16 to 22, you compose the email that you’ll send with Django’s convenient send_mail(), which you imported in line 4.
You also need to call .send_email() on a successful form submission, and you set that up in .form_valid() of views.py:
 1# feedback/views.py
 2
 3from feedback.forms import FeedbackForm
 4from django.views.generic.edit import FormView
 5from django.views.generic.base import TemplateView
 6
 7class FeedbackFormView(FormView):
 8    template_name = "feedback/feedback.html"
 9    form_class = FeedbackForm
10    success_url = "/success/"
11
12    def form_valid(self, form):
13        form.send_email()
14        return super().form_valid(form)
15
16class SuccessView(TemplateView):
17    template_name = "feedback/success.html"
Line 12 defines .form_valid(), which FeedbackFormView automatically calls on a successful form submission. In line 13, you finally call .send_email().
Your setup works—but because of the simulated expensive operation, it takes way too long before your app becomes responsive again and allows users to continue browsing. Time to change that by letting Celery handle email sending on its own schedule!
Refactor the Code as a Celery Task
For app.autodiscover_tasks() to work as described, you need to define your Celery tasks in a separate tasks.py module inside of each app of your Django project.
Note: In this example, you only have one app. Larger Django projects will likely have more apps. If you stick with the standard setup, then you’ll create a tasks.py file for each app and store the app’s Celery tasks in that file.
Create a new file called tasks.py in your feedback/ app:
feedback/
│
├── migrations/
│   └── __init__.py
│
├── templates/
│   │
│   └── feedback/
│       ├── base.html
│       ├── feedback.html
│       └── success.html
│
├── __init__.py
├── admin.py
├── apps.py
├── forms.py
├── models.py
├── tasks.py
├── tests.py
├── urls.py
└── views.py
In that file, you define a new function that’ll handle the email sending logic. Fetch the code from .send_mail() in forms.py and use it as your base to create send_feedback_email_task() in tasks.py:
 1# feedback/tasks.py
 2
 3from time import sleep
 4from django.core.mail import send_mail
 5
 6def send_feedback_email_task(email_address, message):
 7    """Sends an email when the feedback form has been submitted."""
 8    sleep(20)  # Simulate expensive operation(s) that freeze Django
 9    send_mail(
10        "Your Feedback",
11        f"\t{message}\n\nThank you!",
12        "support@example.com",
13        [email_address],
14        fail_silently=False,
15    )
Don’t forget to add the necessary imports, as shown in lines 3 and 4.
So far, you mainly copied the code from .send_mail() into send_feedback_email_task(). You also slightly edited the function definition by adding two parameters in line 6. You use these parameters in lines 11 and 13 to replace the values that you previously fetched from .cleaned_data in .send_mail(). This change is necessary because you don’t have access to that instance attribute in your new function.
Aside from that, send_feedback_email_task() looks the same as .send_email(). Celery hasn’t even gotten involved yet!
To transform this function into a Celery task, all you need to do is decorate it with @shared_task, which you import from celery:
# feedback/tasks.py

from time import sleep
from django.core.mail import send_mail
from celery import shared_task

@shared_task()
def send_feedback_email_task(email_address, message):
    """Sends an email when the feedback form has been submitted."""
    sleep(20)  # Simulate expensive operation(s) that freeze Django
    send_mail(
        "Your Feedback",
        f"\t{message}\n\nThank you!",
        "support@example.com",
        [email_address],
        fail_silently=False,
    )
After importing shared_task() from celery and decorating send_feedback_email_task() with it, you’re done with the necessary code changes in this file.
Handing a task to Celery revolves around Celery’s Task class, and you can create tasks by adding decorators to your function definitions.
If your producer is a Django app, then you’ll want to use the @shared_task decorator to set up a task, which keeps your apps reusable.
With these additions, you’re done setting up an asynchronous task with Celery. You’ll only need to refactor where and how you call it in your web app code.
Head back to forms.py, where you took the email sending code from, and refactor .send_email() so that it calls send_feedback_email_task():
 1# feedback/forms.py
 2
 3# Removed: from time import sleep
 4# Removed: from django.core.mail import send_mail
 5from django import forms
 6from feedback.tasks import send_feedback_email_task
 7
 8class FeedbackForm(forms.Form):
 9    email = forms.EmailField(label="Email Address")
10    message = forms.CharField(
11        label="Message", widget=forms.Textarea(attrs={"rows": 5})
12    )
13
14    def send_email(self):
15        send_feedback_email_task.delay(
16            self.cleaned_data["email"], self.cleaned_data["message"]
17        )
Instead of handling the email sending code logic in .send_email(), you moved it to send_feedback_email_task() in tasks.py. This change means that you can also remove the obsolete import statements in lines 3 and 4.
You now import send_feedback_email_task() from feedback.tasks in line 6.
In line 15, you call .delay() on send_feedback_email_task() and pass it the submitted form data fetched from .cleaned_data as arguments in line 16.
Note: Calling .delay() is the quickest way to send a task message to Celery. This method is a shortcut to the more powerful .apply_async(), which additionally supports execution options for fine-tuning your task message.
Using .apply_async(), your call to achieve the same as above would be slightly more verbose:
send_feedback_email_task.apply_async(args=[
    self.cleaned_data["email"], self.cleaned_data["message"]
    ]
)
While .delay() is the better choice in a straightforward task message like this, you’ll benefit from many execution options with .apply_async(), such as countdown and retry.
With these changes applied in tasks.py and forms.py, you’re all done refactoring! The main chunk of work to run asynchronous tasks with Django and Celery lies in the setup rather than the actual code you need to write.
But does it work? Do the emails still go out, and does your Django app remain responsive in the meantime?
Test Your Asynchronous Task
When you start a Celery worker, it loads your code into memory. When it receives a task through your message broker, it’ll execute that code. Because of that, you need to restart your Celery worker every time you change your code.
Note: To avoid manually restarting your Celery worker on every code change during development, you can set up auto-reload using watchdog or by writing a custom management command.
You created a task that the worker you started earlier doesn’t know about, so you’ll need to restart the worker. Open the terminal window where you’re running the Celery worker and stop execution by pressing Ctrl+C.
Then restart the worker with the same command that you used previously, and add -l info to set the log level to info:
(venv) $ python -m celery -A django_celery worker -l info
Setting the -l option to info means that you’ll see more information printed to your terminal. On startup, Celery displays all tasks that it discovered in the [tasks] section:
[tasks]
  . feedback.tasks.send_feedback_email_task
This output confirms that Celery has registered send_feedback_email_task() and is ready to handle incoming messages related to this task.
With all services up and running and your code refactored for Celery, you’re ready to step into the shoes of one of your users and give your refactored workflow another go:
If you now submit a feedback form on the app’s main page, you’re quickly redirected to the success page. Yay! No need to wait and build up any frustration. You can even return to the feedback form and submit another response immediately.
But what happens in the back end? With your synchronous example, you saw the email message appear in the terminal window where you ran Django’s development server. This time, it’s not showing up there—even after the twenty seconds have passed.
Instead, you’ll see that the email text appears in the terminal window where you’re running Celery, alongside other logs about handling the task:
[INFO/MainProcess] celery@Martins-MBP.home ready.
[INFO/MainProcess] Task feedback.tasks.send_feedback_email_task
⮑ [a5054d64-5592-4347-be77-cefab994c2bd] received
[WARNING/ForkPoolWorker-7] Content-Type: text/plain; charset="utf-8"
MIME-Version: 1.0
Content-Transfer-Encoding: 7bit
Subject: Your Feedback
From: support@example.com
To: martin@realpython.com
Date: Tue, 12 Jul 2025 14:49:23 -0000
Message-ID: <165763736314.3405.4812564479387463177@martins-mbp.home>

        Great!

Thank you!
[WARNING/ForkPoolWorker-7] -----------------------------------------
[INFO/ForkPoolWorker-7] Task feedback.tasks.send_feedback_email_task
⮑ [a5054d64-5592-4347-be77-cefab994c2bd] succeeded in 20.078754458052572s:
⮑ None
Because you ran your Celery worker with log level info (-l info), you can read a verbose description of what’s happening on Celery’s end.
First, you may notice that the logs inform you about receiving send_feedback_email_task. If you watch this terminal window right after submitting a feedback response, then you’ll see that this logline prints immediately.
After that, Celery enters the waiting phase caused by the sleep() call that previously froze your Django app. While you can continue using your Django app immediately, Celery performs the expensive calculation for you in the background.
After the twenty seconds have passed, Celery prints the dummy email that Django builds with send_mail() to the terminal window. It then adds another log entry that tells you that send_feedback_email_task succeeded, how long it took (20.078754458052572s), and what its return value was (None).
Note: Keep in mind that your Django app won’t know whether or not the Celery task has succeeded in this example. That means the Thank you! message that your reader sees doesn’t necessarily mean that the message has made is safely to you. Because you set up a database back end with Redis, you could, however, query that back end to identify whether a task run was successful or not.
Because of how HTTP works, informing the user on the front end about whether a background task has finished successfully isn’t a trivial task. To accomplish this, you’ll need to set up AJAX polling or WebSockets via Django Channels.
That went well! Your feedback seems to have been submitted quickly, and you didn’t have to sit through any frustrating waiting time.
Nice work! You successfully integrated Celery into your Django app and set it up to process an asynchronous task. Celery now handles your email sending and all of its overhead as a background task. Email sending doesn’t need to concern your web app once it has passed the task instructions to Celery’s distributed task queue.
Conclusion
Whoosh! Feedback submitted!
After you’ve integrated Celery and refactored your Django code, sending feedback in your app is such a great experience that you don’t want to stop sending positive feedback messages!
Handling long-running or compute-expensive tasks asynchronously in the background with Celery, instead of bogging down your web app with tasks that it wasn’t intended to handle, can breathe fresh air into a slow-running application.
Celery aims to provide a quick interface for sending messages to its distributed task queue. In this example, you experienced how little you might need to change to use Celery in your Django app.
In this tutorial, you learned how to:
- Recognize effective use cases for Celery
- Differentiate between Celery beat and Celery workers
- Integrate Celery and Redis in a Django project
- Set up asynchronous tasks that run independently of your Django app
- Refactor Django code to run a task with Celery instead
Keep identifying any tasks that Django doesn’t need to handle. Then offload them to your favorite distributed task queue instead.
Knowing that you can handle sluggish tasks in the background without impairing your user experience also opens up doors to new ideas:
- Implement automatic spam filtering on your feedback submissions so you don’t have to waste time sifting through spammy emails.
- Translate the text of all feedback submissions to Spanish so you can add new vocabulary to your flashcards app and aid your language study.
- Identify tasks in your own Django projects that you can offload to Celery workers.
A lot of fun and valuable computation takes a hot minute. With Celery as your ally, you can start integrating more such features into your web app and let a distributed task queue run these tasks asynchronously in the background.
Watch Now This tutorial has a related video course created by the Real Python team. Watch it together with the written tutorial to deepen your understanding: Creating Asynchronous Tasks With Celery and Django