Django is a powerful framework for creating web applications in Python. Its features include database models, routing URLs, authentication, user management, administrative tools, and a template language. You can compose reusable HTML that changes based on the data you pass to the template language. Django templates use tags and filters to define a mini-language that’s similar to Python—but isn’t Python.
You’ll get to know Django templates through the tags and filters you use to compose reusable HTML.
In this tutorial, you’ll learn how to:
- Write, compile, and render a Django template
- Use the
render()shortcut in views to quickly use templates - Use template tags for conditionals and loops in your templates
- Create reusable templates with inheritance and inclusion
- Modify the presentation of your data through template filters
Free Bonus: Click here to get access to a free Django Learning Resources Guide (PDF) that shows you tips and tricks as well as common pitfalls to avoid when building Python + Django web applications.
Creating a Django Project
To experiment with Django templates, you’re going to need a project so that you can play around with the code. You’ll be building moviepalace: the world’s smallest, simplest movie website. For a more detailed example of starting a new project, you can read Get Started With Django Part 1: Build a Portfolio App.
Django isn’t part of the standard Python library, so you’ll first need to install it. When dealing with third-party libraries, you should use a virtual environment. For a refresher on virtual environments, you can read over Python Virtual Environments: A Primer.
Once you have a virtual environment, run the following commands to get going:
 1$ python -m pip install django==3.2.5
 2$ django-admin startproject moviepalace
 3$ cd moviepalace
 4$ python manage.py startapp moviefacts
Line 1 installs Django into your virtual environment using pip. On line 2, the django-admin command creates a new Django project called moviepalace. A Django project consists of apps, where your code lives. The fourth command creates an app named moviefacts.
You’re almost ready to go. The last step is to tell Django about your newly created moviefacts app. You do this by editing the moviepalace/settings.py file and adding "moviefacts" to the list of INSTALLED_APPS:
33INSTALLED_APPS = [
34    "django.contrib.admin",
35    "django.contrib.auth",
36    "django.contrib.contenttypes",
37    "django.contrib.sessions",
38    "django.contrib.messages",
39    "django.contrib.staticfiles",
40    "moviefacts",
41]
With moviefacts registered as an app, you can now write a view containing a template.
Getting Ready to Use Django Templates
Django was created at a newspaper to help build web applications quickly. One of the goals of the framework was to separate the concerns of the business logic from the presentation logic.
Web designers, rather than Python programmers, frequently did the HTML development at the paper. Because of this, the developers decided not to allow the execution of Python within the template language. This decision simplified what the designers needed to know and sandboxed their code for security reasons. The end result was a separate mini-language. This approach is in contrast to the PHP approach, where the code is directly embedded in the HTML.
Compiling and Rendering Django Templates
Django templates let you dynamically change output content within a rendering context. You can think of templates as a form letter, where the letter’s contents include places where information can be inserted. You can run the rendering process multiple times with different data and get different results each time.
Django provides the Template and Context classes to represent the string template being rendered and the data being used during generation. The Context class is a wrapper to a dict and provides key-value pairs to populate the generated content. The result of a rendered template can be any text but is frequently HTML. Django is a web framework, after all.
It’s time to build your first template. To see one in action, you’ll first need a view. Add the following code to moviefacts/views.py:
 1# moviefacts/views.py
 2from django.http import HttpResponse
 3from django.template import Context, Template
 4
 5def citizen_kane(request):
 6    content = """{{movie}} was released in {{year}}"""
 7    template = Template(content)
 8    context = Context({"movie": "Citizen Kane", "year": 1941})
 9
10    result = template.render(context)
11    return HttpResponse(result)
In this view, you see some of the main concepts that make up the Django templating language:
- Line 6 contains references to
movieandyear. This is similar to a Python f-string. The double braces, or mustache brackets, indicate the items that Django replaces when it renders the template. - Line 7 instantiates a
Templateobject by passing in the string that specifies the template. - Line 8 creates a
Contextobject by populating it with a dictionary. TheContextobject contains all of the data available to the template when Django renders it. The template contains two items to replace:{{movie}}with"Citizen Kane"and{{year}}with1941. - Line 10 has the call to the
.render()method that generates the result. - Line 11 returns the rendered content wrapped in an
HttpResponseobject.
To test this out, you’ll need to make this view available in the browser, so you’ll need to add a route. Modify moviepalace/urls.py as follows:
# moviepalace/urls.py
from django.urls import path
from moviefacts import views

urlpatterns = [
    path("citizen_kane/", views.citizen_kane),
]
Make sure you’re using the virtual environment where you installed Django, then run the Django development server to see the result:
$ python manage.py runserver
Run your view by visiting http://127.0.0.1:8000/citizen_kane/.
The HttpResponse object is returning this content as HTML, but as the string doesn’t contain any tags, your browser will treat this as if it’s text inside of a <body> tag. It returns badly formed HTML, but it’s good enough to play with for now. If everything went well, you should see your template rendered with the data from your context:
Citizen Kane was released in 1941
Your template has been compiled, and Django replaced the movie and year variables with Citizen Kane and 1941.
Configuring Django to Load File Templates
In a web application, your most likely use of templates will be to output HTML—lots and lots of HTML. The Django template language was built to simplify this process. Unlike the previous example, you don’t typically use template strings in your views. Instead, you load templates from other files.
To load a template from disk, you first need to tell Django where to find it. Inside of moviepalace/settings.py, modify the "DIRS" value in TEMPLATES:
 1TEMPLATES = [
 2    {
 3        "BACKEND": "django.template.backends.django.DjangoTemplates",
 4        "DIRS": [
 5            BASE_DIR / "templates",
 6        ],
 7        "APP_DIRS": True,
 8        "OPTIONS": {
 9            "context_processors": [
10                "django.template.context_processors.debug",
11                "django.template.context_processors.request",
12                "django.contrib.auth.context_processors.auth",
13                "django.contrib.messages.context_processors.messages",
14            ],
15        },
In the default settings.py file that the django-admin command created, the DIRS list is empty. Django will now look for templates in a directory named moviepalace/templates. Note that Django uses a double-folder structure for its own configuration. For example, settings.py is found in moviepalace/moviepalace. The directory for templates should be in the project root, not in the configuration directory.
When APP_DIRS on line 7 is True, Django will also look for templates in the app subdirectories. Django expects app templates to be inside a directory named templates under the app’s folder.
In Django 3.1, the BASE_DIR parameter in the settings.py file changed from using os.path to pathlib:
TEMPLATES = [
    {
        "BACKEND": "django.template.backends.django.DjangoTemplates",
        "DIRS": [os.path.join(BASE_DIR, "templates"), ],
        "APP_DIRS": True,
        "OPTIONS": {
            "context_processors": [
                "django.template.context_processors.debug",
                "django.template.context_processors.request",
                "django.contrib.auth.context_processors.auth",
                "django.contrib.messages.context_processors.messages",
            ],
        },
    },
]
If you’re using Django 3.0 or earlier, the DIRS value will need to use os.path instead.
How do you decide where to store your templates? If your app is going to be reusable in other projects and has templates that are specific to it, then keep the templates with the app. Otherwise, keep your templates together in the project template directory. See the lesson on Django’s double folder structure in the course Getting Started With Django for more information about how to structure your Django projects.
After making the change to the moviepalace/settings.py file, don’t forget to create the templates directory:
$ pwd
/home/realpython/moviepalace
$ mkdir templates
With the configuration done and the directory created, you’re now ready to load a template from a file.
Loading Django Templates From Files
Let’s rebuild the Citizen Kane experience using a file. Create templates/simple.txt and add the template string used in your citizen_kane() view:
{{movie}} was released in {{year}}
You could write code to load the file as a string, build a Template object, and do the same thing you did in the citizen_kane() view, or you can use the render() shortcut, which does all of that for you. Add the following to your moviefacts/views.py file:
# moviefacts/views.py
⋮
from django.shortcuts import render

def casablanca(request):
    return render(
        request, "simple.txt", {"movie": "Casablanca", "year": 1942}
    )
With the new view in place, don’t forget to add a route to moviepalace/urls.py:
# moviepalace/urls.py
from django.urls import path
from moviefacts import views

urlpatterns = [
    path("citizen_kane/", views.citizen_kane),
    path("casablanca/", views.casablanca),
]
Visiting http://127.0.0.1:8000/casablanca/ should produce similar results to the Citizen Kane example:
Casablanca was released in 1942
The render() shortcut is the usual way of rendering templates. Using the Template object directly is only done in rare cases, like when you want to give the power of templates to your users.
An example of using Template directly could be when allowing your user to input a form letter. A form letter might contain variables like the recipient of the letter. By allowing the user to use a Django template, you can take advantage of the built-in variable substitution mechanism for replacing the recipient’s name.
Choosing a Template Language
Django supports multiple template engines. It ships with two:
- The Django template language: the original Django templating language and the one you’re learning about in this tutorial
- Jinja2: formerly a third-party-only library that is now included in Django but is outside the scope of this tutorial
You can change which template engine is used by editing the TEMPLATES value in moviepalace/settings.py:
 1TEMPLATES = [
 2    {
 3        "BACKEND": "django.template.backends.django.DjangoTemplates",
 4        "DIRS": [
 5            BASE_DIR / "templates",
 6        ],
 7        "APP_DIRS": True,
 8        "OPTIONS": {
 9            "context_processors": [
10                "django.template.context_processors.debug",
11                "django.template.context_processors.request",
12                "django.contrib.auth.context_processors.auth",
13                "django.contrib.messages.context_processors.messages",
14            ],
15        },
The BACKEND setting on line 3 is where you specify your rendering engine. You can choose either the Django template engine or the Jinja2 engine by changing BACKEND to the dotted-path module name of the engine:
django.template.backends.django.DjangoTemplatesdjango.template.backends.jinja2.Jinja2
Third-party template engines are also available. Using them requires installing the library through pip and changing the BACKEND value to the dotted-path name of the engine.
The rest of this tutorial will focus solely on the original Django template backend to give you a solid foundation for creating HTML in your Django projects.
Learning About Django Templates, Tags, and Filters
So far, you’ve seen templates that contain simple variable substitution. The Django template language goes much deeper than that. You get access to many of the structures and controls that you’re used to in Python, except within its own mini-language.
Django Template Tags and Filters
The Django template language has three ways of controlling what gets rendered: values, tags, and filters. Everything you put into a template that is not one of these three gets rendered as you have written it. In this tutorial, you’ll go over the three main parts of the template language:
- Interpreted data, which you note by double braces,
{{ value }} - Tags, which you note by braces and percent signs,
{% tag_name %} - Filters, which modify interpreted data and you apply with the pipe operator (
|), like in{{ value | filter }}
As you saw in the previous section, when Django renders a template into text, it uses a special dictionary that’s called Context. The context is the state with which the template is rendered. In addition to containing the interpreted data to be rendered with double braces, the content of the Context object can be used to make logic decisions.
Tags are like the template language’s keywords and functions. In Python, keywords and functions provide control flow and the tools your code is built upon. Similarly, Django’s built-in tags provide inheritance, conditional operation, looping, comments, and text management. For example, the {% lorem %} tag is replaced with sample lorem ipsum text when rendered.
Django filters operate inside of the double braces and let you alter the presentation of the data you display. For example, the date filter formats a date-time object similar to how strftime() works in Python. If the Context dictionary contained a datetime object named today, {{ today | date:"Y"}} applies the date filter to today, returning the year.
The rest of this tutorial will guide you through common tags and filters, giving examples of how you use each.
Template Inheritance and Inclusion
There’s a lot of boilerplate inside of HTML. Most websites have a common look shared by every page. Every page rendered often repeats the same header and footer, which includes the same style sheets, and often includes the same JavaScript files for metrics and measuring. Manually repeating this across every page would mean that making a change would require a lot of work. Template inheritance and inclusion to the rescue!
There are two ways of composing parts of Django templates together. Inheritance works like class inheritance in Python, with templates overriding their parents’ values. Inclusion injects content into the template from another template. This is similar to the #include directive in the C programming language.
To see these in action, create templates/base.html:
 1<!-- templates/base.html -->
 2<html>
 3<body>
 4  {% block heading %}
 5    <h1>Movie Palace</h1>
 6  {% endblock heading %}
 7
 8  {% block content %}
 9  {% endblock content %}
10</body>
11</html>
This declaration is like a base class in Object-Oriented Programming. You can use it on its own, or you can set up other templates to inherit from it. If this template is rendered as-is, the contents of the {% block %} tags will display as they are. This provides a useful default in the case where the child doesn’t override the block.
In base.html, there’s a heading that says <h1>Movie Palace</h1>, and there’s no content. The magic happens when another template inherits from this one. In the child template, you can optionally override any of the defined blocks. A common practice is filling in the content block with the content for a page while leaving the boilerplate HTML inside this base file.
Create a template that inherits from base.html called templates/falcon.html:
 1<!-- templates/falcon.html -->
 2{% extends "base.html" %}
 3
 4{% block heading %}
 5  {{block.super}}
 6  <h2>The stuff that dreams are made of</h2>
 7{% endblock heading %}
 8
 9{% block content %}
10  <p>
11    {% include "simple.txt" %}
12  </p>
13{% endblock content %}
The falcon.html file shows two things: inheritance and inclusion. You inherit a parent file by using the {% extends %} tag. Here, falcon.html inherits from base.html. Django renders the base.html file in full, except when the child falcon.html overrides a block. For example, the content section in falcon.html overrides the block with the same name in base.html.
Inside of a block section, a special variable is defined: {{block.super}}. This variable contains whatever was in the parent block. On line 5, the parent block brings in the <h1>Movie Palace</h1> title, while falcon.html adds the <h2> to the block on line 6.
In addition to inheritance, you can also do inclusion. On line 11, the {% include %} tag inserts the contents of simple.txt. This allows you to reuse snippets of HTML. Here, it’s reusing the template originally defined for the casablanca() view.
To see all this in action, you’ll need a new view to render them. Create the following in moviefacts/views.py:
# moviefacts/views.py
⋮
def maltese_falcon(request):
    return render(
        request,
        "falcon.html",
        {"movie": "Maltese Falcon", "year": 1941},
    )
This view is almost identical to casablanca(), except it renders falcon.html and passes in the appropriate movie data. Update your moviepalace/urls.py file with a route for the maltese_falcon view and then visit the page:
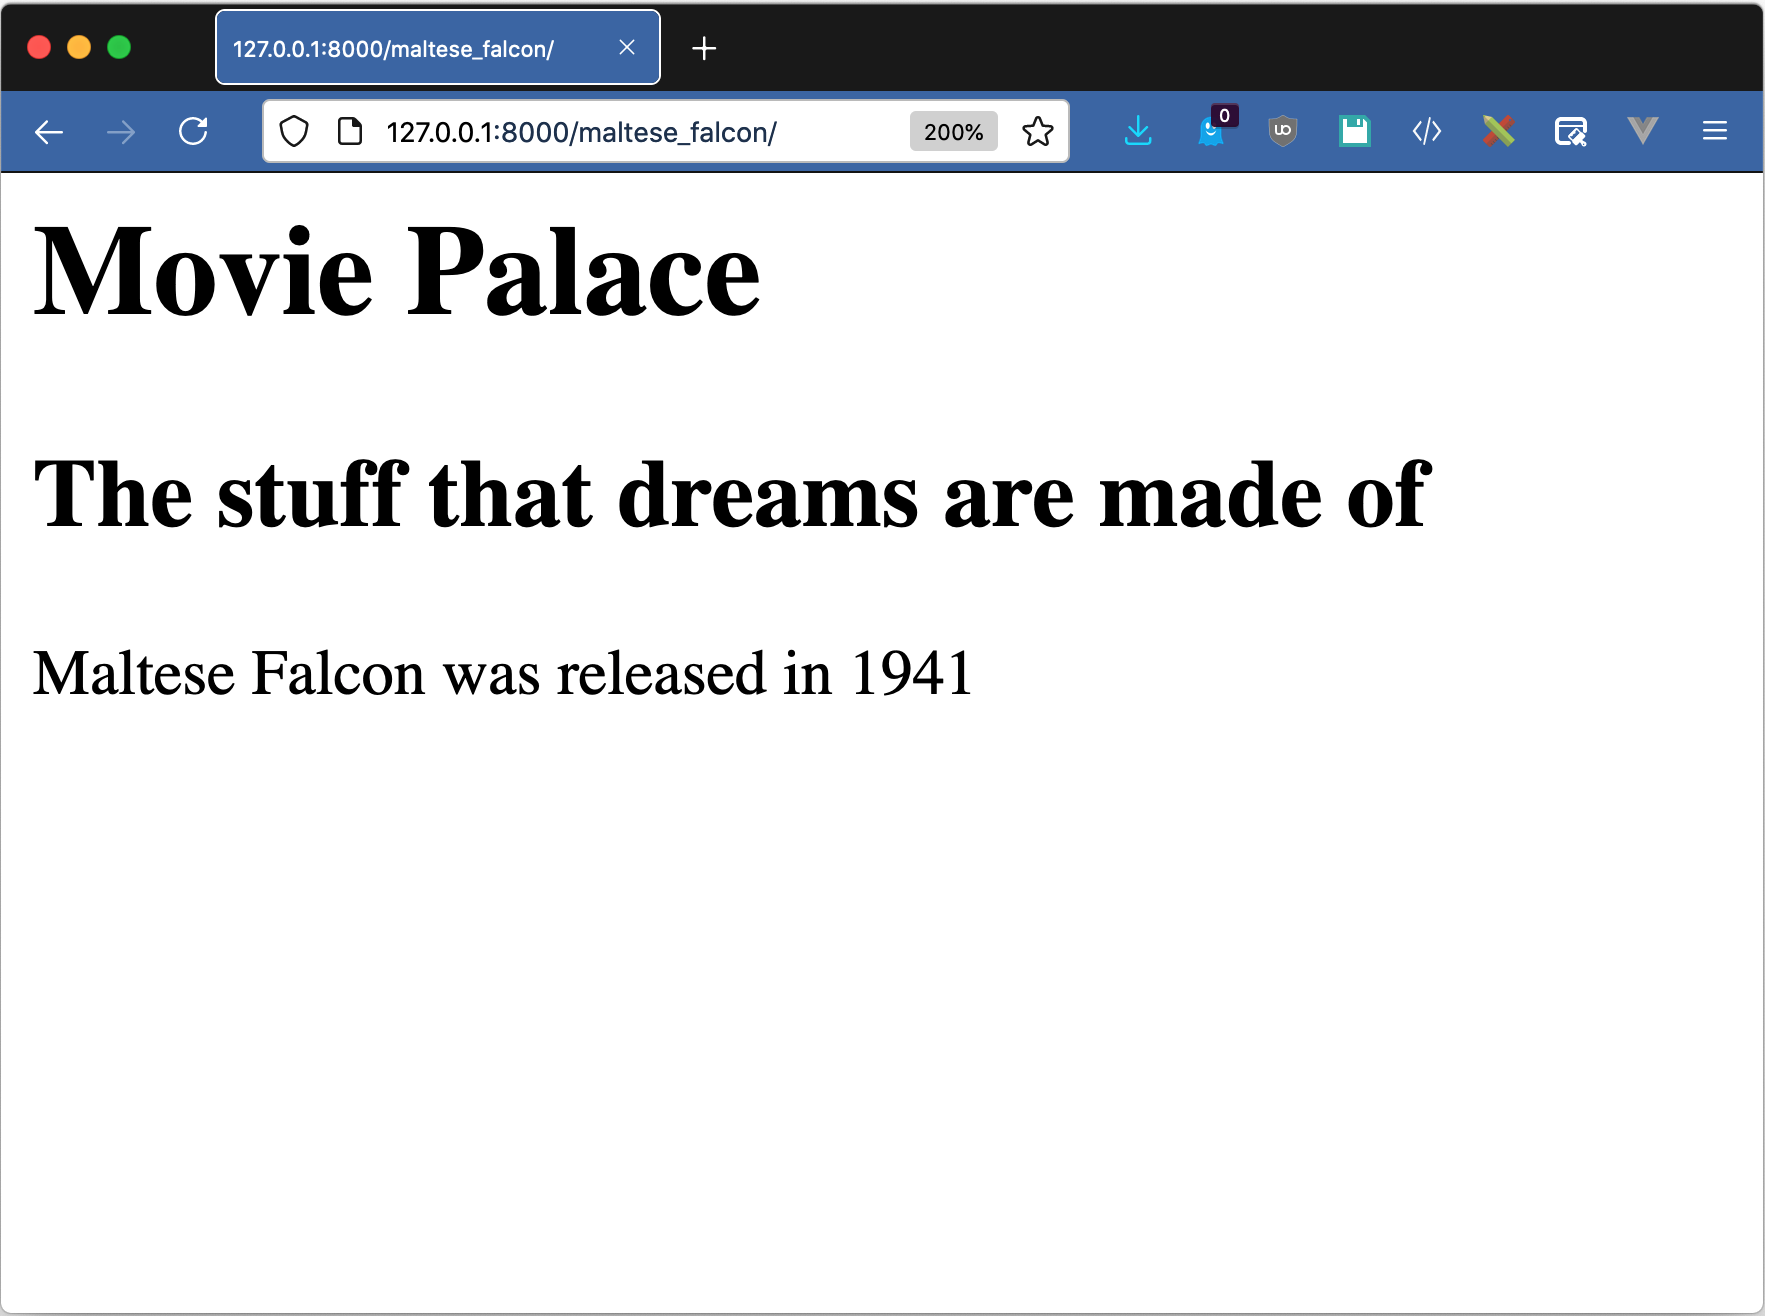
You overrode the header, you included simple.txt, and Django rendered it all with the Maltese Falcon movie data.
Inside of falcon.html, the {% extends %} tag hard-codes the name of the parent template. This is the most common case, but the parent template can be named in a context variable instead. This trick can allow you to use the same child page in both a logged-in and public state, changing the parent template based on the situation.
The falcon.html template only uses one level of inheritance, but you aren’t limited to that alone. Grandchildren can inherit from children, which in turn inherit from parents. You can have as many layers as needed to organize your output.
Exploring Common Template Tags
You can take advantage of over twenty-five built-in tags that Django 3.2.5 includes. These tags are like the keywords and functions of the template language. They allow you to do conditional logic, loops, inheritance, text manipulation, and much more.
Conditional Code
In Python, you use the if, elif, and else keywords to execute code conditionally. In Django templates, you use tags to accomplish the same thing.
To see these tags in action, you’ll need a view with a bit more data. Edit your moviefacts/views.py file and add the following function:
# moviefacts/views.py
⋮
def psycho(request):
    data = {
        "movie": "Psycho",
        "year": 1960,
        "is_scary": True,
        "color": False,
        "tomato_meter": 96,
        "tomato_audience": 95,
    }
    return render(request, "psycho.html", data)
Add a corresponding route for psycho to moviepalace/urls.py, then create templates/psycho.html:
 1<!-- templates/psycho.html -->
 2{% extends "base.html" %}
 3
 4{% block content %}
 5  <p>
 6    {{movie}} was released in {{year}}.  It was {% if not is_scary %}not
 7    {% endif %}scary.
 8  </p>
 9
10  <p>
11    {% if color %}
12      Color
13    {% else %}
14      Black and white
15    {% endif %}
16  </p>
17
18  <p>
19    {% if THX %}
20      Sound was awesome
21    {% endif %}
22  </p>
23
24  <p>
25    {% if tomato_meter > tomato_audience %}
26      Critics liked it better than audience
27    {% elif tomato_meter == tomato_audience %}
28      Critics liked it the same as audience
29    {% else %}
30      The audience liked it better than the critics
31    {% endif %}
32  </p>
33
34  <p>Copyright <b>MoviePalace</b></p>
35{% endblock content %}
The {% if %} tag works like Python’s if keyword. If the condition tested is True, then the block is rendered.
- Lines 6 to 7 show the use of an inline if-conditional, with the
is_scaryvalue negated with thenotkeyword. - Lines 11 to 15 show the use of a multi-line if-condition. This condition block also contains an
{% else %}clause. Unlike writingifstatements in Python, though, don’t forget the closing{% endif %}tag. - Line 19 checks the
THXvariable, which Django won’t find. A variable that isn’t in the context is consideredFalse, so this block about the sound quality doesn’t get rendered. - Lines 25 to 31 show the use of conditions with Boolean comparison operators. You can use the same kinds of operators you’d use in Python inside of the tags.
If you run your development server and visit the view, you’ll notice that the conditional tags have worked:
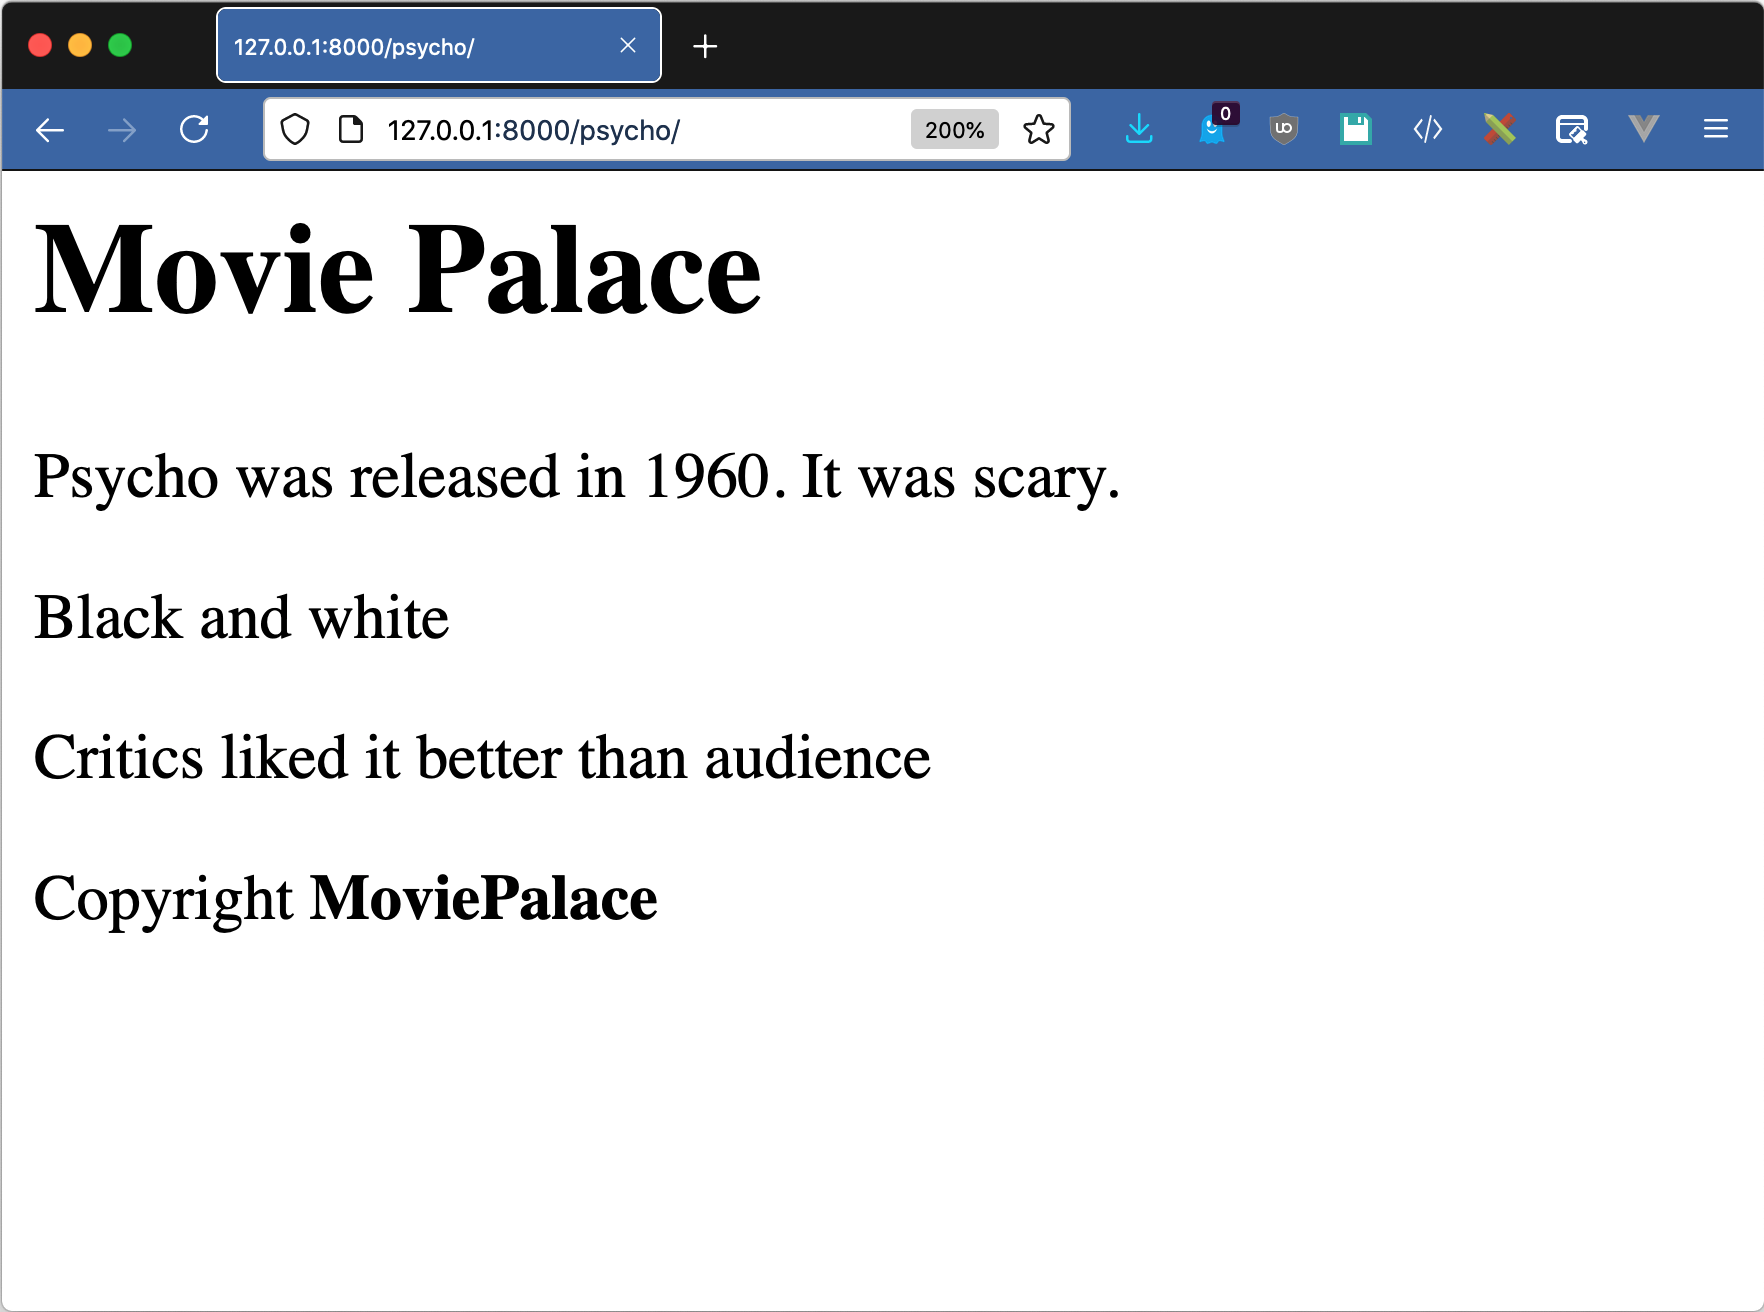
Conditional tags let you control the display of HTML blocks with the same power as condition sections in your Python code. Play around with the data in the psycho() view and see how that changes the output of the conditional blocks.
Loops
There’s a single Django template tag for looping: {% for %}. It uses a similar syntax to Python’s for statement and provides some built-in variables that give information about where you are in the iteration.
The movie views so far have had very little data in them with nothing to loop over. To play with loops, you’ll want to add another view to moviefacts/views.py:
# moviefacts/views.py
⋮
def listing(request):
    data = {
        "movies": [
            (
                "Citizen Kane",   # Movie
                1941,             # Year
            ),
            (
                "Casablanca",
                1942,
            ),
            (
                "Psycho",
                1960,
            ),
        ]
    }
    return render(request, "listing.html", data)
This view has a context variable called movies, which is a list. The template you’ll be building will use loop tags to iterate over this list. Create templates/listing.html as follows:
1<!-- templates/listing.html -->
2{% extends "base.html" %}
3
4{% block content %}
5 <h2> Movies</h2>
6 <ul>
7 {% for movie in movies %}
8 <li>
9 #{{forloop.counter}} {{movie.0}} was released in {{movie.1}}
10 </li>
11 {% endfor %}
12 </ul>
13
14 <h2> Goodies </h2>
15 <ul>
16 {% for goodie in confectionaries %}
17 <li> {{goodie.0}} — ${{goodie.1}}</li>
18 {% empty %}
19 <li> <i>There are no goodies available</i> </li>
20 {% endfor %}
21 </ul>
22{% endblock content %}
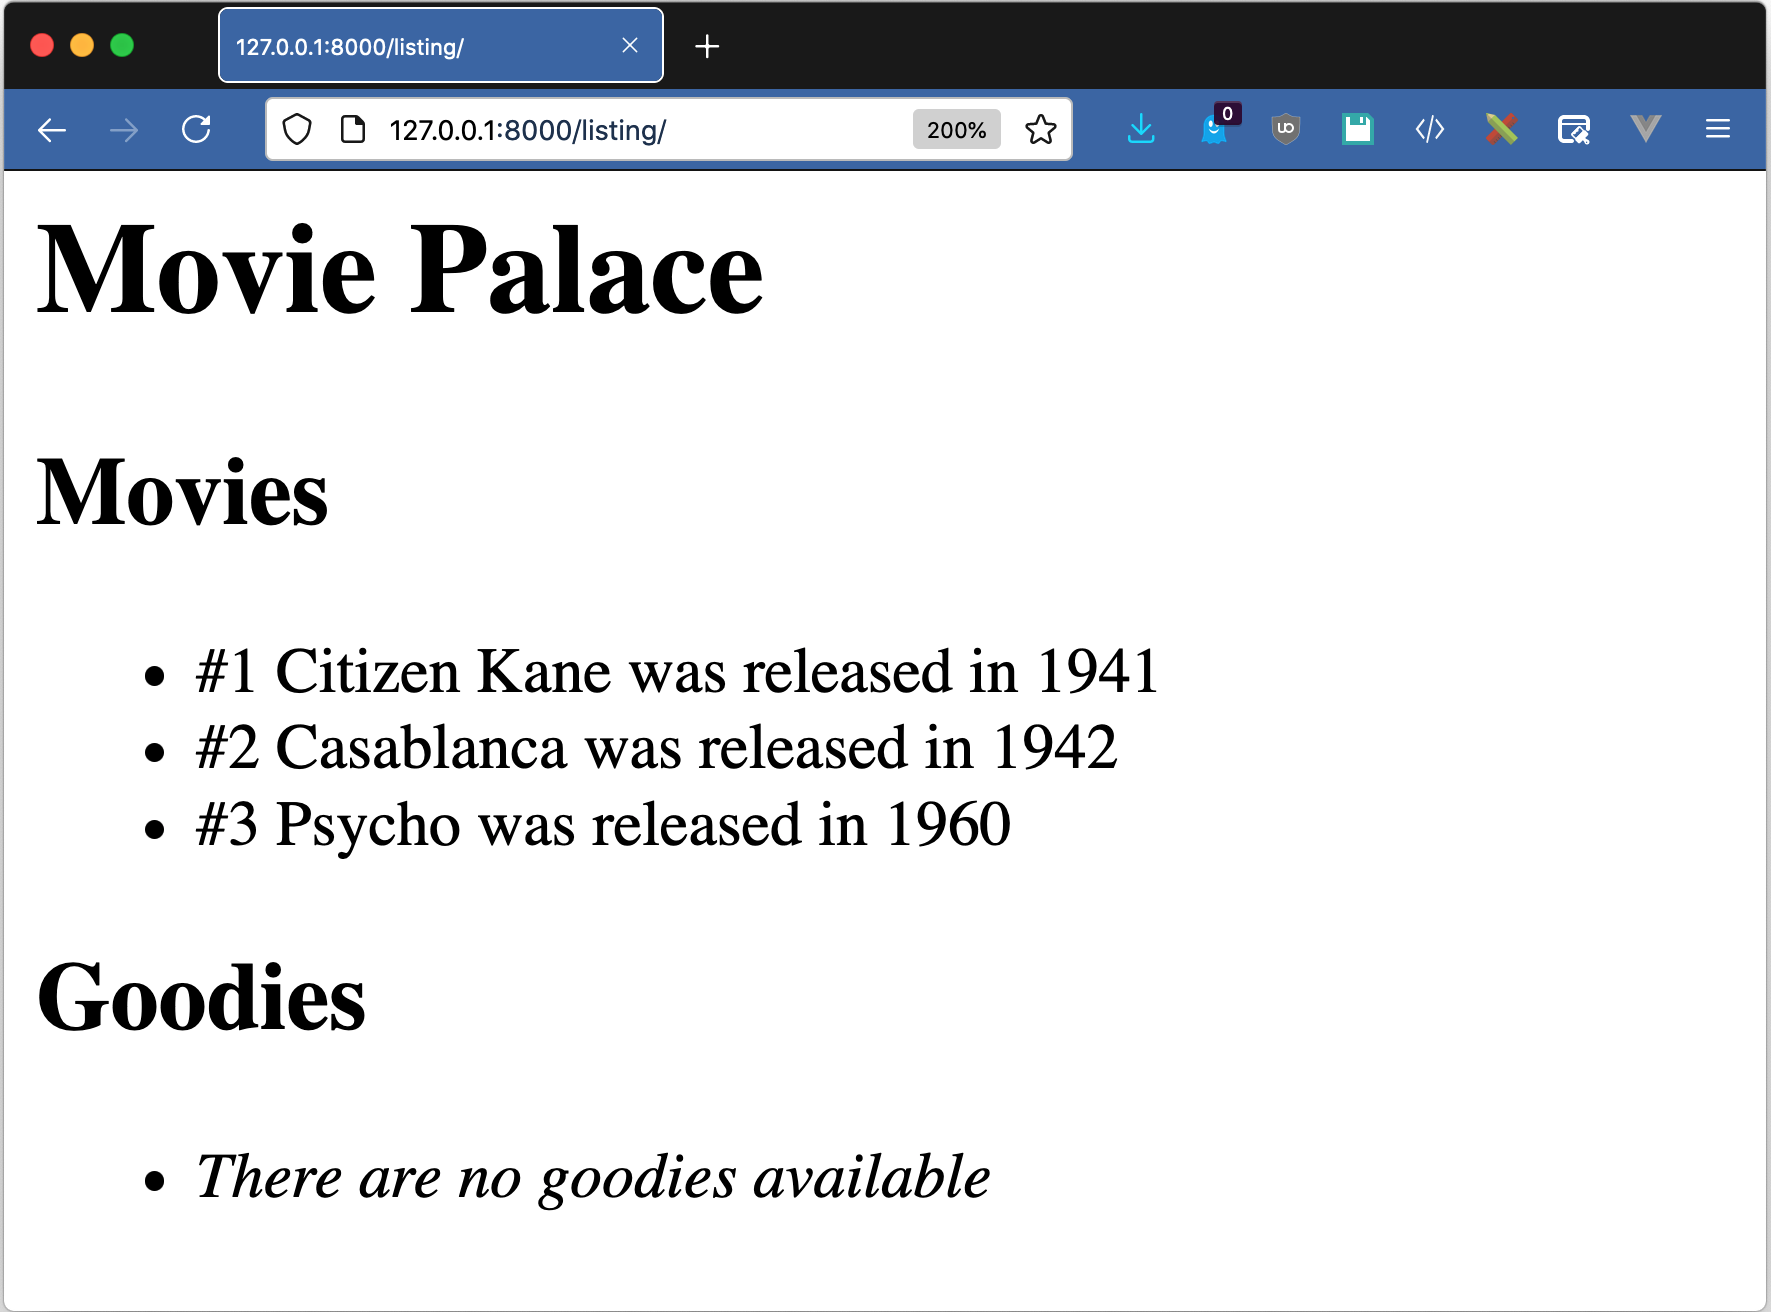
Lines 7 to 11 contain a {% for %} block, which is similar to the for keyword in Python. The block iterates over movies and assigns a local variable named movie during each loop. Inside of the block, you write HTML that takes advantage of double-brace pairs to display the content inside of <li> tags.
Lines 8 to 10 are repeated once for each iteration. The loop is using a special object called forloop. This is a local variable inserted in the template context by Django. The object has several members, each of which contains information about the current iteration of the loop:
| Variable | Description |
|---|---|
forloop.counter |
1-based index number of the iteration |
forloop.counter0 |
0-based index number of the iteration |
forloop.revcounter |
Number of iterations left in the loop (1-indexed) |
forloop.revcounter0 |
Number of iterations left in the loop (0-indexed) |
forloop.first |
True if this is the first iteration |
forloop.last |
True if this is the last iteration |
forloop.parentloop |
Contains the context of the parent loop inside nested loops |
Let’s examine the line inside of the loop block some more:
 7<!-- From inside of templates/listing.html -->
 8<li>
 9  #{{forloop.counter}} {{movie.0}} was released in {{movie.1}}
10</li>
The content of movies is a list of tuples. Each tuple contains the name and year of a movie. Django template tags don’t allow the use of subscripts. Instead of using square brackets to access a value in a tuple or list as you do in Python, you use a number as a property of the object. The values of {{movie.0}} and {{movie.1}} are the first and second values of the movie tuple.
The Django loop also supports a special tag called {% empty %}. Open up listing.html again for an example of this tag:
13<!-- From inside of templates/listing.html -->
14{% for goodie in confectionaries %}
15 <li> {{goodie.0}} — ${{goodie.1}}</li>
16{% empty %}
17 <li> <i>There are no goodies available</i> </li>
18{% endfor %}
This tag is like an else clause. If there’s nothing to iterate over in the {% for %} tag, Django runs the {% empty %} block instead.
The {% empty %} tag is more convenient than wrapping the {% for %} block in an {% if %} block to achieve the same result. In this case, there’s no confectionaries defined in the context. The Django template language treats missing values as empty, so it renders the {% empty %} portion of the block.
Add a route in moviepalace/urls.py, fire up your Django development server, and visit http://127.0.0.1:8000/listing/ to see the result:
There’s one more loop-like tag supported: {% cycle %}. This tag takes a series of arguments and returns each in turn every time it’s called:
{% for movie in movies %}
    <tr class="{% cycle 'row1' 'row2' %}">
    ...
    </tr>
{% endfor %}
When {% cycle %} runs out of arguments, it cycles back to the beginning. The most common use of this is adding stripes to tables, alternating the style value of each row:
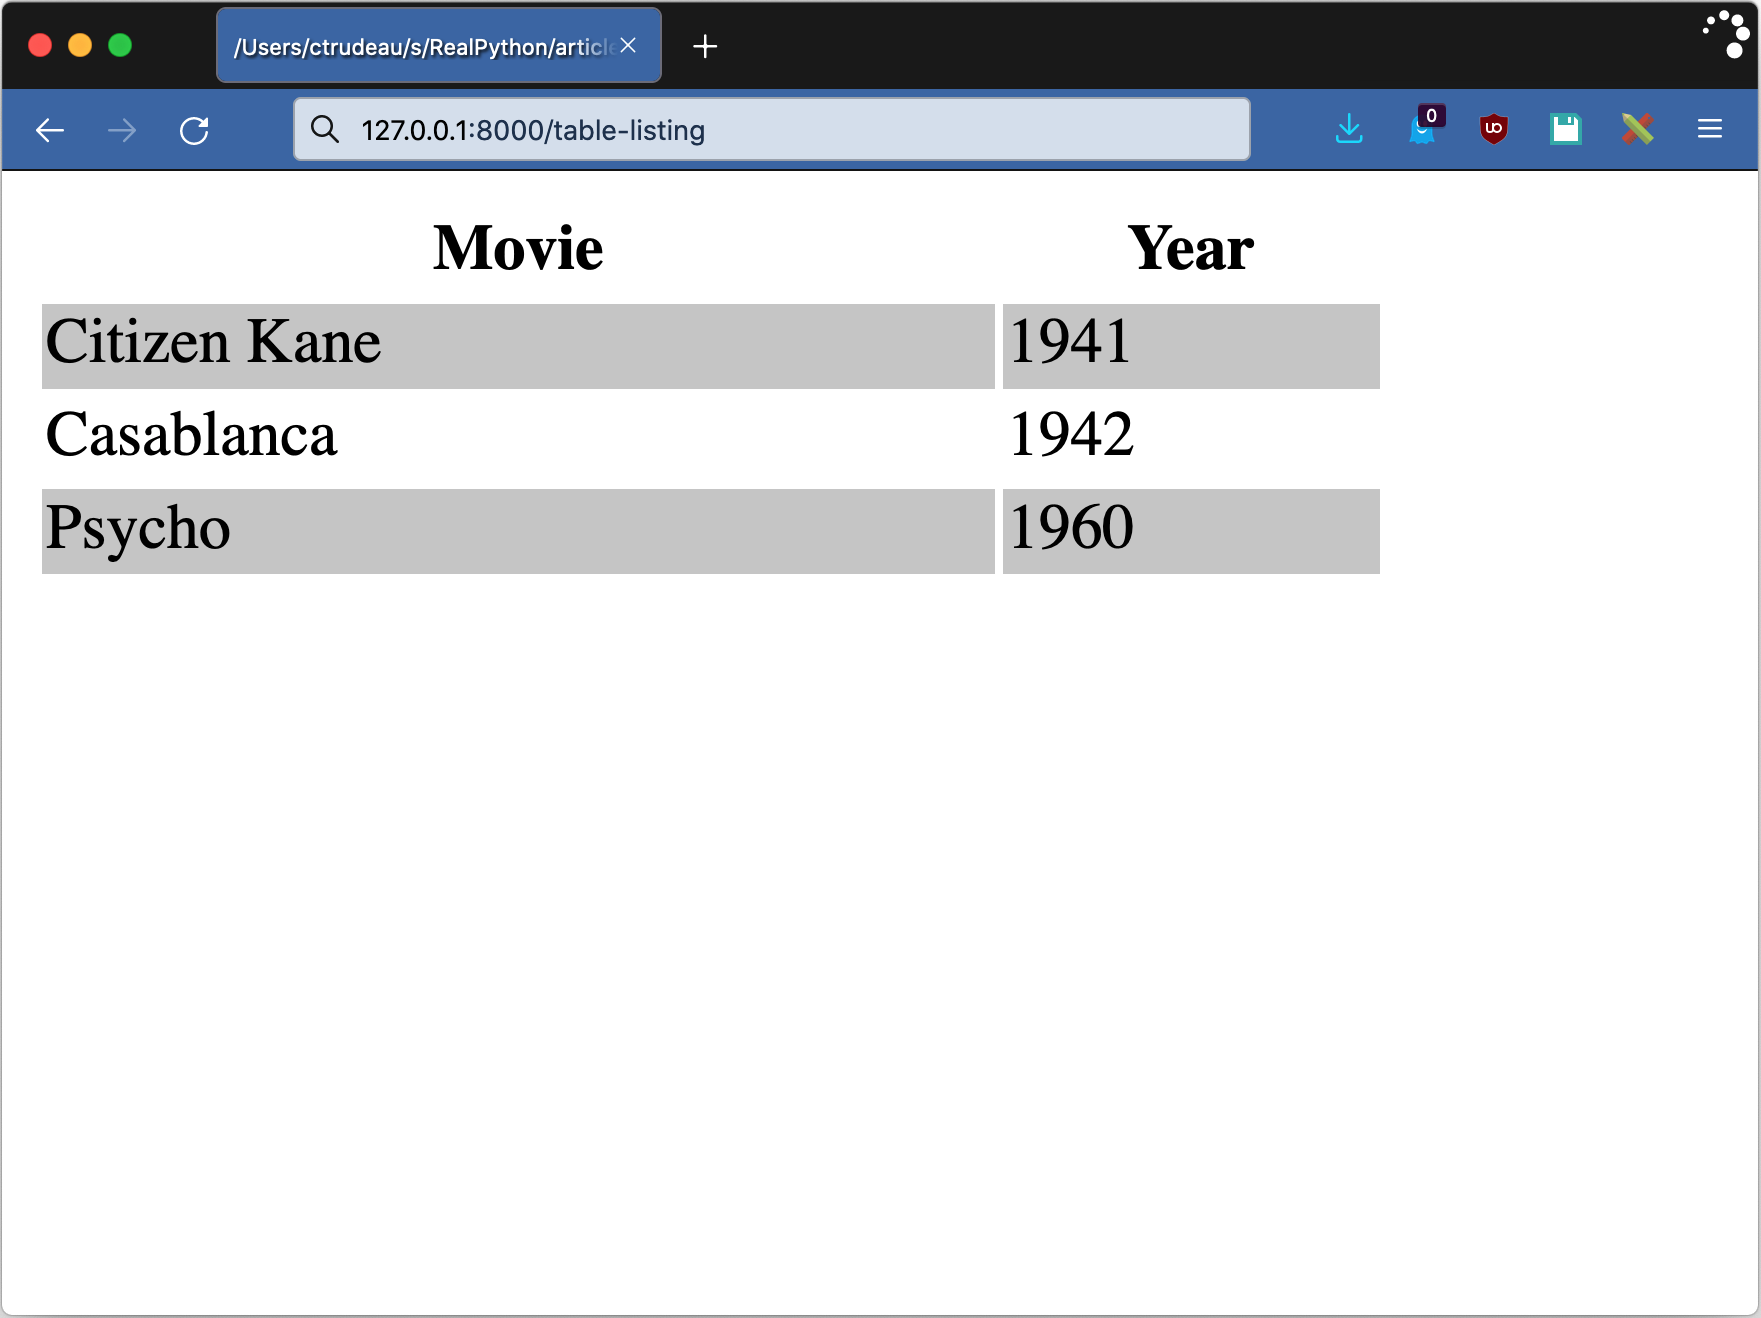
You could achieve the same result with a {% for %} tag, but that approach would require more code.
Comments
Although you can write comments in HTML using <!-- -->, the response downloaded to the user’s browser includes those comments. Django includes a {% comment %} tag, whose contents are stripped out entirely:
{% comment %}
    Nothing to see here!
{% endcomment %}
You can also include a string parameter to the {% comment %} tag that acts as a note. It might seem a little strange, but it’s useful if you’re commenting out code. You use the block to comment out the code, and then the note to remind yourself why you commented the code out.
Special Characters
By default, the Django template renderer automatically escapes any variables that it renders. This tries to prevent your HTML from being corrupted if a string contains a character special to HTML, like the angled brackets (<, >) used in HTML tags. The {% autoescape %} tag allows you to control this behavior:
{% autoescape off %}
    {{ content }}
{% endautoescape %}
The {% autoescape %} tag takes a single parameter of on or off, turning the escape mechanism on or off, respectively. Consider the following template:
<pre>
{% autoescape on %}
    Escaped: {{ my_text }}
{% endautoescape %}
{% autoescape off %}
    Not Escaped: {{ my_text }}
{% endautoescape %}
</pre>
If my_text contained "Hello <b>world</b>", the rendered content would have two versions of the string:
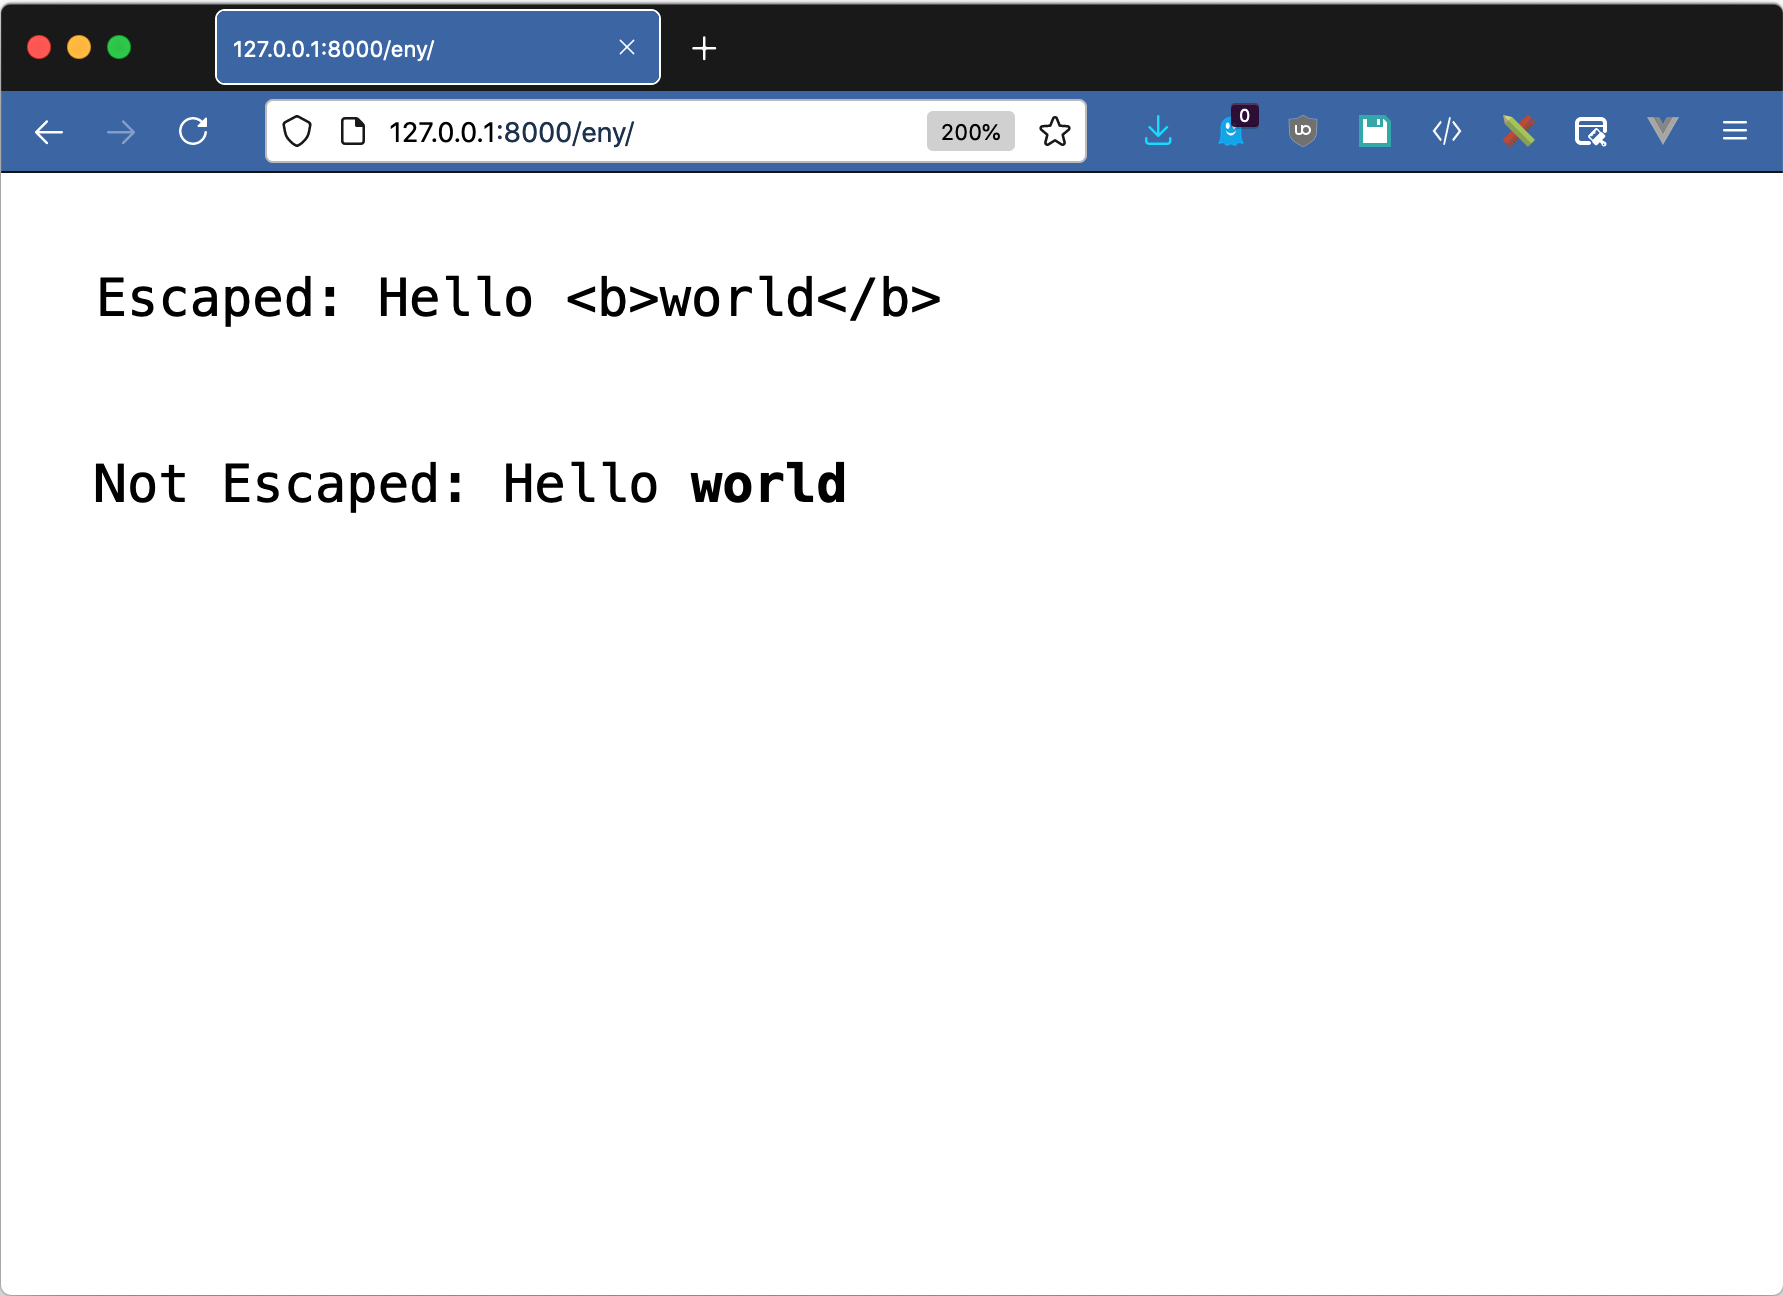
autoescape on changes the HTML special characters so that they render as they are in the string. By contrast, with autoescape off, the bold tag is passed through to the browser.
All languages that use special characters need a way of using those same special characters directly. If you want to use the characters that indicate a tag, you can wrap them in the {% verbatim %} tag:
{% verbatim %}
    Django uses mustaches braces to render variables: {{ is_scary }}.
{% endverbatim %}
Many JavaScript frameworks have their own templating languages. The double-brace format for variables or tags is quite common. If you need to include JavaScript templates inside of your Django template, wrapping them in the {% verbatim %} tag will cause Django’s template renderer to ignore them, leaving them in place for JavaScript.
Dates and Times
You often need to show date and time information on a website. The {% now %} tag in the Django template language gives you the current date and time. It takes a string parameter specifying the format of the datetime to display. For historical reasons, the format string is based on the PHP date() function rather than Python’s strftime. A listing of the possible format characters is available in the documentation.
A common use of the {% now %} tag is displaying the current year as part of a copyright statement:
<p>Copyright 2012-{% now "Y" %}</p>
The example above will render a copyright notice with years ranging from 2012 to the current one.
URLs
Django’s view and routing mechanism has a built-in way of naming your URLs. Hard-coding URLs is bad practice. If something changes, then you have to hunt down all of the times you used it in your code. Instead of resolving a URL in a view and passing it in as context, you can use the {% url %} tag:
<a href="{% url 'home_page' filter %}">Home</a>
The argument to {% url %} is any URL pattern name, the same way that Django’s reverse() works. It optionally takes positional or named arguments to the underlying view being referenced.
Exploring Key Template Filters
Like you learned earlier, Django template tags are the keywords and functions of the template language. Filters are like small functions that modify data in place before Django renders it.
You can put filters inside of double braces by adding a pipe (|) and the filter name after the variable. This is inspired by how you can pipe commands to each other in Unix shells.
Now you’ll look at some common filters used with strings, lists, and dates and times, along with examples that show how to use them.
String Filters
Filters can operate on all kinds of data. Many of them directly correspond to Python functions with the same purpose. The upper filter is the same as the str.upper() method in Python. Using it changes the contents of a variable to uppercase. Try it out by modifying templates/listing.html, adding the upper filter to the movie.0 variable:
<!-- templates/listing.html -->
{% extends "base.html" %}

{% block content %}
  <h2> Movies</h2>
  <ul>
    <li>
       #{{forloop.counter}} {{movie.0|upper}} was released in {{movie.1}}
    </li>
⋮
With the change above, each of the movie titles in the listing will be in shout-case. Not surprisingly, there’s also a corresponding lower filter.
The center filter adds padding to both sides of a string. The padding is a space character, so depending on your font and what tag wraps it, this filter may have limited effect:
<pre>{{value}} becomes *{{ value|center:"16" }}*</pre>
If value contains "Elephant", this example results in four spaces on each side:
<pre>Elephant becomes * Elephant *</pre>
If you need to remove characters from a string, you can use the cut filter. The argument to cut is the substring to remove:
<pre>*{{value}}* becomes *{{ value|cut:" " }}*</pre>
Take a look at what happens when you use the cut filter with a value of "Bates Motel":
<pre>*Bates Motel* becomes *BatesMotel*</pre>
Note that the argument to cut is not a list of characters you want to cut but the sequence you want to cut. If you tried to cut this value with "ae" instead, nothing would happen. There’s no "ae" substring in "Bates Motel".
List Filters
Filters can operate on list-like values. The first and last filters return the first and last items in an iterable, respectively:
{{ goodies|first }}
If goodies contains ["popcorn", "peanuts", "cola"], then this example results in "popcorn". Using the last filter would result in "cola".
In addition to using filters to access parts of a list, you can use them to get data from a list. The join filter is similar to the Python str.join() method. It returns a string composed from the parts of the list:
{{ goodies|join:", " }}
You use a colon (:) to pass parameters to a filter. Joining the goodies list with a comma as a parameter returns a single string containing a comma-separated list: "popcorn, peanuts, cola".
To find the length of a list, you use the length filter. This can be particularly useful when combined with other filters. The pluralize filter adds an "s" to the end of a word when dealing with multiple items. Try adding the following line to templates/listing.html just below the <h2>Movies</h2> heading:
<!-- templates/listing.html -->
{% extends "base.html" %}

{% block content %}
  <h2> Movies</h2>
  <p>{{movies|length}} movie{{movies|length|pluralize}} found.</p>
  ⋮
Django replaces the first set of double braces with the length of the movies list. The second set is doing something clever: chaining filters. The pluralize filter takes a number. If the number is 2 or larger, it returns an "s". By using length and then pluralize, you are passing the length of movies to pluralize.
What do you do if adding an "s" isn’t how you pluralize the word? The filter supports an argument that specifies the ending suffix:
You have {{num_boxes}} box{{num_boxes|pluralize:"es"}}.
In this example, instead of appending "s", pluralize appends "es", returning "boxes". For words that have different endings, you can specify both the single and plural endings:
You have {{num_cherries}} cherr{{num_cherries|pluralize:"y,ies"}}.
In the above example, pluralize adds the string specified before the comma if the result is singular and adds the string specified after the comma if the result is plural. This way, you correctly get "cherry" or "cherries".
Date and Time Filters
The presentation of a date or time should be specific to the locale of the user. Within your code, it’s recommended that you use only a Python datetime object. You should leave the formatting of this object to rendering time. There are filters to help you with this.
The date filter takes a parameter similar to the {% now %} tag that you saw earlier in the tutorial. Like that tag, the parameters for the date filter specify the presentation format of the date:
<p> {{release_date|date:"Y-m-d"}}</p>
This example would present the contents of release_date in a year-month-day ISO 8601 format. For Citizen Kane, that would be 1941-09-05 (September 5th, 1941) for its wide release. Although it’s called the date filter, it also supports times, assuming it’s working with a datetime object rather than just a date object.
If you’re only interested in the time, there’s a filter for that as well. The time filter uses a subset of the configuration parameters for date, just those having to do with time. The usage is similar:
<p> {{showing_at|time:"H:i"}}</p>
This example displays the showing time in 24-hour clock format. For a 9:30 p.m. movie, Django renders this as "21:30".
A popular format that makes time more readable is displaying the time that’s passed since an event. You see this in many webmail clients that show information like You received an email “3 days ago”. The Django timesince filter gives you this power:
<p> {{release_date|timesince}}</p>
This example shows the amount of time that’s passed since the release date of a movie. By default, this filter calculates the time that’s passed since now. Alternatively, you can add a parameter to timesince that specifies the comparison date.
There’s a companion filter to timesince called timeuntil. Instead of looking backward to a date, it looks forward. You can use this to display the countdown to a conference or a similar event.
Both timesince and timeuntil calculate the difference in time according to the server when Django renders the template. The calculation is done using the timezone information in settings.py. This can create strange results if your server is not in UTC and your Django config is using the UTC default. Make sure these two configurations match, or your time difference calculation will be incorrect.
Third-Party Tag and Filter Libraries
In addition to the built-in Django template tags and filters, you can also write your own. You can find helpful third-party libraries that include custom tags and filters. One such library is django-simple-tags. Don’t confuse this with the similarly named function simple_tag() in Django.
To use a third-party library in your templates, you need to follow three steps:
- Install the app library
- Register the app with
INSTALLED_APPSinsettings.py - Load the tags in your template
Installing a Django app library is no different than any other package. You can install it using pip:
$ python -m pip install django-simple-tags
With the package installed, update the INSTALLED_APPS portion of your settings.py file to make Django aware of the app:
33INSTALLED_APPS = [
34    "django.contrib.admin",
35    "django.contrib.auth",
36    "django.contrib.contenttypes",
37    "django.contrib.sessions",
38    "django.contrib.messages",
39    "django.contrib.staticfiles",
40    "moviefacts",
41    "django_simple_tags",
42]
Now Django is aware of the app, but you can’t yet use the tags. Before you can use them, you first need to load them inside of the template. You do this with the {% load %} tag:
 1{% load django_simple_tags %}
 2
 3Current value of DEBUG is {% get_setting "DEBUG" %}
On line 1, the {% load %} tag adds all of the tags from django-simple-tags into your template context. Note that there are no quotes around django_simple_tags. This is to be consistent with import statements. The django-simple-tags library has over twenty tags and filters. This example shows {% get_setting %} returning the value of DEBUG from Django settings.
There are many third-party libraries out there and plenty of tags that can simplify your HTML. Using them is just a pip install and a {% load %} tag away.
Conclusion
Django template tags and filters give you a powerful way to build HTML output in a reusable fashion. Templates are defined in their own language in order to separate the business logic from the display logic. Tags are like the keywords and functions of the language, while filters allow you to modify existing data before displaying it.
In this tutorial, you learned how to:
- Use the Django
TemplateandContextobjects to compile a template - Load templates from files and return them using the
render()shortcut - Write templates with conditional blocks and looping blocks
- Use
extendsandincludeto write reusable template components - Modify data using template filters
- Load and use custom template tags and filters from third-party libraries
You can find more general information on Django in the excellent documentation. In the same documentation, you can also find more specific information on template tags and filters.
If you want to follow along with some Django tutorials on Real Python, you can check out Get Started With Django Part 1: Build a Portfolio App, the Django for Web Development Learning Path, and the list of available Django tutorials.
And the final appropriate word from the moviepalace tutorial would have to be: Rosebud.