Django Development with Docker Compose and Machine

Django Development with Docker Compose and Machine

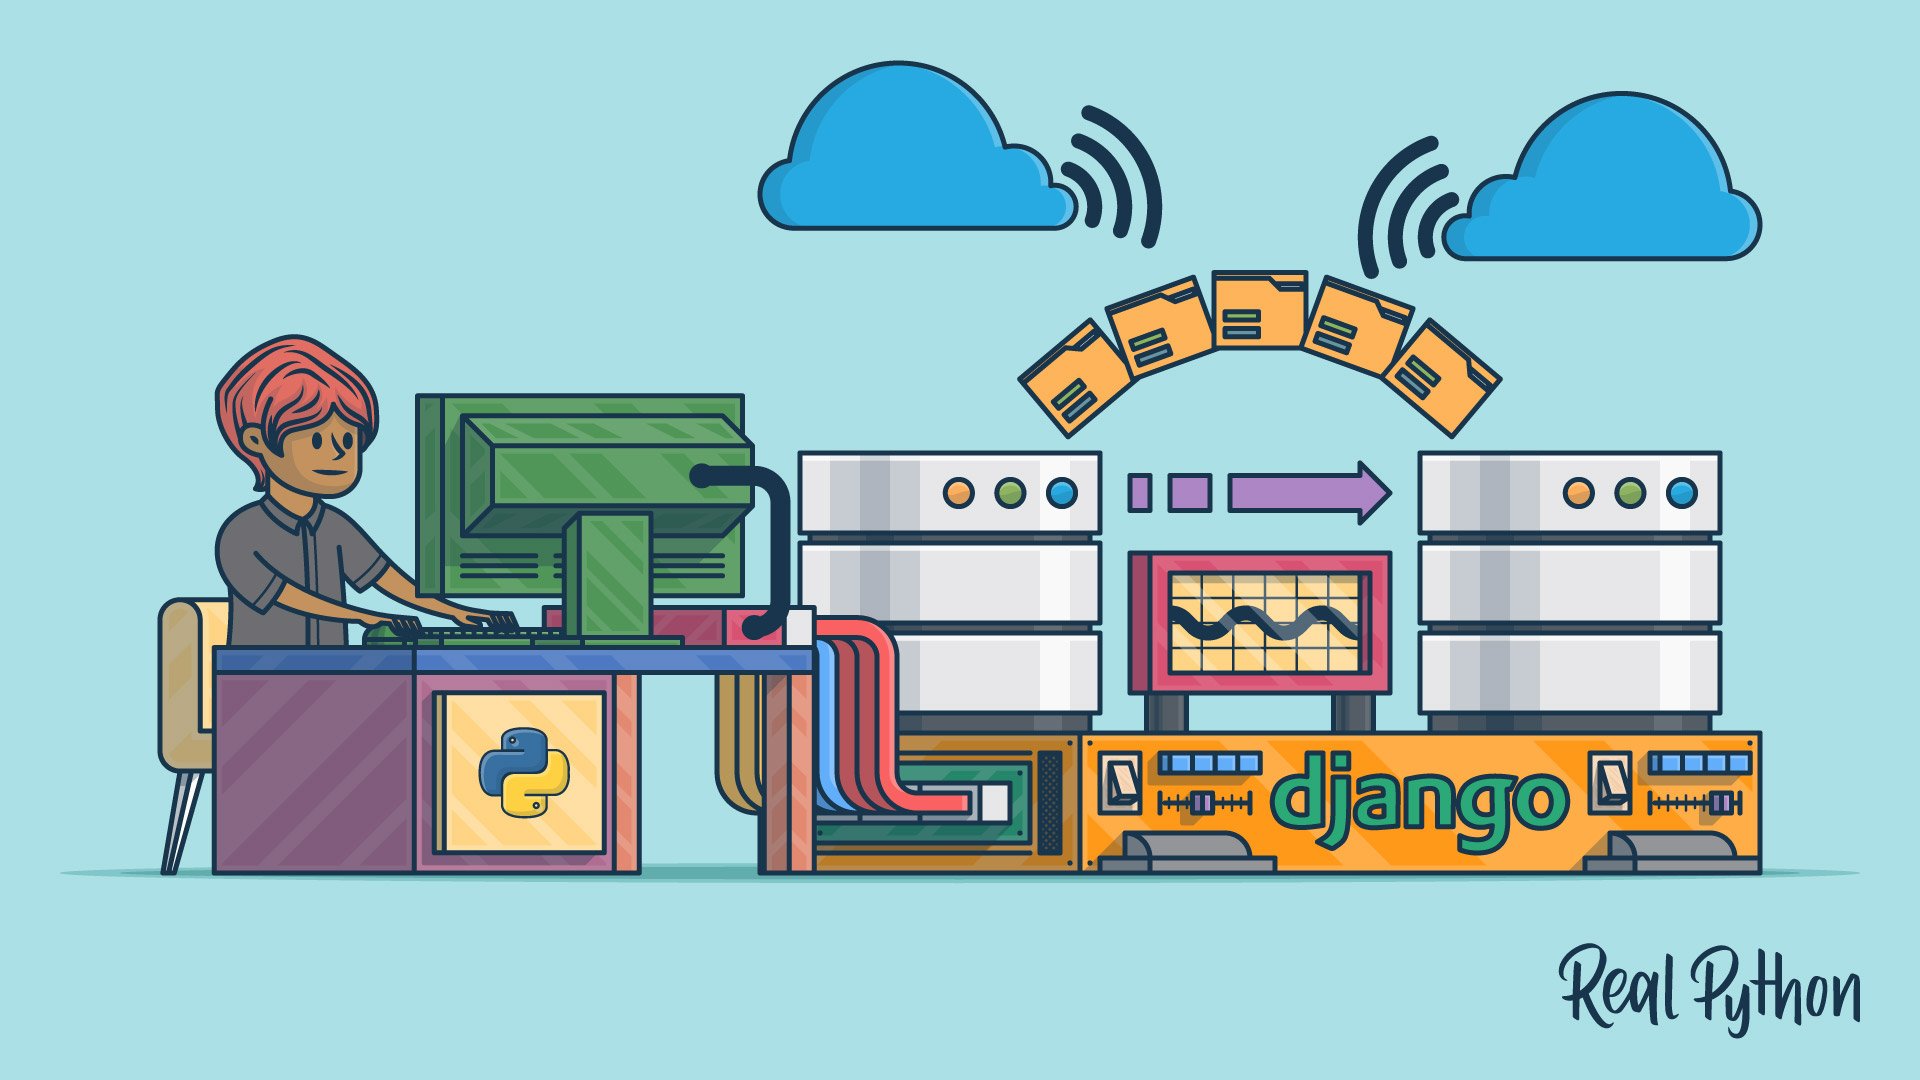
Docker is a containerization tool used for spinning up isolated, reproducible application environments. This piece details how to containerize a Django Project, Postgres, and Redis for local development along with delivering the stack to the cloud via Docker Compose and Docker Machine.

In the end, the stack will include a separate container for each service:

  • 1 web/Django container
  • 1 nginx container
  • 1 Postgres container
  • 1 Redis container
  • 1 data container
Container-stack

Updates:

  • 04/01/2019: Updated to the latest versions of Docker - Docker client (v18.09.2), Docker compose (v1.23.2), and Docker Machine (v0.16.1) - and Python (v3.7.3). Thanks Florian Dahlitz!
  • 04/18/2016: Added named data volumes to the Postgres and Redis containers.
  • 04/13/2016: Added Docker Toolbox, and also updated to the latest versions of Docker - Docker client (v1.10.3), Docker compose (v1.6.2), and Docker Machine (v0.6.0)
  • 12/27/2015: Updated to the latest versions of Docker - Docker client (v1.9.1), Docker compose (v1.5.2), and Docker Machine (v0.5.4) - and Python (v3.5)

Interested in creating a similar environment for Flask? Check out this blog post.

Local Setup

Along with Docker (v18.09.2) we will be using -

  • Docker Compose (v1.23.2) for orchestrating a multi-container application into a single app, and
  • Docker Machine (v0.16.1) for creating Docker hosts both locally and in the cloud.

If you’re running either an older Mac OS X or Windows version, then download and install the Docker Toolbox to get all the necessary tools. Otherwise follow the directions here and here to install Docker Compose and Machine, respectively.

Once done, test out the installs:

Shell
$ docker-machine version
docker-machine version 0.16.1, build cce350d7
$ docker-compose version
docker-compose version 1.23.2, build 1110ad01
CPython version: 3.7.3

Next clone the project from the repository or create your own project based on the project structure found on the repo:

├── docker-compose.yml
├── nginx
│   ├── Dockerfile
│   └── sites-enabled
│       └── django_project
├── production.yml
└── web
    ├── Dockerfile
    ├── docker_django
    │   ├── __init__.py
    │   ├── apps
    │   │   ├── __init__.py
    │   │   └── todo
    │   │       ├── __init__.py
    │   │       ├── admin.py
    │   │       ├── models.py
    │   │       ├── templates
    │   │       │   ├── _base.html
    │   │       │   └── home.html
    │   │       ├── tests.py
    │   │       ├── urls.py
    │   │       └── views.py
    │   ├── settings.py
    │   ├── urls.py
    │   └── wsgi.py
    ├── manage.py
    ├── requirements.txt
    └── static
        └── main.css

We’re now ready to get the containers up and running…

Docker Machine

To start Docker Machine, simply navigate to the project root and then run:

Shell
$ docker-machine create -d virtualbox dev;
Running pre-create checks...
Creating machine...
(dev) Creating VirtualBox VM...
(dev) Creating SSH key...
(dev) Starting the VM...
(dev) Check network to re-create if needed...
(dev) Waiting for an IP...
Waiting for machine to be running, this may take a few minutes...
Detecting operating system of created instance...
Waiting for SSH to be available...
Detecting the provisioner...
Provisioning with boot2docker...
Copying certs to the local machine directory...
Copying certs to the remote machine...
Setting Docker configuration on the remote daemon...
Checking connection to Docker...
Docker is up and running!
To see how to connect your Docker Client to the Docker Engine
running on this virtual machine, run: docker-machine env dev

The create command set up a new “Machine” (called dev) for Docker development. In essence, it started a VM with the Docker client running. Now just point Docker at the dev machine:

Shell
$ eval $(docker-machine env dev)

Run the following command to view the currently running Machines:

Shell
$ docker-machine ls
NAME   ACTIVE   DRIVER       STATE     URL                         SWARM   DOCKER     ERRORS
dev    -        virtualbox   Running   tcp://192.168.99.100:2376           v18.09.3

Next, let’s fire up the containers with Docker Compose and get Django, Postgres, and Redis up and running.

Docker Compose

Let’s take a look at the docker-compose.yml file:

YAML
version: '3'

services:
  web:
    restart: always
    build: ./web
    expose:
      - "8000"
    links:
      - postgres:postgres
      - redis:redis
    volumes:
      - web-django:/usr/src/app
      - web-static:/usr/src/app/static
    env_file: .env
    environment:
      DEBUG: 'true'
    command: /usr/local/bin/gunicorn docker_django.wsgi:application -w 2 -b :8000

  nginx:
    restart: always
    build: ./nginx/
    ports:
      - "80:80"
    volumes:
      - web-static:/www/static
    links:
      - web:web

  postgres:
    restart: always
    image: postgres:latest
    ports:
      - "5432:5432"
    volumes:
      - pgdata:/var/lib/postgresql/data/

  redis:
    restart: always
    image: redis:latest
    ports:
      - "6379:6379"
    volumes:
      - redisdata:/data

volumes:
  web-django:
  web-static:
  pgdata:
  redisdata:

Here, we’re defining four services - web, nginx, postgres, and redis.

  1. First, the web service is built via the instructions in the Dockerfile within the “web” directory - where the Python environment is setup, requirements are installed, and the Django application is fired up on port 8000. That port is then forwarded to port 80 on the host environment - e.g., the Docker Machine. This service also adds environment variables to the container that are defined in the .env file.
  2. The nginx service is used for reverse proxy to forward requests either to Django or the static file directory.
  3. Next, the postgres service is built from the the official PostgreSQL image from Docker Hub, which installs Postgres and runs the server on the default port 5432. Did you notice the data volume? This helps ensure that the data persists even if the Postgres container is deleted.
  4. Likewise, the redis service uses the official Redis image to install, well, Redis and then the service is ran on port 6379.

Now, to get the containers running, build the images and then start the services:

Shell
$ docker-compose build
$ docker-compose up -d

Tip: You can even run the above commands combined in a single one:

Shell
$ docker-compose up --build -d

Grab a cup of coffee. Or go for a long walk. This will take a while the first time you run it. Subsequent builds run much quicker since Docker caches the results from the first build.

Once the services are running, we need to create the database migrations:

Shell
$ docker-compose run web /usr/local/bin/python manage.py migrate

Grab the IP associated with Docker Machine - docker-machine ip dev - and then navigate to that IP in your browser:

Django on docker

Nice!

Try refreshing. You should see the counter update. Essentially, we’re using the Redis INCR to increment after each handled request. Check out the code in web/docker_django/apps/todo/views.py for more info.

Again, this created four services, all running in different containers:

Shell
$ docker-compose ps
            Name                           Command               State           Ports         
-----------------------------------------------------------------------------------------------
dockerizing-django_nginx_1      /usr/sbin/nginx                  Up      0.0.0.0:80->80/tcp    
dockerizing-django_postgres_1   docker-entrypoint.sh postgres    Up      0.0.0.0:5432->5432/tcp
dockerizing-django_redis_1      docker-entrypoint.sh redis ...   Up      0.0.0.0:6379->6379/tcp
dockerizing-django_web_1        /usr/local/bin/gunicorn do ...   Up      8000/tcp

To see which environment variables are available to the web service, run:

Shell
$ docker-compose run web env

To view the logs:

Shell
$ docker-compose logs

You can also enter the Postgres Shell - since we forwarded the port to the host environment in the docker-compose.yml file - to add users/roles as well as databases via:

Shell
$ docker-compose run postgres psql -h 192.168.99.100 -p 5432 -U postgres --password

Ready to deploy? Stop the processes via docker-compose down and let’s get the app up in the cloud!

Deployment

So, with our app running locally, we can now push this exact same environment to a cloud hosting provider with Docker Machine. Let’s deploy to a Digital Ocean box.

After you sign up for Digital Ocean, generate a Personal Access Token, and then run the following command:

Shell
$ docker-machine create \
-d digitalocean \
--digitalocean-access-token ADD_YOUR_TOKEN_HERE \
production

This will take a few minutes to provision the droplet and setup a new Docker Machine called production:

Shell
Running pre-create checks...
Creating machine...
(production) Creating SSH key...
(production) Creating Digital Ocean droplet...
(production) Waiting for IP address to be assigned to the Droplet...
Waiting for machine to be running, this may take a few minutes...
Machine is running, waiting for SSH to be available...
Detecting operating system of created instance...
Detecting the provisioner...
Provisioning with ubuntu(systemd)...
Installing Docker...
Copying certs to the local machine directory...
Copying certs to the remote machine...
Setting Docker configuration on the remote daemon...
Checking connection to Docker...
Docker is up and running!
To see how to connect Docker to this machine, run: docker-machine env production

Now we have two Machines running, one locally and one on Digital Ocean:

Shell
$ docker-machine ls
NAME         ACTIVE   DRIVER         STATE     URL                         SWARM   DOCKER    ERRORS
dev          -        virtualbox     Running   tcp://192.168.99.100:2376           v18.09.3
production   -        digitalocean   Running   tcp://45.55.35.188:2376             v18.09.3

Set production as the active machine and load the Docker environment into the shell:

Shell
$ eval "$(docker-machine env production)"

Finally, let’s build the Django app again in the cloud. This time we need to use a slightly different Docker Compose file that does not mount a volume in the container. Why? Well, the volume is perfect for local development since we can update our local code in the “web” directory and the changes will immediately take affect in the container. In production, there’s no need for this, obviously.

Shell
$ docker-compose build
$ docker-compose -f production.yml up -d
$ docker-compose run web /usr/local/bin/python manage.py migrate

Did you notice how we specified a different config file for production? What if you wanted to also run collectstatic? See this issue.

Grab the IP address associated with that Digital Ocean account and view it in the browser. If all went well, you should see your app running, as it should.

Conclusion

  • Grab the code from the repo (star it too… my self-esteem depends on it!).
  • Comment below with questions.
  • Need a challenge? Try using extends to clean up the repetitive code in the two Docker Compose configuration files. Keep it DRY!
  • Have a great day!

🐍 Python Tricks 💌

Get a short & sweet Python Trick delivered to your inbox every couple of days. No spam ever. Unsubscribe any time. Curated by the Real Python team.

Python Tricks Dictionary Merge

About The Team

Each tutorial at Real Python is created by a team of developers so that it meets our high quality standards. The team members who worked on this tutorial are:

Master Real-World Python Skills With Unlimited Access to Real Python

Locked learning resources

Join us and get access to thousands of tutorials, hands-on video courses, and a community of expert Pythonistas:

Level Up Your Python Skills »

Master Real-World Python Skills
With Unlimited Access to Real Python

Locked learning resources

Join us and get access to thousands of tutorials, hands-on video courses, and a community of expert Pythonistas:

Level Up Your Python Skills »

What Do You Think?

Rate this article:

What’s your #1 takeaway or favorite thing you learned? How are you going to put your newfound skills to use? Leave a comment below and let us know.

Commenting Tips: The most useful comments are those written with the goal of learning from or helping out other students. Get tips for asking good questions and get answers to common questions in our support portal.


Looking for a real-time conversation? Visit the Real Python Community Chat or join the next “Office Hours” Live Q&A Session. Happy Pythoning!

Keep Learning

Related Tutorial Categories: advanced devops django docker web-dev