If you chose to use PyCharm, here’s more information. But you don’t need to read this text in full now. Indeed, you shouldn’t read this now, but you can return to it as a reference as and when you need it.
This text is part of a Real Python tutorial by Jahongir Rahmonov.
As a programmer, you should be focused on the business logic and creating useful applications for your users. In doing that, PyCharm by JetBrains saves you a lot of time by taking care of the routine and by making a number of other tasks such as debugging and visualization easy.
In this lesson, you’ll learn about:
- Installing PyCharm
- Writing code in PyCharm
- Running your code in PyCharm
- Debugging and testing your code in PyCharm
- Editing an existing project in PyCharm
- Searching and navigating in PyCharm
- Using Version Control in PyCharm
- Using Plugins and External Tools in PyCharm
- Using PyCharm Professional features, such as Django support and Scientific mode
This article assumes that you’re familiar with Python development and already have some form of Python installed on your system. Screenshots and demos provided are for macOS. Because PyCharm runs on all major platforms, you may see slightly different UI elements and may need to modify certain commands.
Note:
PyCharm comes in three editions:
- PyCharm Edu is free and for educational purposes.
- PyCharm Community is free as well and intended for pure Python development.
- PyCharm Professional is paid, has everything the Community edition has and also is very well suited for Web and Scientific development with support for such frameworks as Django and Flask, Database and SQL, and scientific tools such as Jupyter.
For more details on their differences, check out the PyCharm Editions Comparison Matrix by JetBrains. The company also has special offers for students, teachers, open source projects, and other cases.
Download Sample Project: Click here to download the sample project you’ll use to explore the project-focused features of PyCharm in this tutorial.
Installing PyCharm
This article will use PyCharm Community Edition 2019.1 as it’s free and available on every major platform. Only the section about the professional features will use PyCharm Professional Edition 2019.1.
The recommended way of installing PyCharm is with the JetBrains Toolbox App. With its help, you’ll be able to install different JetBrains products or several versions of the same product, update, rollback, and easily remove any tool when necessary. You’ll also be able to quickly open any project in the right IDE and version.
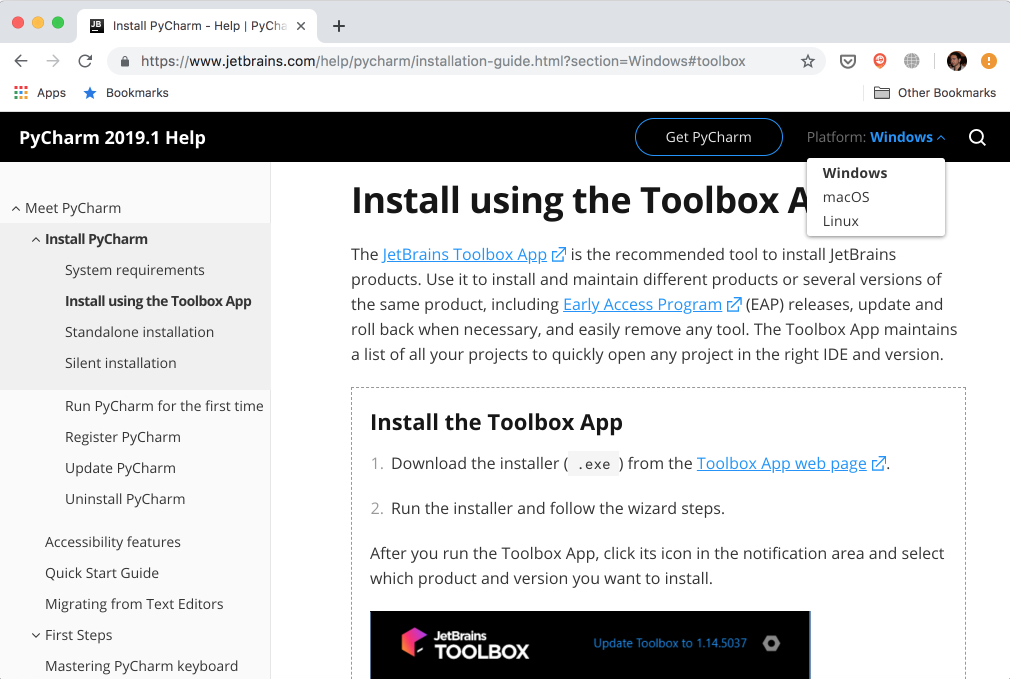
To install the Toolbox App, refer to the documentation by JetBrains. It will automatically give you the right instructions depending on your OS. In case it didn’t recognize your OS correctly, you can always find it from the drop down list on the top right section:
After installing, launch the app and accept the user agreement. Under the Tools tab, you’ll see a list of available products. Find PyCharm Community there and click Install:
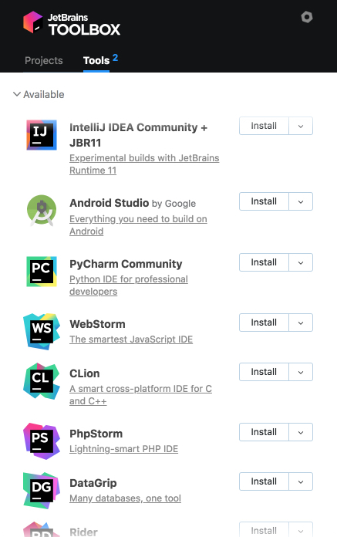
Voilà! You have PyCharm available on your machine. If you don’t want to use the Toolbox app, then you can also do a stand-alone installation of PyCharm.
Launch PyCharm, and you’ll see the import settings popup:
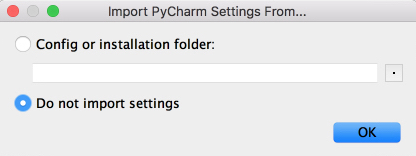
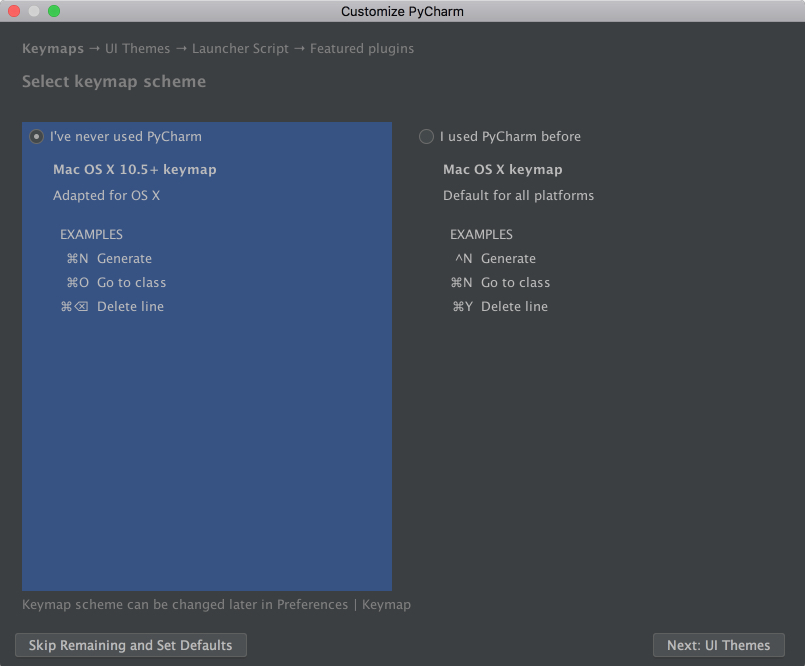
PyCharm will automatically detect that this is a fresh install and choose Do not import settings for you. Click OK, and PyCharm will ask you to select a keymap scheme. Leave the default and click Next: UI Themes on the bottom right:
PyCharm will then ask you to choose a dark theme called Darcula or a light theme. Choose whichever you prefer and click Next: Launcher Script:
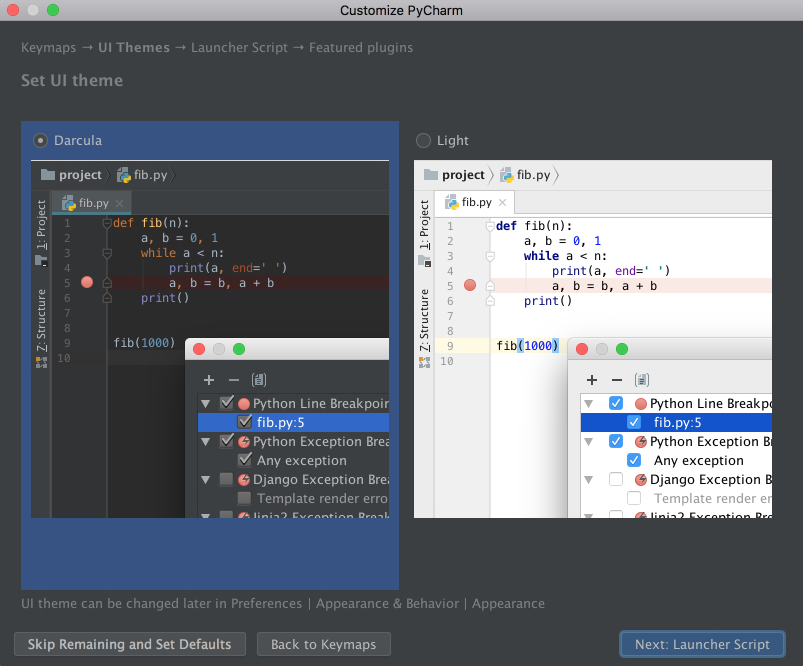
I’ll be using the dark theme Darcula throughout this tutorial. You can find and install other themes as plugins, or you can also import them.
On the next page, leave the defaults and click Next: Featured plugins. There, PyCharm will show you a list of plugins you may want to install because most users like to use them. Click Start using PyCharm, and now you are ready to write some code!