
Note: You can already read a pre-release version of How to Use Git: A Beginner’s Guide by Hellen Kokach. The tutorial will be released publicly on March 25, but as a live course participant, you already have special access to it below.
Git will play a central role in the live course. While you don’t need to be a Git expert, some basic Git knowledge will help you follow along more easily. But no worries—Claude Code will do the heavy lifting. So feel free to skip ahead and continue with the setup.
In the next lesson, you can test your Git knowledge!
How to Use Git: A Beginner’s Guide
This tutorial shows you how to use Git to track changes in a project using just a few core commands and save clean snapshots of your work. If you’ve ever changed a file, broken something, and wished you could undo it, version control makes that possible. Git keeps a running history of your files so you can see what changed and when.
In this guide, you’ll set up Git locally and use the core workflow from the terminal to track and record changes in a Python project. By the end, you’ll have a working Git repository with a recorded commit history you can inspect and manage:
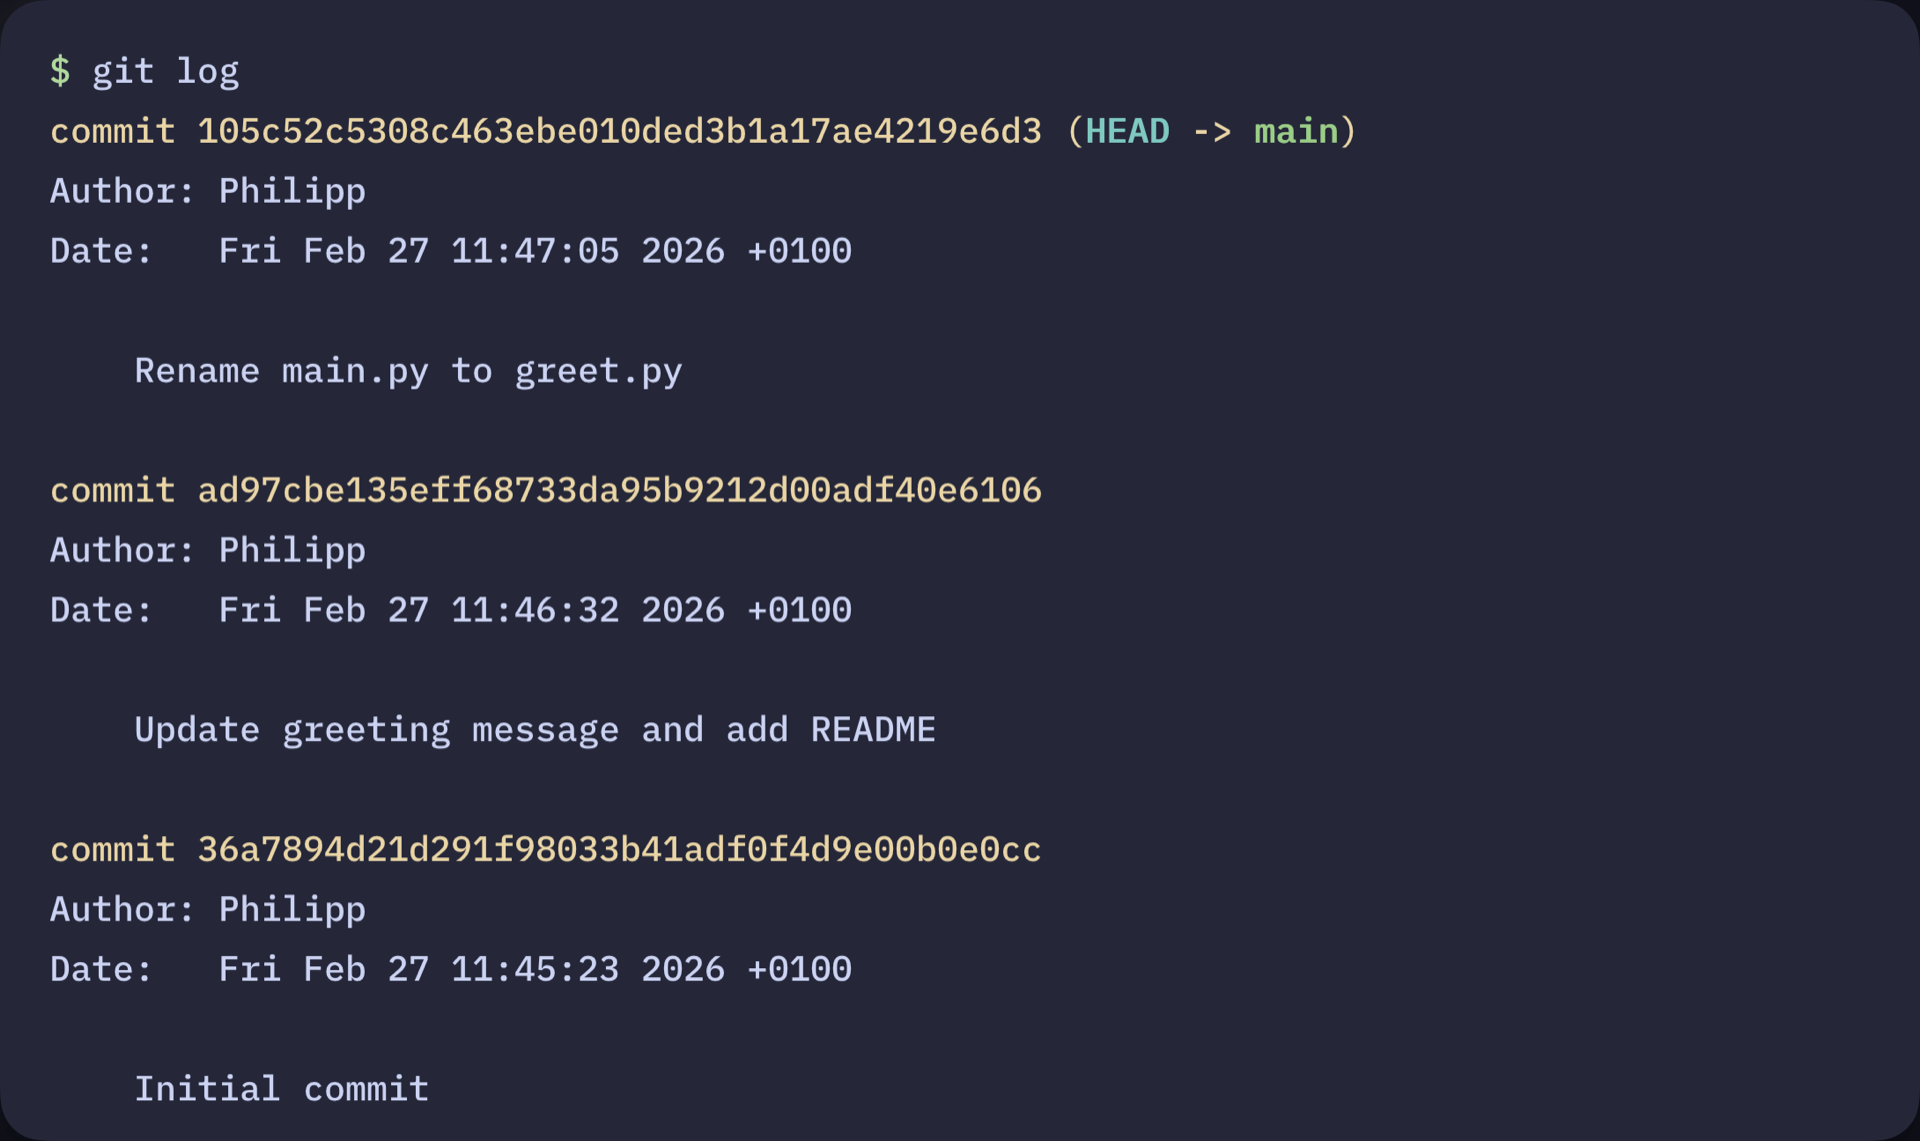
In the next sections, you’ll create your own repository and begin building that history from scratch.
How to Use Git: Prerequisites
Before you start tracking your code with Git, make sure you have the right tools in place. This tutorial assumes that you’re comfortable working with the command line and have some basic Python knowledge.
Here’s what you’ll need to get started:
- A terminal or command prompt
- Python 3.10 or higher installed on your system
Note: Git and GitHub are often confused, but they’re not the same thing:
- Git is version control software that runs on your computer. It tracks changes to your files and manages your project’s history locally.
- GitHub is an online platform for hosting Git repositories. It provides collaboration tools that make sharing code, working with teams, and backing up your projects easier.
You don’t need a GitHub account to use Git or follow this tutorial. Later, if you want to share your code with others or back it up online, you can optionally push your Git repository to platforms like GitHub, GitLab, or Bitbucket.
To learn more about the differences between Git and GitHub, check out Introduction to Git and GitHub for Python Developers.
With these prerequisites in place, you’re ready to begin setting up Git and tracking changes in your project. In the next step, you’ll install Git, prepare your existing Python files, and initialize your first repository.
Step 1: Install Git and Prepare Your Project
To start, you’ll check whether Git is installed on your system, prepare a simple project, and initialize a Git repository so you can begin tracking changes right away.
Check Whether Git Is Already Installed
Before you can start using Git, you need to make sure it’s installed on your machine. Chances are that Git is already present on your system. To check whether Git is installed, run this command:
$ git --version
If this command displays a Git version, you’re good to go and can create a project directory. Otherwise, you need to install Git on your system before continuing.
Install Git on Your System
Luckily, Git provides installers for Windows, macOS, and Linux on its official website, offering a straightforward way to install Git on your machine. Because installation steps vary across operating systems, this guide links to the official documentation rather than reproducing those steps here.
If you prefer a graphical interface, you can install a Git client such as GitHub Desktop, Sourcetree, or GitKraken. These tools install Git automatically during setup.
Once installed, open your terminal and confirm that Git is available:
$ git --version
git version 2.24.0.windows.2
Your Git version may appear slightly different from this example, depending on your operating system and when you installed Git. That’s perfectly fine. As long as Git is installed and the command runs successfully, you’ll be able to follow along with the rest of this tutorial without any issues.

