Programming videos have become an increasingly popular medium for sharing knowledge and helping the fellow developers on your team. Especially when you’re working remotely, effective communication is vital, and screencasts have emerged as a powerful tool that meets this need. That’s why knowing how to make programming videos is a valuable skill, no matter where you are in your career.
Even if you’ve never considered creating video content yourself, creating a screencast can be a great way to enhance written documentation or demonstrate complex processes as a professional programmer. Often, a two-minute video helps your colleagues more than a wordy email. Other times, an in-depth thirty-minute video is more convincing than an hour-long meeting.
However, not all videos are equally effective. To create engaging and informative programming screencasts, you should keep some important details in mind.
In this tutorial, you’ll learn how to:
- Know when the video format is the right choice
- Set up your machine to record screencasts
- Prepare the content and the code
- Be a captivating programming instructor
- Handle mistakes while filming
- Export and share your video
In the end, you’ll be equipped with the knowledge and skills to produce screencasts that make a meaningful impact on your viewers.
If you’re using VS Code and want to have a distraction-free environment in your code editor while recording, then you can download a handy settings file for VS Code by clicking the link below:
Free Bonus: Click here to download the settings file that you can use to create a clean, readable VS Code editor for your programming video tutorials.
Decide When a Programming Video Makes Sense
Not every idea that you want to get across is worth recording a video for. But the more experienced you are with hitting the record button, the more convenient it’ll be to use the video format instead of writing.
There are three common tasks where a video can come in handy:
- Showing off a new feature
- Asking for help with a bug
- Giving visual feedback on a program
While your desired outcome for each of these use cases is probably different, the preparation for each of them is quite similar. In this section, you’ll explore how to tackle a process that applies to all the tasks so you know what you want to talk about in your recording.
Focus on the Outcome
If you decide to create a programming video, then it’s important to focus on the outcome that you want to achieve. By clearly defining your desired outcome, you can structure your video in a way that effectively communicates the key points and ensures that your viewers gain the intended knowledge or understanding.
When showcasing key features, your objective could be to demonstrate the core functionality of a high-quality Python package or a new framework that you’re trying out. In these cases, you may want to provide step-by-step instructions and examples to help viewers understand and use the package effectively on their machines.
Other times, you may want to provide constructive feedback on the user interface of an application. For example, maybe you want to share your thoughts on the front end of a Flask API. Then your objective could be to highlight potential improvements, usability concerns, and design recommendations.
Another outcome of a screencast could be to guide viewers through the process of identifying a specific bug. This might include explaining the symptoms and potential causes then troubleshooting steps to narrow down and locate the issue effectively.
Some people are often more inclined to watch a short video instead of taking the same time to read. So if you’re looking for help in an online Python community, then a small screencast can be a great way to illustrate your problem.
Sketch Out Code Examples
Chances are that you’ll include some code in your programming videos. You may showcase snippets or perform live coding. Either way, it’s crucial to sketch out the code examples beforehand.
Preparing code examples allows you to iterate how you want to present your code before you start filming. Here are some ideas of how you can sketch out your code examples:
- Plan the structure: Outline the code examples in advance to determine their logical structure and flow. This helps present the code coherently, making it easier for your viewers to follow along and understand the concepts that you explain.
- Clarify your key points: Refine and clarify the key points that you want to convey. Identify and highlight crucial aspects of the code, ensuring that you address essential concepts and techniques effectively.
- Ensure the code is correct: Test the code snippets beforehand to verify their correctness. This ensures that they produce the desired output or functionality during the recording, allowing you to deliver accurate and well-formatted Python code to your viewers.
- Optimize for presentation: Optimize the code for presentation purposes by removing irrelevant segments, simplifying complex sections, or deleting unnecessary type annotations. This makes your Python code examples concise, focused, and readily comprehensible for your audience.
By preparing your code, you ensure that it’s clean, organized, and operational, resulting in a seamless and effective learning experience for your viewers.
Take Speaker Notes
Instead of starting to record right away, it’s a good idea to write down what you want to say first. With these speaker notes at hand, you won’t forget what you want to get across. You can just jot down some key points or even write out exactly what you want to say.
Here’s an example of how the instructor’s speaker notes look for the first lesson in the Python Basics: Installing Packages With pip course:
If you have followed any tutorial that contained a package that was not part of Python’s standard library, you may have heard of pip.
[PAUSE A MOMENT]
pip is the funny sounding name for Python’s [EMPHASIZE] package manager.
That means it’s a tool that allows you to install and manage libraries and dependencies that aren’t distributed as part of the standard library.
Oh, and if you’re wondering what pip stands for, [SHOW NEXT SLIDE] it’s short for “pip installs packages”
And in this course, you’ll learn how that works.
While the level of detail may vary, you should create speaker notes for yourself to remember what you want to talk about in each recording. Knowing what you want to talk about in your programming video will help you remain focused, stay on track, and avoid getting sidetracked while recording.
It can be handy to display your notes on another screen or device next to you. If you’re recording frequently, then getting a second screen can be worth the investment to improve your recording setup.
Audit Your Setup
Setting up a professional recording environment is crucial for producing high-quality programming videos. But even if you just create screencasts for your peers, it can make sense to put some thought into the tools that you use to record a video.
Prepare Your Room
To make your voice sound clear, it’s important that you have a decent microphone and place it correctly. Luckily, most modern laptops and headphones have built-in microphones that provide acceptable sound quality.
To reduce the chance of popping sounds from the mechanical impact of fast-moving air in your recordings, you should also avoid sitting too close to your microphone. But you also shouldn’t sit too far away, as this could make your voice sound too quiet.
Note: Generally, four to eight inches (approximately ten to twenty centimeters) between your mouth and the microphone is an optimal distance.
A microphone boom arm can help you place your mic exactly where it needs to be for the best results. The microphone should be in front of you and not off to the side, so you can speak directly into it.
On top of that, the room around you has a major impact on the quality of your audio recording.
Ideally, the room that you’re recording in should be quiet. In particular, city noises, background chatter, and air conditioning can damage the quality of your audio input.
Note: A barking dog or a doorbell may interrupt your recording, but if the noise isn’t constant, you may just pause for a moment and pick up once your room is silent again. You’ll learn more about pausing and resuming recordings in the Handle Errors section.
Unfortunately, a silent room alone isn’t enough. Large rooms, windows, and naked walls can create echoes and reflections that are hard to edit out later.
The key is to remove or cover any reflective surfaces to dampen and diffuse sound. You can do this by putting just about anything in front of a wall. Carpets, wall hangings, curtains, and clothes are all very absorbent and will help make the room less reflective. You can even use a bookcase filled with books of different sizes.
If you have a towel lying around, then it may be a good idea to place it under your keyboard or laptop. If you do some typing while recording, then the towel will make the bumps of your keypresses less audible.
Check Your Screen
Once you’re sure that your audio quality is decent, tackle the video quality next. It’s a good idea to record your video in a 16:9 aspect ratio. That way, your colleagues can watch your creation on most monitors in full screen without any black bars on the sides.
The screen resolution should be 1920×1080 pixels or higher. A good resolution ensures that the content of your video is crisp and doesn’t blur on a big display.
Choose a Recording Software
The recording software that you use depends mostly on the operating system and your personal preference. The key here is that you can record your screen and audio in a way that retains as much of the original video material as possible. In other words, your recording software shouldn’t preprocess your video footage.
Here’s a list of common recording software picks:
| Operating Systems | Recording Software | Free |
|---|---|---|
| Windows/Linux/macOS | OBS Studio | ✅ |
| Windows/macOS | Camtasia | ❌ |
| macOS | QuickTime Player | ✅ |
| macOS | ScreenFlow | ❌ |
Is there a recording software that you’re using and want to recommend to others? Let the community know in the comments below!
Some recording software gives you the option to also film yourself through a camera or webcam while recording your screencast.
If you feel comfortable with being on camera, then including your talking head in the screencast can add personality to your recording. But keep in mind that the filming angle and and the lighting on your face are crucial. You probably look better when the camera films from slightly above and the lights are soft without dropping hard shadows.
Clean Up Your Coding Environment
You’ve probably put a lot of time and effort into perfecting your development setup, so you’re on the right track. A clean and optimized coding environment sets the stage for seamless programming videos. In this section, you’ll delve into the details of preparing your coding environment for recording.
Operating System and Desktop
You’ll probably create your videos on the main operating system that you’re using. If you have multiple operating systems at hand, then consider the one that most of your viewers will use.
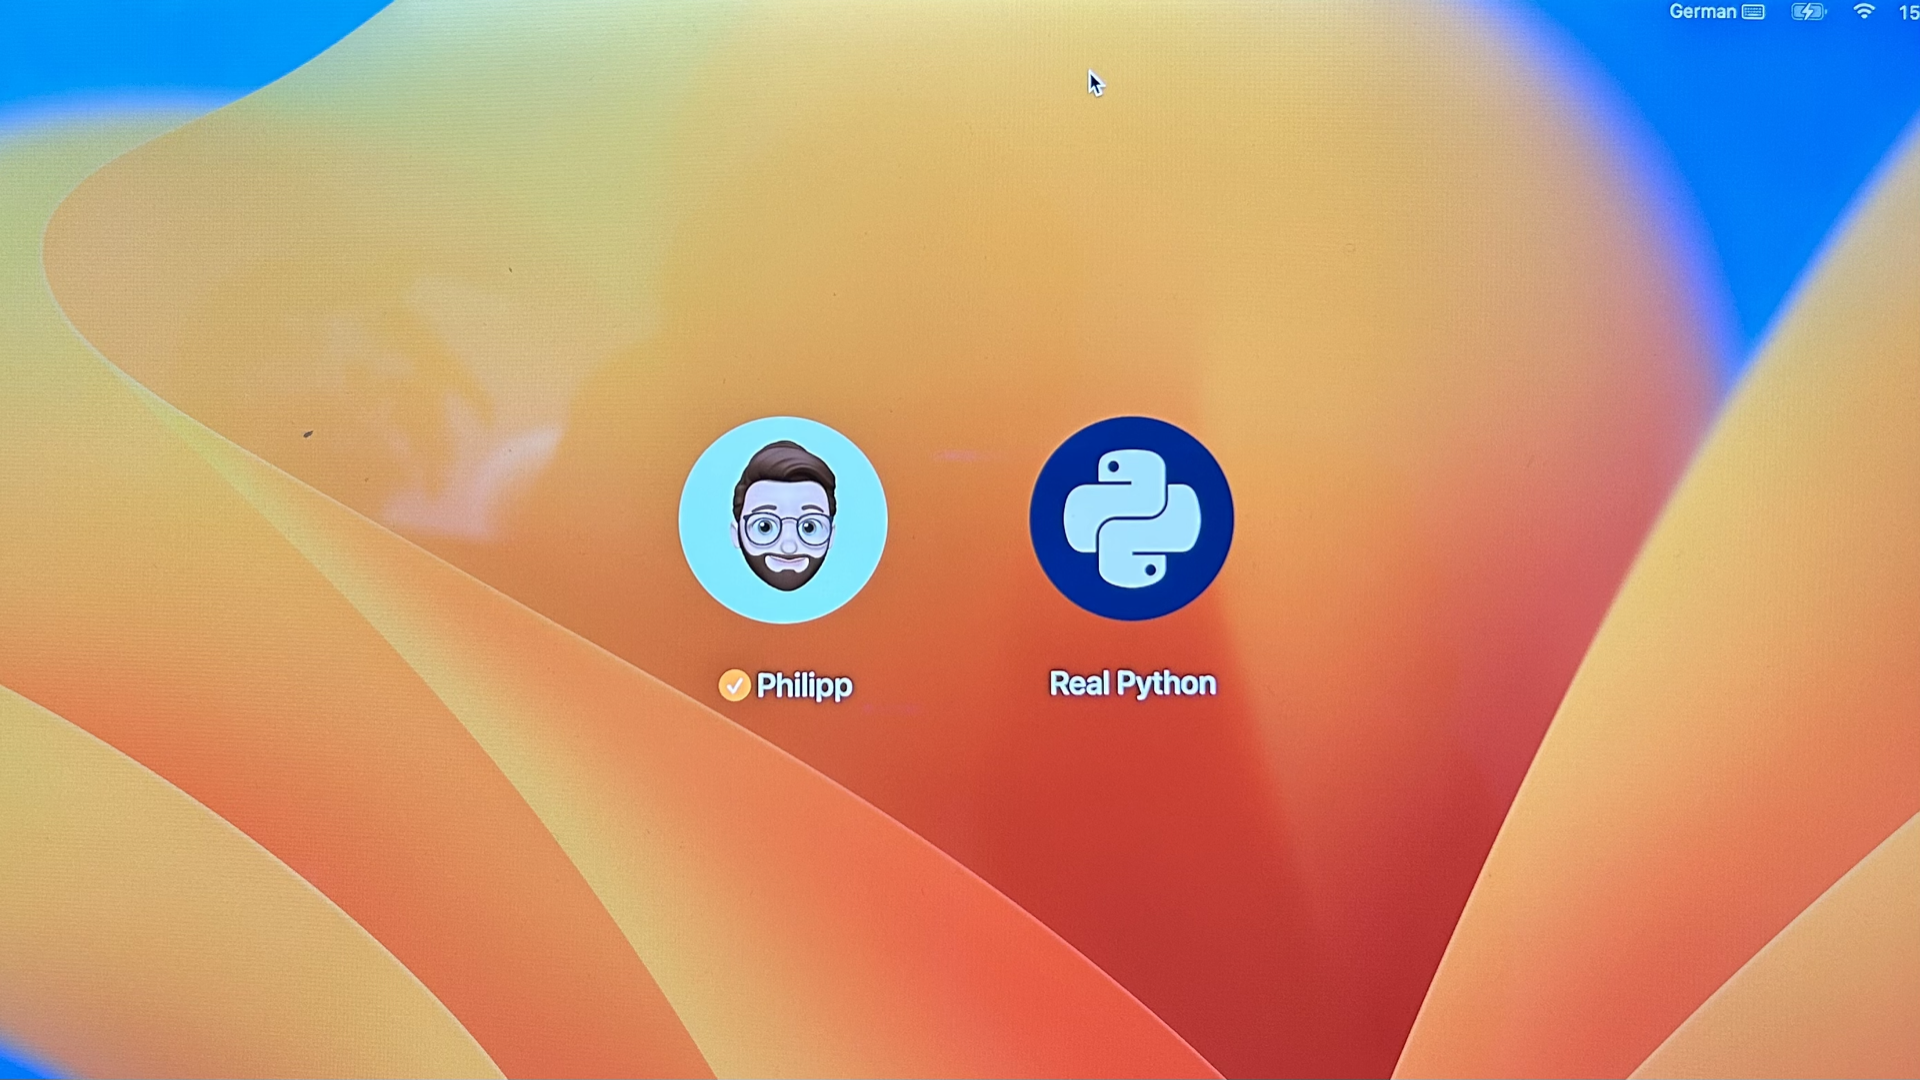
It can also be a good idea to create a new user account that you only use for your recordings:
Having a separate user account for your recordings has a couple of advantages:
- You won’t mess up your recording environment with other daily work.
- You don’t have to worry about leaking something personal when filming.
If you do need to show something where people can see your desktop background, then use a wallpaper that’s not distracting.
Also, avoid screen clutter like icons, notifications, too many apps in your Dock, and so on. A cluttered environment can be distracting for your viewer, and it can also make the videos in a series inconsistent if, for example, icons shift around.
Also, you may try to remove any graphical user interface (GUI) elements of your operating system that aren’t relevant to the bit that you’re filming. Common culprits are:
- The calendar and clock
- The Start menu
- The menu bar
- The dock
On macOS, you can hide the Dock and the menu bar in your system settings:
Windows provides a similar functionality to hide the taskbar. Depending on your Linux distribution, you can find a similar setting by looking for an Autohide Launcher option on your system.
Browser
There may be situations in your video where you want to show something in the browser. That’s where the full-screen mode of your browser can come in handy. By getting rid of the address bar, you usually hide all the distracting UI elements of your browser.
If you want to show the address bar to show the address that you’re navigating to, then make sure to disable any other browser bars and remove any additional icons. The same goes for browser extensions, which may show a bunch of distracting icons in the browser navigation bar and can change the behavior of your browser compared to what your viewer will experience.
A cleaned-up browser with an address bar may look something like this:
Depending on your operating system and your browser, you may need to play around with the full-screen settings a bit to hide any unnecessary UI elements. It can also make sense to create a new user profile for those situations.
Last but not least, make sure to bump up the font size by using the zoom option of your browser. A good rule of thumb is that a viewer should be able to comfortably read the text on the screen when watching your video on their smartphone.
Code Editor
The code editor that you’re using when recording your programming tutorial is a matter of personal taste. But again, it makes sense to keep your peers in mind.
If most of your collegues use PyCharm to code, then it might be a bad idea to record your video with a Vim editor. In case you’re using VS Code, then you can use the editor settings that you can grab by clicking the link below:
Free Bonus: Click here to download the settings file that you can use to create a clean, readable VS Code editor for your programming video tutorials.
The settings that you can download above also make sure that your editor doesn’t show a blinking cursor. A non-blinking cursor is perfect for video editing because you can cut the frames at any point on the timeline, without visual glitches or changes in blinking frequency.
The main goal of adjusting your settings should be to remove any distracting elements like pop-ups or squiggly lines around your code. Additionally, the code itself and any UI elements should be immediately readable:

Obviously, the font size and the particular programming font that you use play a big role in how readable your code on the screen is. If you need inspiration on which font to use, then you can check out the Real Python resource on programming fonts for coding in Python.
You may want to use a high-contrast color scheme like the Community Material Theme. That way everybody can recognize what’s going on in your coding editor.
If you’re using a Jupyter notebook in your video, then you can disable the blinking cursor in the Jupyter Notebook Profile or your Jupyter Lab Setting.
Record Your Programming Video
Now it’s time to bring your programming video to life! You’ll start with a test recording to check audio and video quality. Then you’ll learn how to use your voice to establish a connection with your audience and explain the code you show on-screen.
Create a Test Recording
Before diving into the actual recording of your programming video, it’s a good idea to make a test run. Taking the time to do a test recording helps ensure optimal audio and video quality, setting the stage for a seamless viewing experience.
While it may require a bit of extra time up front, the benefits are worth it. A test recording allows you to identify any potential issues with audio clarity, video resolution, or screen visibility. You can fine-tune your recording setup, adjust your microphone levels, and ensure that your screen is clearly visible to viewers.
Consider it as a rehearsal before the main event. By doing a test run, you’ll gain confidence, familiarize yourself with the recording software, and iron out any technical glitches. It’s an opportunity to refine your delivery and pacing, ensuring that you engage your audience effectively.
Remember, a well-executed test recording sets the stage for a successful programming video. So take the time to get it right, and you’ll be prepared to create an engaging and informative screencast.
Use Your Voice
People learn more effectively from instructors and mentors whom they like. When your viewers watch one of your videos, you want them to feel like they’re sitting down with a friend or colleague who’s explaining something to them.
Having good energy is very important in keeping your viewers engaged. Here are some tips on how you can bring that energy to your video courses:
- Imagine you’re talking to just one person: Many people may watch your video, but each individual view is one-to-one and not one-to-many. Always assume that you’re addressing just one person in your videos and that you’re speaking directly to them.
- Put a prop on your desk: For example, put a little sticker on your screen, and then imagine you’re talking to Mark the Dinosaur as you record your video. Sounds wild, but it works!
- Be friendly: You’ll feel a bit silly at first, but a smile really does come through even in just a pure audio recording.
- Don’t whisper: Try raising your voice a little. This helps you to sound more energetic.
- Take breaks: Compare what you sound like at the start of a video vs after ten minutes. If there’s a huge difference, then try taking more breaks in between recording takes.
- Warm up your voice: For example, you can hum “Happy Birthday” or sing a little. It may feel a little silly, but it really helps you achieve a better result! Listening to and singing along with your favorite song before a recording session can raise your energy level and help you breathe more smoothly.
- Be expressive: End sentences with a variety of rising and falling tones, without overdoing it. This prevents you from sounding monotone or bored.
- Take a breath: Sometimes a short pause is very effective after a major point.
There’s a balance to everything here. Too much energy can be off-putting as well. But in general, viewers prefer instructors who aren’t putting them to sleep. You might already know this from your own experience in school.
Explain What’s on the Screen
Some of your viewers may be visually impaired and unable to see what’s on the screen. They’ll only have your voice to follow along with, so it’s important to be very descriptive about what’s happening on the screen. For example:
✅ When you run
python hello.pyin the terminal, the next line shows'Hello, world!'.
Although there’s no video material, you can understand what you need to do by just reading the paragraph above. Compare that to a very vague sentence, such as:
⛔️ When you run this, then you can see that.
Without actually seeing what this and that are, your viewer will have trouble comprehending this sentence. If you’re unsure whether something that you’re saying is too ambiguous, try listening to your recording with your eyes closed.
Also note that you can learn a lot about accessible audio materials by listening to an all-audio medium like podcasts. Podcast hosts know that their listeners won’t have any visual material for support, so they have to paint a clear picture using only words.
The context of where you are in an application or file is very important. Don’t jump or switch tabs too quickly. Clearly state where you are and what you’re doing. Use menus to create new files instead of relying on keyboard shortcuts. Ideally, do everything in a visual way and, additionally, narrate what you’re doing so that your audience can follow along.
Note: At first it might seem that you’re going very slowly with what you’re showing. But as long as you keep your voice energetic, viewers usually appreciate when your pace isn’t rushed.
It’s generally easier for people to follow when you navigate within a file and show how you’re scrolling, instead of jumping around. There’s no harm in going slowly or even pausing here and there.
Also, consider lingering on shots of the code after you’ve typed it, rather than immediately switching away to something else. Otherwise, viewers have to pause your video at exactly the right moment to get a chance to take in or copy what you just typed. Programmers love to see code. Leave the code up for a couple of seconds to let it sink in.
Handle Errors
Leave mistakes and syntax errors in where it makes sense and use them as an opportunity to teach your thought process for debugging. Your viewers will appreciate this as a learning opportunity. It’s super helpful for beginners to see that experts make mistakes too, and it encourages them to learn how to fix their own code.
If you struggle too much in a situation or you have to look something up, then it’s better to pause your recording and resume again when you know what you have to do. Ideally, you’ll find a nice balance between being professional and staying relatable.
Edit and Review Your Programming Video
In this final section, you’ll explore the crucial steps of editing and reviewing your recorded screencast. You’ll give your work a final polish and learn how to make your next video even better. Get ready to put the finishing touches on your programming video and make it ready for your eager audience!
Watch and Take Notes
The first viewer of your video should always be you. When you watch your recording from start to finish, you get a feeling for the experience that your future viewers will have.
If you want to edit the video yourself or improve your upcoming videos, then it’s a great idea to take notes along the way.
While you watch your video, there are usually three categories of notes to take:
- Update: Parts that you want to update before sharing
- Cut: Moments that you want to cut out from the video
- Idea: Items to consider in the future
When you take notes, it’s a good idea prefix each one with a timestamp. For example:
00:05 - IDEA: I should have more jokes like that in my next video.
02:34 - 02:40 - CUT: Edit out the dog barking 🐶
03:07 - UPDATE: I say "print statement" instead of "print function."

...
The timestamps don’t need to be super accurate, but they should give you a hook to find the part that you’re referencing.
Taking notes will help tremendously if you decide to edit your video before sharing it. It’ll also empower you to improve your future recordings. With the timestamps, you don’t need to search around much to find the moment that you want to edit. That’s pretty neat, because then you can concentrate solely on your editing work if needed.
Don’t Edit Too Much
One advantage of screencasts over live demos is that you’re able to edit your creation before sharing it with others. If you continued to record while things went sideways, then it can make sense to cut those parts out.
The same goes for wordy parts. While readers can glance over paragraphs in written content, you don’t want your viewers to skip parts of your presentation. So if you have passages in your recording where you feel that you ramble too much, it can be a good idea to edit those parts out.
Take the time to cut out any parts where passwords, phone numbers, or personal notifications might have sneaked in. You definitely don’t want to accidentally reveal sensitive info to your colleagues.
With powerful editing software, it can be tempting to add effects and immerse yourself in cutting and replacing content. There’s no harm in doing so, as long as it’s fun for you and helps your video become more engaging. But don’t overdo it.
With less editing, your video will stay authentic and often more relatable. A good rule of thumb is not to spend more time on the editing process than on preparing and recording the video.
Export and Share Your Programming Video
When exporting your programming video, it’s worth considering how you’ll share it. If you’re using an external platform like YouTube or Vimeo, then you must check which video formats they allow.
If you share your video files on the internal network, then you should use a video format that most of your colleagues are able to play.
Some preferred export formats are:
- ✅ MP4 (h.264)
- ✅ MOV
One format that commonly causes issues for users is MKV, so avoid that one.
Export your videos at ideally sixty frames per second (FPS) or at least thirty FPS. Anything below that makes mouse movements look erratic and difficult to follow.
Conclusion
Now you’re ready to dive into the world of screencasting and create your own programming video tutorials. Whether you’re enhancing documentation, exposing bugs, or simplifying complex processes, screencasts offer a unique way to communicate with your peers.
In this tutorial, you’ve learned how to:
- Identify use cases for the video format
- Set up your machine to record programming videos
- Be a captivating instructor
- Handle mistakes while filming
- Export and share your video
Have you recorded your own video already? Show it to the Real Python community in the comments below!
If you haven’t recorded a programming video yet, then prepare your content, grab your recording software, and let your expertise shine through the screen. Start creating your own engaging and informative screencasts today, and empower others in the world of programming. Happy recording!
Free Bonus: Click here to download the settings file that you can use to create a clean, readable VS Code editor for your programming video tutorials.