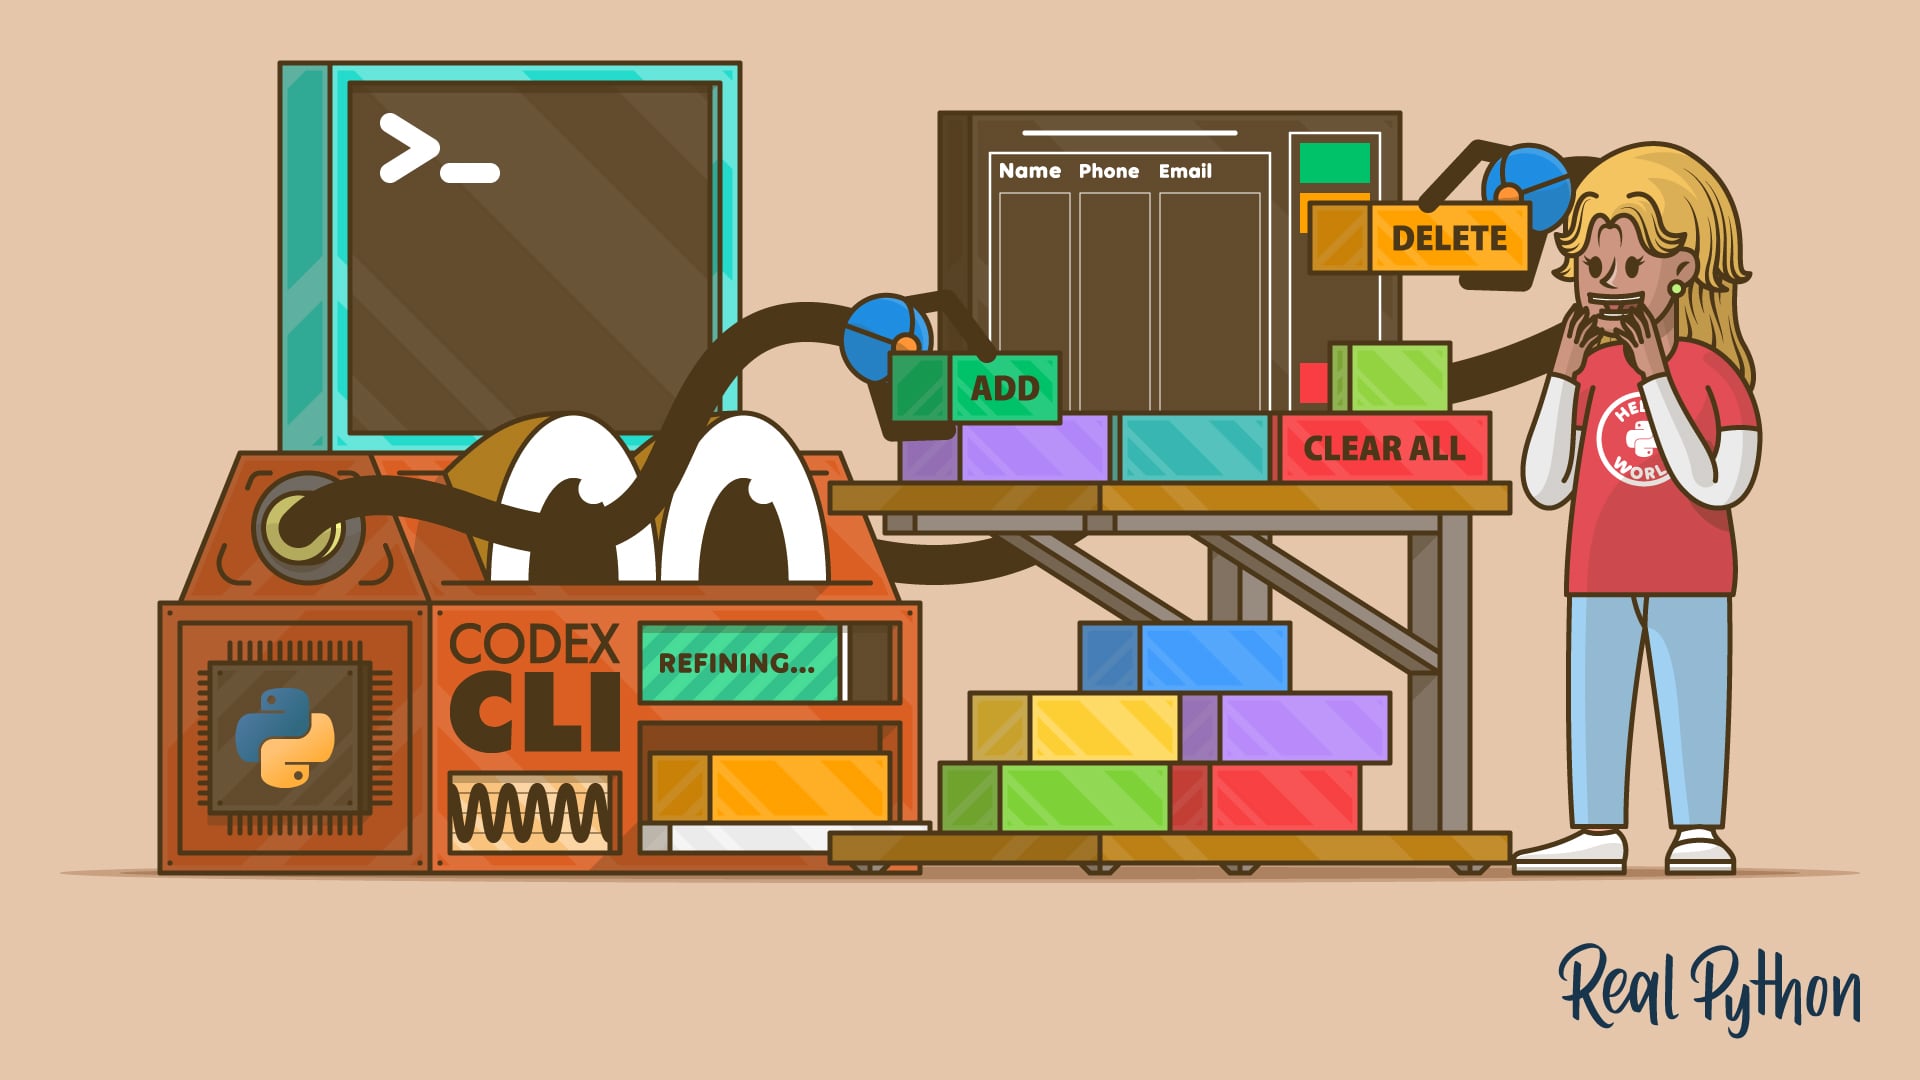
After reading this guide, you’ll be able to use Codex CLI to add features to a Python project directly from your terminal. Codex CLI is an AI-powered coding assistant that runs inside your terminal. It understands your project structure, reads your files, and proposes multi-file changes using natural language instructions.
Instead of copying code from a browser or relying on an IDE plugin, you’ll use Codex CLI to implement a real feature in a multi-file Python project directly from your terminal:
In the following steps, you’ll install and configure Codex CLI, use it to implement a deletion feature in a contact book app, and then refine that feature through iterative prompting.
Take the Quiz: Test your knowledge with our interactive “How to Add Features to a Python Project With Codex CLI” quiz. You’ll receive a score upon completion to help you track your learning progress:
Interactive Quiz
How to Add Features to a Python Project With Codex CLITest your knowledge of Codex CLI, the AI-powered terminal tool for adding features to Python projects with natural language.
Prerequisites
To follow this guide, you should be familiar with the Python language. You’ll also need an OpenAI account with either a paid ChatGPT subscription or a valid API key, which you’ll connect to Codex CLI once you install it. Additionally, you’ll need to have Node.js installed, since Codex CLI is distributed as an npm package.
To make it easier for you to experiment with Codex CLI, download the RP Contacts project by clicking the link below:
Get Your Code: Click here to download the free source code for the RP Contacts sample project used in this tutorial.
The project RP Contacts is a text-based interface (TUI) that allows you to manage contacts directly in the terminal through a Textual app. It’s an adapted version of the project from Real Python’s tutorial Build a Contact Book App With Python, Textual, and SQLite. It differs from the original in that it uses uv to manage the project, and the TUI buttons Delete and Clear All haven’t been implemented—that’s what you’ll use Codex CLI for.
Once you’ve downloaded the project, you want to check that you can run it. As mentioned, the project uses uv for dependency management—you can tell by the uv.lock file in the project root—so make sure you have uv installed. If you don’t have uv yet, follow the official installation instructions.
Once you have uv installed and you’re at the root directory of the project, you can run the project:
$ uv run rpcontacts
When you run the command rpcontacts through uv for the first time, uv will create a virtual environment, install the dependencies of your project, and start the RP Contacts TUI. If all goes well, you should see a TUI in your terminal with a couple of buttons and an empty contact listing:
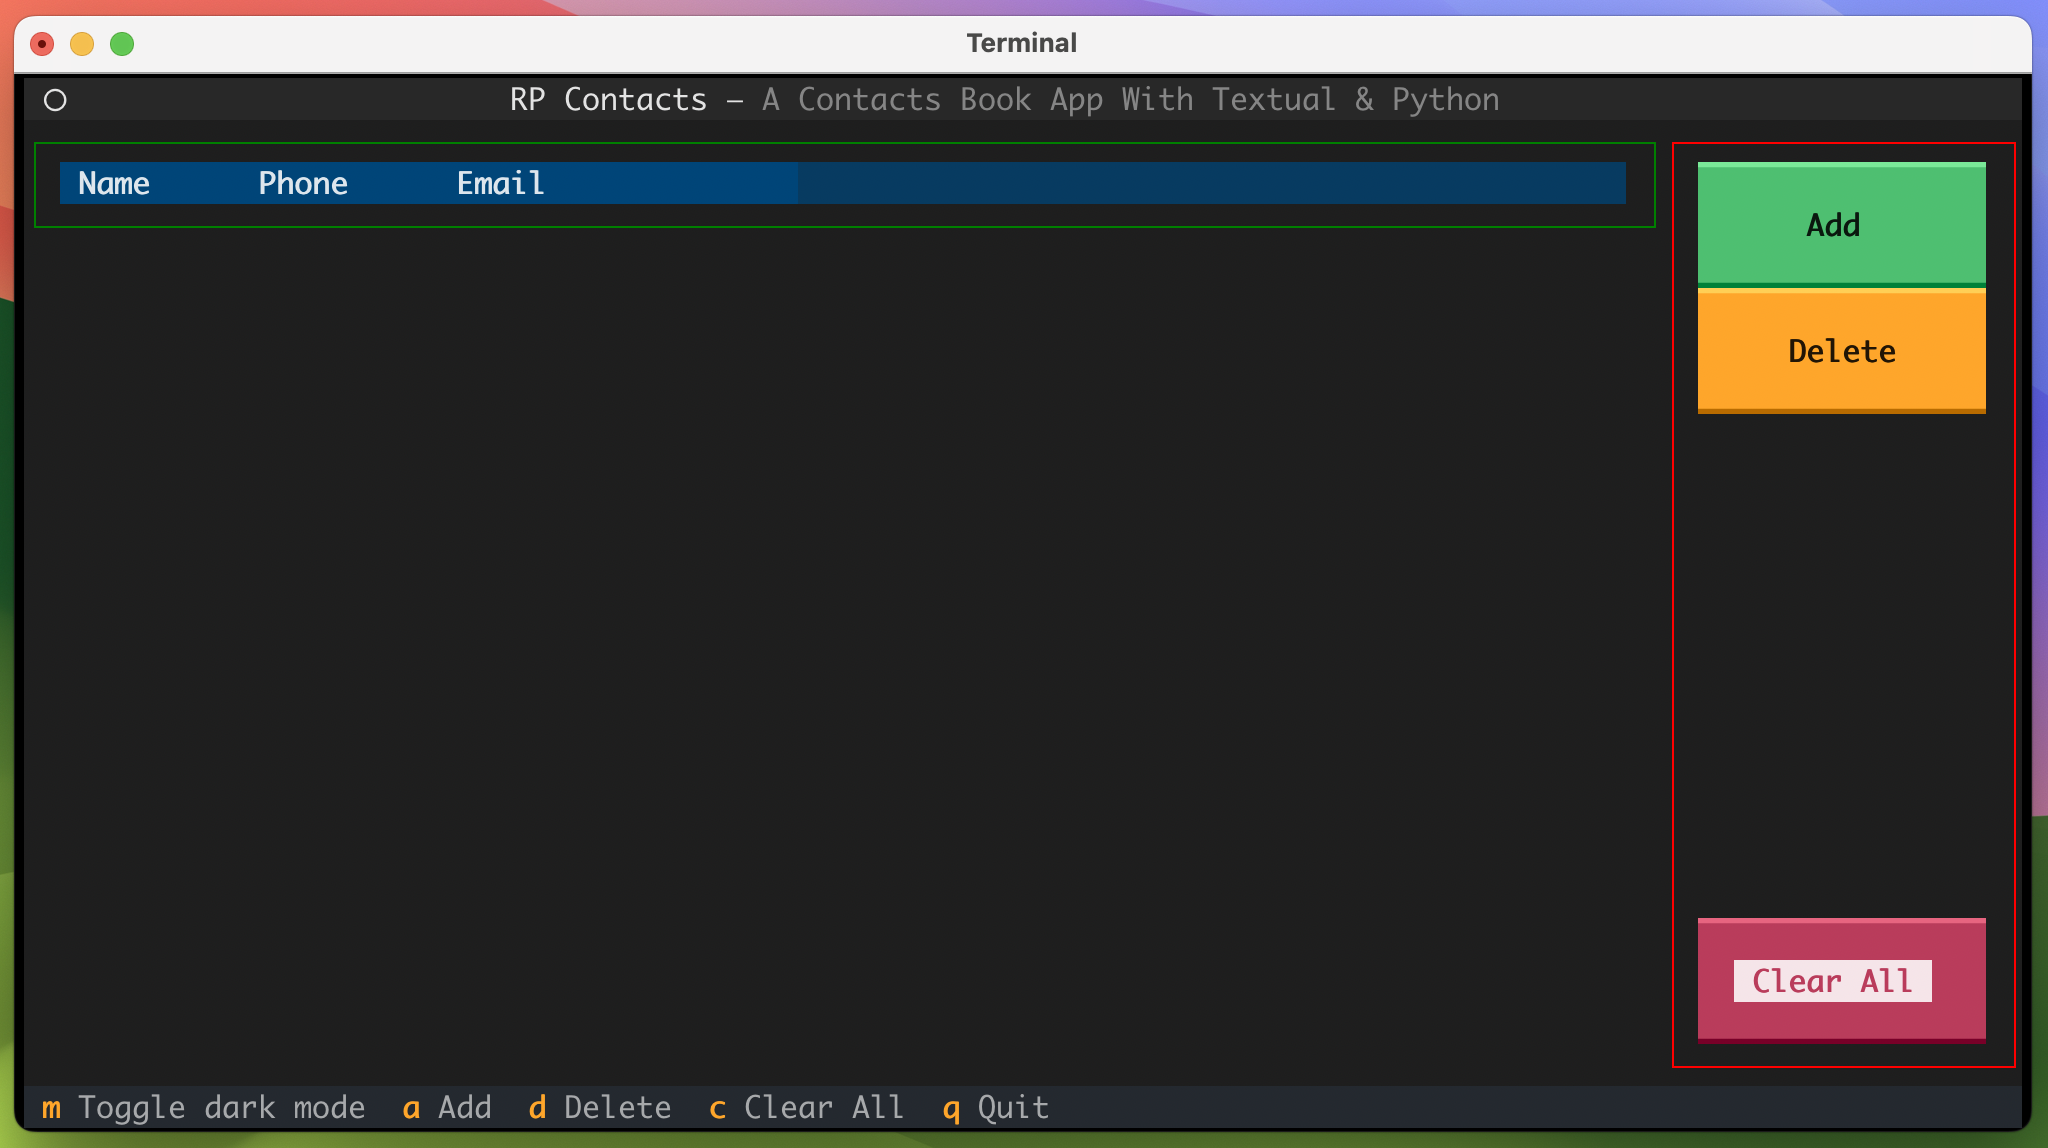
Once the TUI opens, create some test contacts by using the Add button and filling in the form that pops up. After creating a couple of fake contacts, quit the application by pressing Q.
Finally, you’ll want to initialize a Git repository at the root of your project and commit all your files:
$ git init .
$ git add .
$ git commit -m "First commit."
Codex CLI will modify your code, and you can never tell whether the changes will be good or not. Versioning your code makes it straightforward to roll back any changes made by LLMs if you don’t like them.
If you want to explore other AI-powered coding tools alongside Codex CLI, Real Python’s Python Coding With AI learning path brings together tutorials and video courses on AI-assisted coding, prompt engineering, and LLM development.
Step 1: Install and Configure Codex CLI
With all the accessory setup out of the way, it’s now time to install Codex CLI. For that, you’ll want to check the official OpenAI documentation to see the most up-to-date installation instructions. As of now, OpenAI recommends using npm: