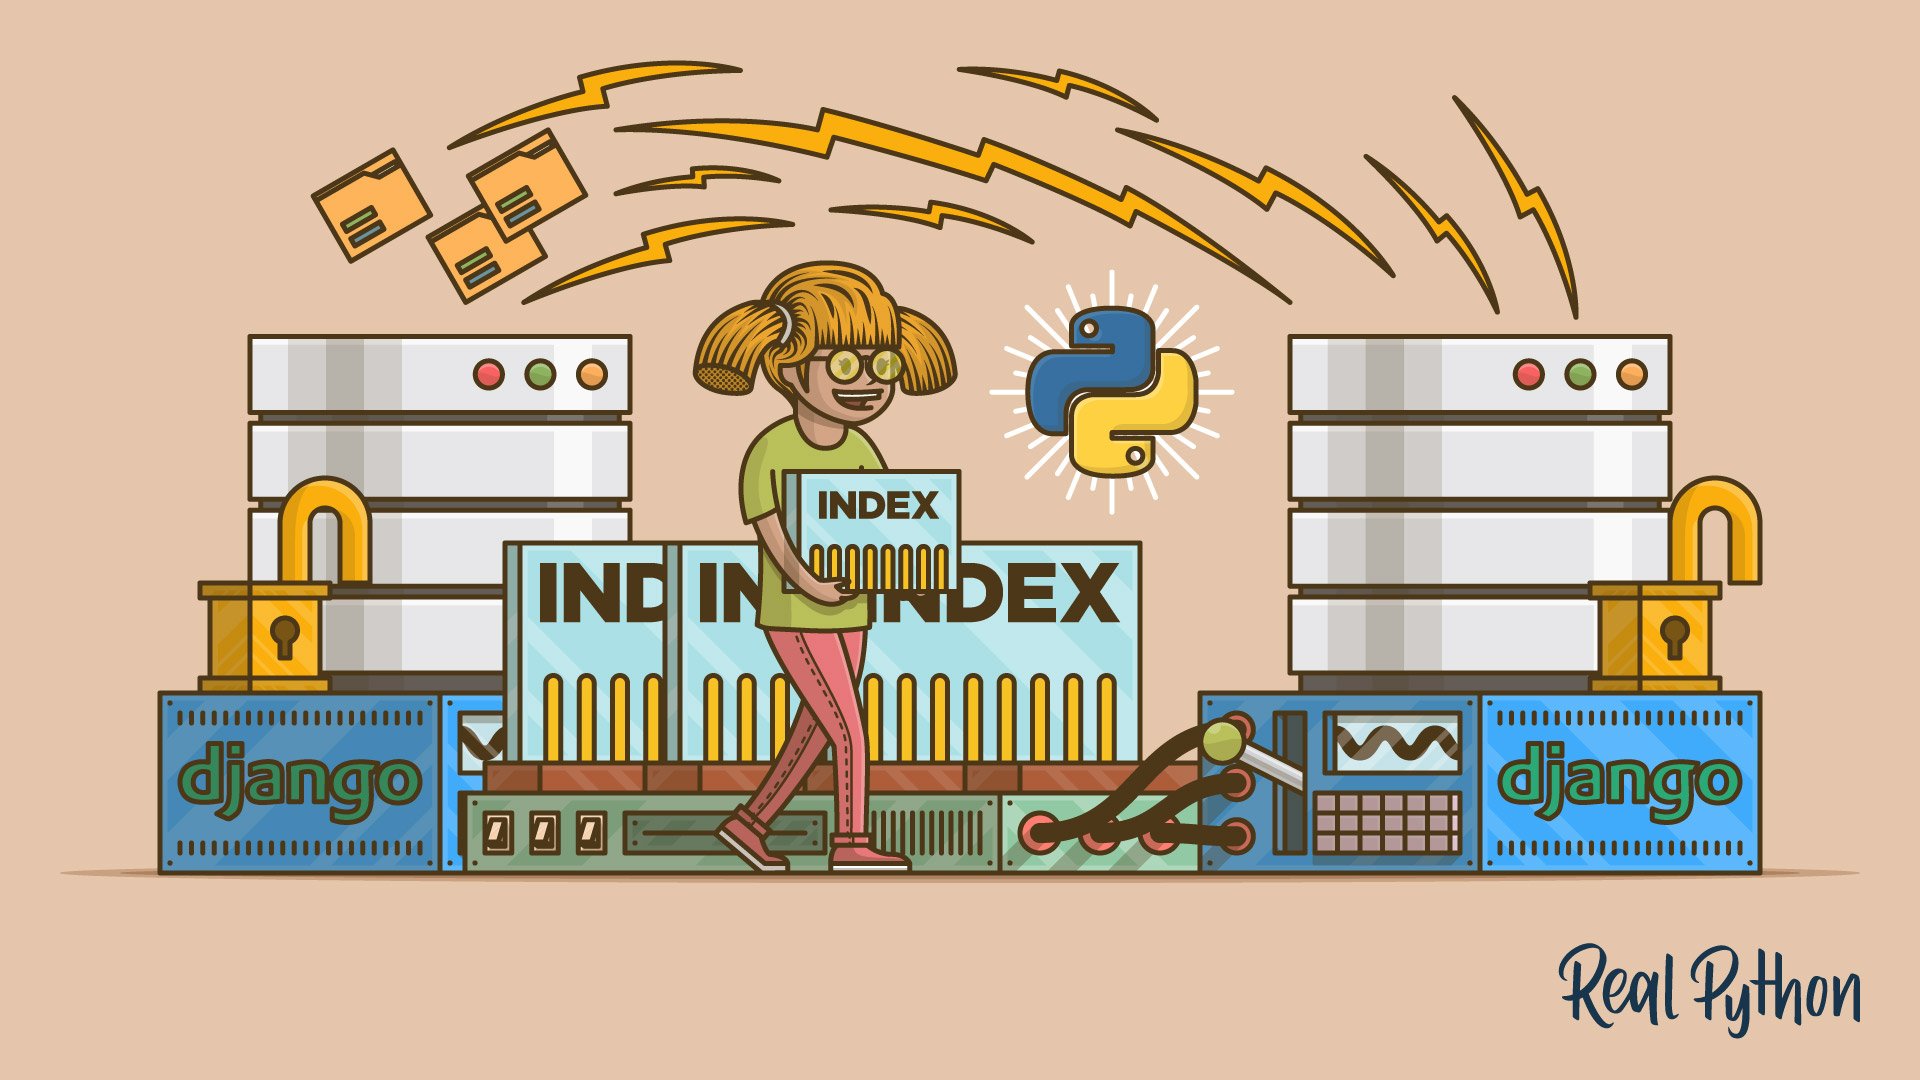
Managing database migrations is a great challenge in any software project. Luckily, as of version 1.7, Django comes with a built-in migration framework. The framework is very powerful and useful in managing change in databases. But the flexibility provided by the framework required some compromises. To understand the limitations of Django migrations, you are going to tackle a well known problem: creating an index in Django with no downtime.
In this tutorial, you’ll learn:
- How and when Django generates new migrations
- How to inspect the commands Django generates to execute migrations
- How to safely modify migrations to fit your needs
This intermediate-level tutorial is designed for readers who are already familiar with Django migrations. For an introduction to that topic, check out Django Migrations: A Primer.
Free Bonus: Click here to get free access to additional Django tutorials and resources you can use to deepen your Python web development skills.
The Problem With Creating an Index in Django Migrations
A common change that usually becomes necessary when the data stored by your application grows is adding an index. Indexes are used to speed up queries and make your app feel fast and responsive.
In most databases, adding an index requires an exclusive lock on the table. An exclusive lock prevents data modification (DML) operations such as UPDATE, INSERT, and DELETE, while the index is created.
Locks are obtained implicitly by the database when executing certain operations. For example, when a user logs into your app, Django will update the last_login field in the auth_user table. To perform the update, the database will first have to obtain a lock on the row. If the row is currently being locked by another connection, then you might get a database exception.
Locking a table might pose a problem when it’s necessary to keep the system available during migrations. The bigger the table, the longer it can take to create the index. The longer it takes to create the index, the longer the system is unavailable or unresponsive to users.
Some database vendors provide a way to create an index without locking the table. For example, to create an index in PostgreSQL without locking a table, you can use the CONCURRENTLY keyword:
CREATE INDEX CONCURRENTLY ix ON table (column);
In Oracle, there is an ONLINE option to allow DML operations on the table while the index is created:
CREATE INDEX ix ON table (column) ONLINE;
When generating migrations, Django will not use these special keywords. Running the migration as is will make the database acquire an exclusive lock on the table and prevent DML operations while the index is created.
Creating an index concurrently has some caveats. It’s important to understand the issues specific to your database backend in advance. For example, one caveat in PostgreSQL is that creating an index concurrently takes longer because it requires an additional table scan.
In this tutorial, you’ll use Django migrations to create an index on a large table, without causing any downtime.
Note: To follow this tutorial, it is recommended that you use a PostgreSQL backend, Django 2.x, and Python 3.
It is possible to follow along with other database backends as well. In places where SQL features unique to PostgreSQL are used, change the SQL to match your database backend.
Setup
You’re going to use a made up Sale model in an app called app. In a real life situation, models such as Sale are the main tables in the database, and they will usually be very big and store a lot of data:
# models.py

from django.db import models

class Sale(models.Model):
    sold_at = models.DateTimeField(
        auto_now_add=True,
    )
    charged_amount = models.PositiveIntegerField()
To create the table, generate the initial migration and apply it:
$ python manage.py makemigrations
Migrations for 'app':
  app/migrations/0001_initial.py
    - Create model Sale

$ python manage migrate
Operations to perform:
  Apply all migrations: app
Running migrations:
  Applying app.0001_initial... OK
After a while, the sales table becomes very big, and users start to complain about slowness. While monitoring the database, you noticed that a lot of queries use the sold_at column. To speed things up, you decide that you need an index on the column.
To add an index on sold_at, you make the following change to the model:
# models.py

from django.db import models

class Sale(models.Model):
    sold_at = models.DateTimeField(
        auto_now_add=True,
        db_index=True,
    )
    charged_amount = models.PositiveIntegerField()
If you run this migration as it is, then Django will create the index on the table, and it will be locked until the index is completed. It can take a while to create an index on a very large table, and you want to avoid downtime.
On a local development environment with a small dataset and very few connections, this migration might feel instantaneous. However, on large datasets with many concurrent connections, obtaining a lock and creating the index can take a while.
In the next steps, you are going to modify migrations created by Django to create the index without causing any downtime.
Fake Migration
The first approach is to create the index manually. You are going to generate the migration, but you are not going to actually let Django apply it. Instead, you will run the SQL manually in the database and then make Django think the migration completed.
First, generate the migration:
$ python manage.py makemigrations --name add_index_fake
Migrations for 'app':
  app/migrations/0002_add_index_fake.py
    - Alter field sold_at on sale
Use the sqlmigrate command to view the SQL Django will use to execute this migration:
$ python manage.py sqlmigrate app 0002

BEGIN;
--
-- Alter field sold_at on sale
--
CREATE INDEX "app_sale_sold_at_b9438ae4" ON "app_sale" ("sold_at");
COMMIT;
You want to create the index without locking the table, so you need to modify the command. Add the CONCURRENTLY keyword and execute in the database:
app=# CREATE INDEX CONCURRENTLY "app_sale_sold_at_b9438ae4"
ON "app_sale" ("sold_at");

CREATE INDEX
Notice that you executed the command without the BEGIN and COMMIT parts. Omitting these keywords will execute the commands without a database transaction. We will discuss database transactions later in the article.
After you executed the command, if you try to apply migrations, then you will get the following error:
$ python manage.py migrate

Operations to perform:
  Apply all migrations: app
Running migrations:
  Applying app.0002_add_index_fake...Traceback (most recent call last):
  File "venv/lib/python3.7/site-packages/django/db/backends/utils.py", line 85, in _execute
    return self.cursor.execute(sql, params)

psycopg2.ProgrammingError: relation "app_sale_sold_at_b9438ae4" already exists
Django complains that the index already exists, so it can’t proceed with the migration. You just created the index directly in the database, so now you need to make Django think that the migration was already applied.
How to Fake a Migration
Django provides a built-in way of marking migrations as executed, without actually executing them. To use this option, set the --fake flag when applying the migration:
$ python manage.py migrate --fake
Operations to perform:
  Apply all migrations: app
Running migrations:
  Applying app.0002_add_index_fake... FAKED
Django didn’t raise an error this time. In fact, Django didn’t really apply any migration. It just marked it as executed (or FAKED).
Here are some issues to consider when faking migrations:
-
The manual command must be equivalent to the SQL generated by Django: You need to make sure the command you execute is equivalent to the SQL generated by Django. Use
sqlmigrateto produce the SQL command. If the commands do not match, then you might end up with inconsistencies between the database and the models state. -
Other unapplied migrations will also be faked: When you have multiple unapplied migrations, they will all be faked. Before you apply migrations, it’s important to make sure only the migrations you want to fake are unapplied. Otherwise, you might end up with inconsistencies. Another option is to specify the exact migration you want to fake.
-
Direct access to the database is required: You need to run the SQL command in the database. This is not always an option. Also, executing commands directly in a production database is dangerous and should be avoided when possible.
-
Automated deployment processes might need adjustments: If you automated the deployment process (using CI, CD, or other automation tools), then you might need to alter the process to fake migrations. This is not always desirable.
Cleanup
Before moving on to the next section, you need to bring the database back to its state right after the initial migration. To do that, migrate back to the initial migration:
$ python manage.py migrate 0001
Operations to perform:
  Target specific migration: 0001_initial, from app
Running migrations:
  Rendering model states... DONE
  Unapplying app.0002_add_index_fake... OK
Django unapplied the changes made in the second migration, so now it’s safe to also delete the file:
$ rm app/migrations/0002_add_index_fake.py
To make sure you did everything right, inspect the migrations:
$ python manage.py showmigrations app
app
 [X] 0001_initial
The initial migration was applied, and there are no unapplied migrations.
Execute Raw SQL in Migrations
In the previous section, you executed SQL directly in the database and faked the migration. This gets the job done, but there is a better solution.
Django provides a way to execute raw SQL in migrations using RunSQL. Let’s try to use it instead of executing the command directly in the database.
First, generate a new empty migration:
$ python manage.py makemigrations app --empty --name add_index_runsql
Migrations for 'app':
  app/migrations/0002_add_index_runsql.py
Next, edit the migration file and add a RunSQL operation:
# migrations/0002_add_index_runsql.py

from django.db import migrations, models

class Migration(migrations.Migration):
    atomic = False

    dependencies = [
        ('app', '0001_initial'),
    ]

    operations = [
        migrations.RunSQL(
            'CREATE INDEX "app_sale_sold_at_b9438ae4" '
            'ON "app_sale" ("sold_at");',
        ),
    ]
When you run the migration, you will get the following output:
$ python manage.py migrate
Operations to perform:
  Apply all migrations: app
Running migrations:
  Applying app.0002_add_index_runsql... OK
This is looking good, but there is a problem. Let’s try to generate migrations again:
$ python manage.py makemigrations --name leftover_migration
Migrations for 'app':
  app/migrations/0003_leftover_migration.py
    - Alter field sold_at on sale
Django generated the same migration again. Why did it do that?
Cleanup
Before we can answer that question, you need to clean up and undo the changes you made to the database. Start by deleting the last migration. It was not applied, so it’s safe to delete:
$ rm app/migrations/0003_leftover_migration.py
Next, list the migrations for the app app:
$ python manage.py showmigrations app
app
 [X] 0001_initial
 [X] 0002_add_index_runsql
The third migration is gone, but the second is applied. You want to get back to the state right after the initial migration. Try to migrate back to the initial migration as you did in the previous section:
$ python manage.py migrate app 0001
Operations to perform:
  Target specific migration: 0001_initial, from app
Running migrations:
  Rendering model states... DONE
  Unapplying app.0002_add_index_runsql...Traceback (most recent call last):

NotImplementedError: You cannot reverse this operation
Django is unable to reverse the migration.
Reverse Migration Operation
To reverse a migration, Django executes an opposite action for every operation. In this case, the reverse of adding an index is to drop it. As you’ve already seen, when a migration is reversible, you can unapply it. Just like you can use checkout in Git, you can reverse a migration if you execute migrate to an earlier migration.
Many built-in migration operations already define a reverse action. For example, the reverse action for adding a field is to drop the corresponding column. The reverse action for creating a model is to drop the corresponding table.
Some migration operations are not reversible. For example, there is no reverse action for removing a field or deleting a model, because once the migration was applied, the data is gone.
In the previous section, you used the RunSQL operation. When you tried to reverse the migration, you encountered an error. According to the error, one of the operations in the migration cannot be reversed. Django is unable to reverse raw SQL by default. Because Django has no knowledge of what was executed by the operation, it cannot generate an opposite action automatically.
How to Make a Migration Reversible
For a migration to be reversible, all the operations in it must be reversible. It’s not possible to reverse part of a migration, so a single non-reversible operation will make the entire migration non-reversible.
To make a RunSQL operation reversible, you must provide SQL to execute when the operation is reversed. The reverse SQL is provided in the reverse_sql argument.
The opposite action to adding an index is to drop it. To make your migration reversible, provide the reverse_sql to drop the index:
# migrations/0002_add_index_runsql.py

from django.db import migrations, models

class Migration(migrations.Migration):
    atomic = False

    dependencies = [
        ('app', '0001_initial'),
    ]

    operations = [
        migrations.RunSQL(
            'CREATE INDEX "app_sale_sold_at_b9438ae4" '
            'ON "app_sale" ("sold_at");',

            reverse_sql='DROP INDEX "app_sale_sold_at_b9438ae4";',
        ),
    ]
Now try to reverse the migration:
$ python manage.py showmigrations app
app
 [X] 0001_initial
 [X] 0002_add_index_runsql

$ python manage.py migrate app 0001
Operations to perform:
  Target specific migration: 0001_initial, from app
Running migrations:
  Rendering model states... DONE
 Unapplying app.0002_add_index_runsql... OK

$ python manage.py showmigrations app
app
 [X] 0001_initial
 [ ] 0002_add_index_runsql
The second migration was reversed, and the index was dropped by Django. Now it’s safe to delete the migration file:
$ rm app/migrations/0002_add_index_runsql.py
It’s always a good idea to provide reverse_sql. In situations where reversing a raw SQL operation does not require any action, you can mark the operation as reversible using the special sentinel migrations.RunSQL.noop:
migrations.RunSQL(
    sql='...',  # Your forward SQL here
    reverse_sql=migrations.RunSQL.noop,
),
Understand Model State and Database State
In your previous attempt to create the index manually using RunSQL, Django generated the same migration over and over again even though the index was created in the database. To understand why Django did that, you first need to understand how Django decides when to generate new migrations.
When Django Generates a New Migration
In the process of generating and applying migrations, Django syncs between the state of the database and the state of the models. For example, when you add a field to a model, Django adds a column to the table. When you remove a field from the model, Django removes the column from the table.
To sync between the models and the database, Django maintains a state that represents the models. To sync the database with the models, Django generates migration operations. Migration operations translate to a vendor specific SQL that can be executed in the database. When all migration operations are executed, the database and the models are expected to be consistent.
To get the state of the database, Django aggregates the operations from all past migrations. When the aggregated state of the migrations is not consistent with the state of the models, Django generates a new migration.
In the previous example, you created the index using raw SQL. Django did not know you created the index because you didn’t use a familiar migration operation.
When Django aggregated all the migrations and compared them with the state of the models, it found that an index was missing. This is why, even after you created the index manually, Django still thought it was missing and generated a new migration for it.
How to Separate Database and State in Migrations
Since Django is unable to create the index the way you want it to, you want to provide your own SQL but still let Django know you created it.
In other words, you need to execute something in the database and provide Django with the migration operation to sync its internal state. To do that, Django provides us with a special migration operation called SeparateDatabaseAndState. This operation is not well known and should be reserved for special cases such as this one.
It’s much easier to edit migrations than write them from scratch, so start by generating a migration the usual way:
$ python manage.py makemigrations --name add_index_separate_database_and_state

Migrations for 'app':
  app/migrations/0002_add_index_separate_database_and_state.py
    - Alter field sold_at on sale
This is the contents of the migration generated by Django, same as before:
# migrations/0002_add_index_separate_database_and_state.py

from django.db import migrations, models

class Migration(migrations.Migration):

    dependencies = [
        ('app', '0001_initial'),
    ]

    operations = [
        migrations.AlterField(
            model_name='sale',
            name='sold_at',
            field=models.DateTimeField(
                auto_now_add=True,
                db_index=True,
            ),
        ),
    ]
Django generated an AlterField operation on the field sold_at. The operation will create an index and update the state. We want to keep this operation but provide a different command to execute in the database.
Once again, to get the command, use the SQL generated by Django:
$ python manage.py sqlmigrate app 0002
BEGIN;
--
-- Alter field sold_at on sale
--
CREATE INDEX "app_sale_sold_at_b9438ae4" ON "app_sale" ("sold_at");
COMMIT;
Add the CONCURRENTLY keyword in the appropriate place:
CREATE INDEX CONCURRENTLY "app_sale_sold_at_b9438ae4"
ON "app_sale" ("sold_at");
Next, edit the migration file and use SeparateDatabaseAndState to provide your modified SQL command for execution:
# migrations/0002_add_index_separate_database_and_state.py

from django.db import migrations, models

class Migration(migrations.Migration):

    dependencies = [
        ('app', '0001_initial'),
    ]

    operations = [

        migrations.SeparateDatabaseAndState(

            state_operations=[
                migrations.AlterField(
                    model_name='sale',
                    name='sold_at',
                    field=models.DateTimeField(
                        auto_now_add=True,
                        db_index=True,
                    ),
                ),
            ],

            database_operations=[
                migrations.RunSQL(sql="""
                    CREATE INDEX CONCURRENTLY "app_sale_sold_at_b9438ae4"
                    ON "app_sale" ("sold_at");
                """, reverse_sql="""
                    DROP INDEX "app_sale_sold_at_b9438ae4";
                """),
            ],
        ),

    ],
The migration operation SeparateDatabaseAndState accepts 2 lists of operations:
- state_operations are operations to apply on the internal model state. They do not effect the database.
- database_operations are operations to apply to the database.
You kept the original operation generated by Django in state_operations. When using SeparateDatabaseAndState, this is what you will usually want to do. Notice that the db_index=True argument is provided to the field. This migration operation will let Django know that there is an index on the field.
You used the SQL generated by Django and added the CONCURRENTLY keyword. You used the special action RunSQL to execute raw SQL in the migration.
If you try to run the migration, you will get the following output:
$ python manage.py migrate app
Operations to perform:
  Apply all migrations: app
Running migrations:
  Applying app.0002_add_index_separate_database_and_state...Traceback (most recent call last):
  File "/venv/lib/python3.7/site-packages/django/db/backends/utils.py", line 83, in _execute
    return self.cursor.execute(sql)
psycopg2.InternalError: CREATE INDEX CONCURRENTLY cannot run inside a transaction block
Non-Atomic Migrations
In SQL, CREATE, DROP, ALTER, and TRUNCATE operations are referred to as Data Definition Language (DDL). In databases that support transactional DDL, such as PostgreSQL, Django executes migrations inside a database transaction by default. However, according to the error above, PostgreSQL cannot create an index concurrently inside a transaction block.
To be able to create an index concurrently within a migration, you need to tell Django to not execute the migration in a database transaction. To do that, you mark the migration as non-atomic by setting atomic to False:
# migrations/0002_add_index_separate_database_and_state.py

from django.db import migrations, models

class Migration(migrations.Migration):
    atomic = False

    dependencies = [
        ('app', '0001_initial'),
    ]

    operations = [

        migrations.SeparateDatabaseAndState(

            state_operations=[
                migrations.AlterField(
                    model_name='sale',
                    name='sold_at',
                    field=models.DateTimeField(
                        auto_now_add=True,
                        db_index=True,
                    ),
                ),
            ],

            database_operations=[
                migrations.RunSQL(sql="""
                    CREATE INDEX CONCURRENTLY "app_sale_sold_at_b9438ae4"
                    ON "app_sale" ("sold_at");
                """,
                reverse_sql="""
                    DROP INDEX "app_sale_sold_at_b9438ae4";
                """),
            ],
        ),

    ],
After you marked the migration as non-atomic, you can run the migration:
$ python manage.py migrate app
Operations to perform:
  Apply all migrations: app
Running migrations:
  Applying app.0002_add_index_separate_database_and_state... OK
You just executed the migration without causing any downtime.
Here are some issues to consider when you’re using SeparateDatabaseAndState:
-
Database operations must be equivalent to state operations: Inconsistencies between the database and model state can cause a lot of trouble. A good starting point is to keep the operations generated by Django in
state_operationsand edit the output ofsqlmigrateto use indatabase_operations. -
Non atomic migrations cannot rollback in case of error: If there is an error during the migration, then you won’t be able to rollback. You would have to either rollback the migration or complete it manually. It’s a good idea to keep the operations executed inside a non-atomic migration to a minimum. If you have additional operations in the migration, move them to a new migration.
-
Migration might be vendor specific: The SQL generated by Django is specific to the database backend used in the project. It might work with other database backends, but that is not guaranteed. If you need to support multiple database backends, you need to make some adjustments to this approach.
Conclusion
You started this tutorial with a large table and a problem. You wanted to make your app faster for your users, and you wanted to do that without causing them any downtime.
By the end of the tutorial, you managed to generate and safely modify a Django migration to achieve this goal. You tackled different problems along the way and managed to overcome them using built-in tools provided by the migrations framework.
In this tutorial, you learned the following:
- How Django migrations work internally using model and database state, and when new migrations are generated
- How to execute custom SQL in migrations using the
RunSQLaction - What reversible migrations are, and how to make a
RunSQLaction reversible - What atomic migrations are, and how to change the default behavior according to your needs
- How to safely execute complex migrations in Django
The separation between model and database state is an important concept. Once you understand it, and how to utilize it, you can overcome many limitations of the built-in migration operations. Some use cases that come to mind include adding an index that was already created in the database and providing vendor specific arguments to DDL commands.