After implementing the main functionality of a web project, you may find that your app is rough around the edges. Often, this boils down to the user experience (UX) of your project. For example, when you send a form, you don’t receive a success message, although everything worked fine. You want to build an immersive experience, but wrong URLs display unwelcoming error messages. Luckily, you can get valuable information from Flask through logging.
As an admin of a web project, you may know how to navigate your app without running into errors. But looking at the messages that the server sends you, you may notice that not all users do. That’s when a more verbose logging system can give you insights.
In this tutorial, you’ll learn how to:
- Create error pages
- Improve the user experience with notification messages
- Gain information with logging
Adding features like the ones listed above may keep your current functionality intact and enhance your web project with a better user experience that your visitors will love.
Get Your Code: Click here to download the free source code that shows you how to add error pages and logging to your Flask app.
Prerequisites
You’ll gain the most value from this tutorial if you’ve already created one or more Flask web projects yourself. It’ll also be helpful if you’ve worked with Jinja templating and HTML and CSS before.
Also, you should be comfortable using the terminal and have basic knowledge of Python. Although it helps to know about virtual environments and pip, you’ll learn how to set everything up as you work through the tutorial.
Project Overview
In this tutorial, you’ll continue to work on an existing Flask project. The project at hand is a public message board.
You’ll start with an existing Flask project and then implement logging and notification messages:
The demo video above shows the Flask project on the left and the terminal with server logs on the right. When you interact with the web app, you get helpful feedback with notification messages. As an admin, you can also see the info messages in your logs to help you understand how your users interact with your app.
In the next step, you’ll download the source code of the Flask project. However, you’ll notice that the codebase is quite generic so that you can transfer the instructions of this tutorial into your own Flask project.
Get Started
In this section, you’ll download all the requirements that you need for this tutorial and set up the development environment. Generally, you can leverage this tutorial to expand any Flask project that you’re currently working on. However, if you want to follow along closely, then you should perform the steps outlined below.
Grab the Prerequisites
To hit the ground running, you’ll build up on an existing Flask project with a database. That way, you don’t need to create a Flask project from scratch. Instead, you can focus on the main objectives of this tutorial, like adding an error page and displaying helpful messages to your users.
The code that you need is already in place for you. All you need to do is download the source code by clicking the link below:
Get Your Code: Click here to download the free source code that shows you how to add error pages and logging to your Flask app.
Alternatively, you can follow the Flask project with a database tutorial. Either way, you should end up with a folder structure that looks like this:
rp_flask_board/
├── board/
│   │
│   ├── static/
│   │   └── styles.css
│   │
│   ├── templates/
│   │   │
│   │   ├── pages/
│   │   │   ├── about.html
│   │   │   └── home.html
│   │   │
│   │   ├── posts/
│   │   │   ├── create.html
│   │   │   └── posts.html
│   │   │
│   │   ├── _navigation.html
│   │   └── base.html
│   │
│   ├── __init__.py
│   ├── database.py
│   ├── pages.py
│   ├── posts.py
│   └── schema.sql
│
└── board.sqlite
Once you’ve got the folder structure for your Flask project in place, you can read on to prepare the development environment that you’ll need to work on your web app.
Prepare Your Development Environment
Before you continue working on your Flask project, it’s a good idea to create and activate a virtual environment. That way, you’re installing any project dependencies not system-wide but only in your project’s virtual environment.
Select your operating system below and use your platform-specific command to set up a virtual environment:
With the commands shown above, you create and activate a virtual environment named venv by using Python’s built-in venv module. The parenthesized (venv) in front of the prompt indicates that you’ve successfully activated the virtual environment.
If you haven’t done so already, make sure to install Flask before continuing with this tutorial:
(venv) $ python -m pip install Flask==3.0.0
Other than Flask, you’ll work with python-dotenv. Go ahead and install python-dotenv with the command below:
(venv) $ python -m pip install python-dotenv==1.0.0
With the help of python-dotenv, you’ll be able to read key-value pairs from an external file and keep sensitive information out of your code base.
After following the steps above, you can verify that your Flask application is running without errors. Execute the following command in the directory containing the app.py file:
(venv) $ python -m flask --app board run --port 8000 --debug
When you run this application, a web server will start on port 8000. If you open a browser and navigate to http://localhost:8000, then you should see the Home page of your project:
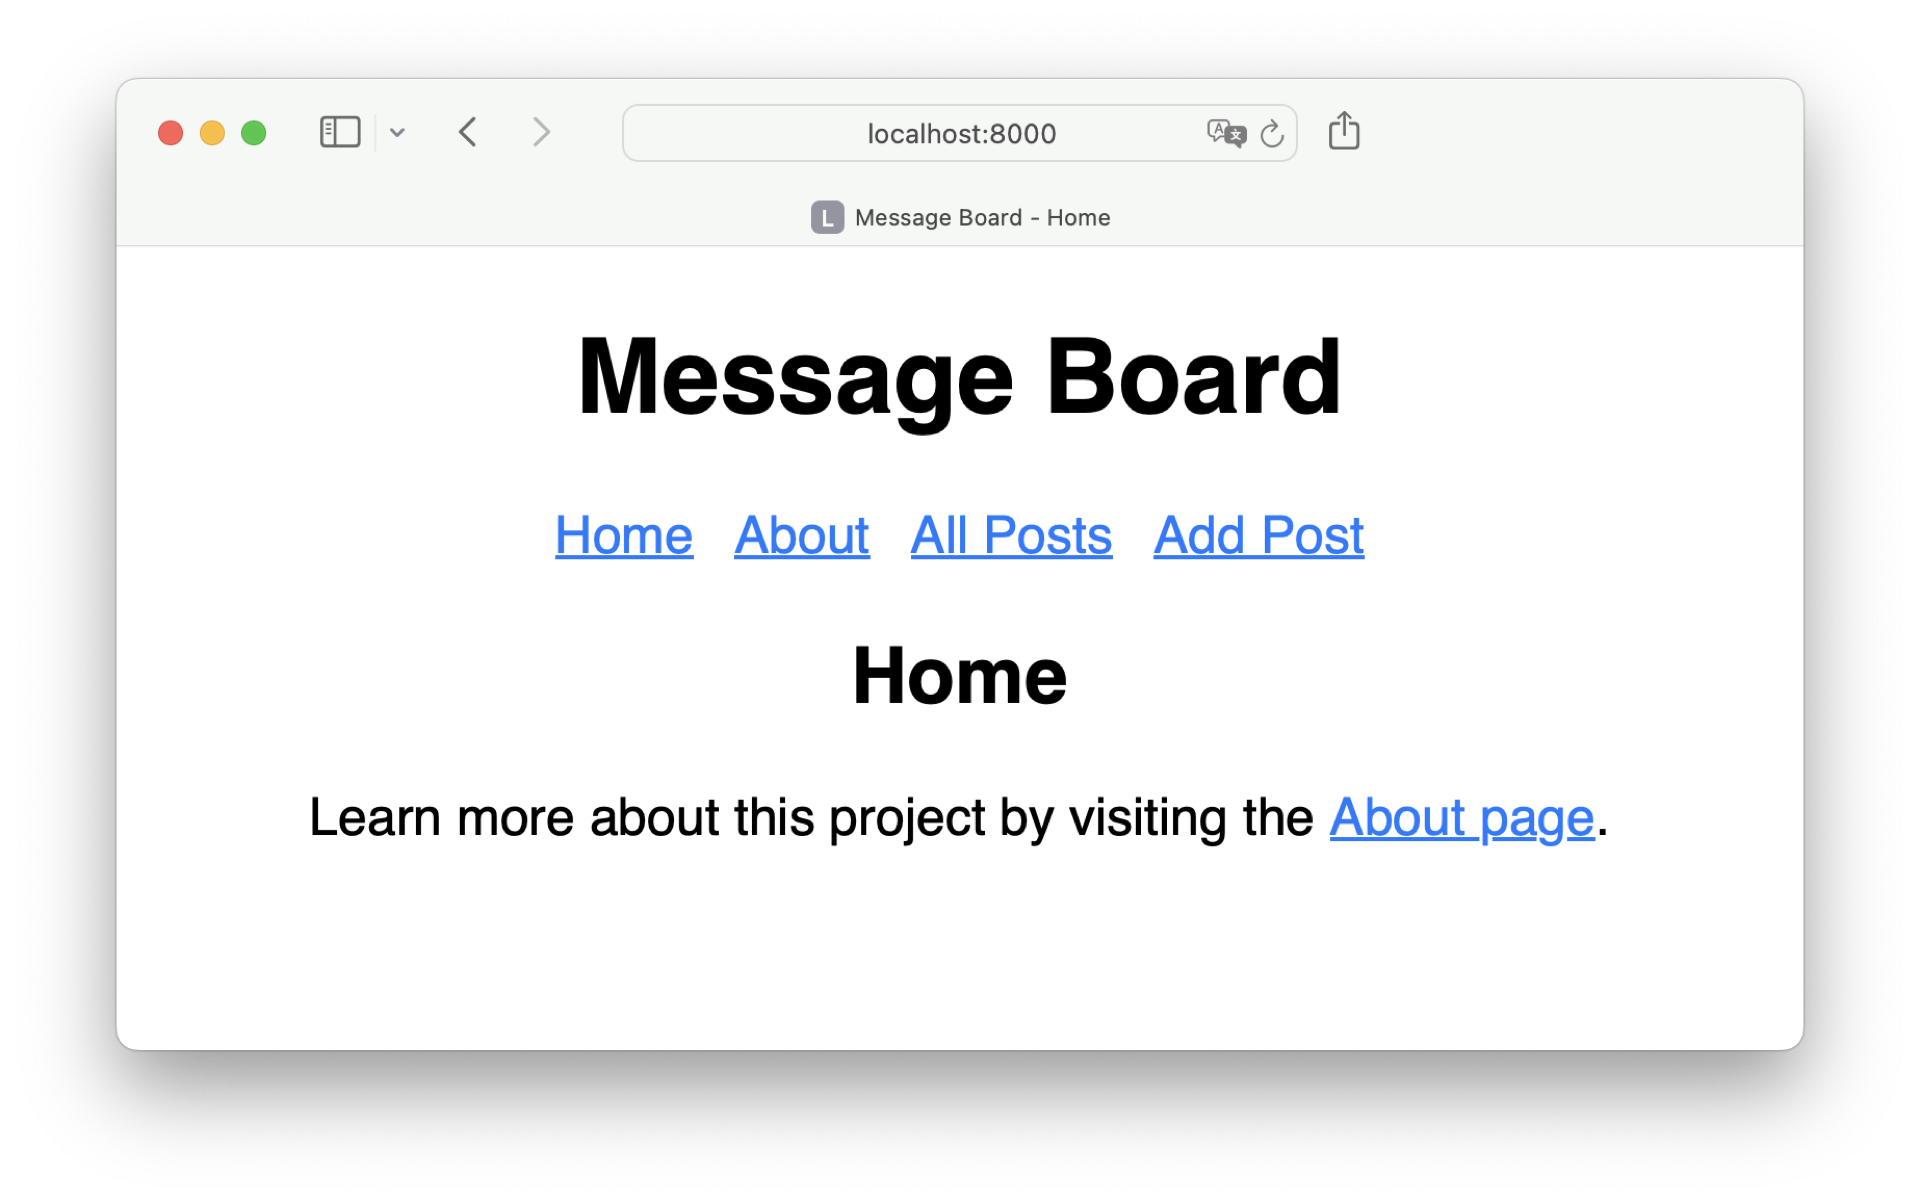
Perfect, your app is running flawlessly! You can use the menu to navigate from one page to another. But what happens if you end up on a page that doesn’t exist?
Add a Friendly Error Page
Typos can happen, and page URLs may change over time. Maybe you’ve experienced yourself that a link that a friend gave you doesn’t work anymore. In those cases, you’re often seeing an error page instead of the expected content. In this section, you’ll add another page to your Flask web project that you can display when a URL doesn’t exist.
Explore the Current Error Page
Flask comes with an error page that the development server displays when you enter a wrong URL. But it looks rather basic.
You can check it out when you enter a page URL that doesn’t exist. For example, type http://localhost:8000/creat instead of create:
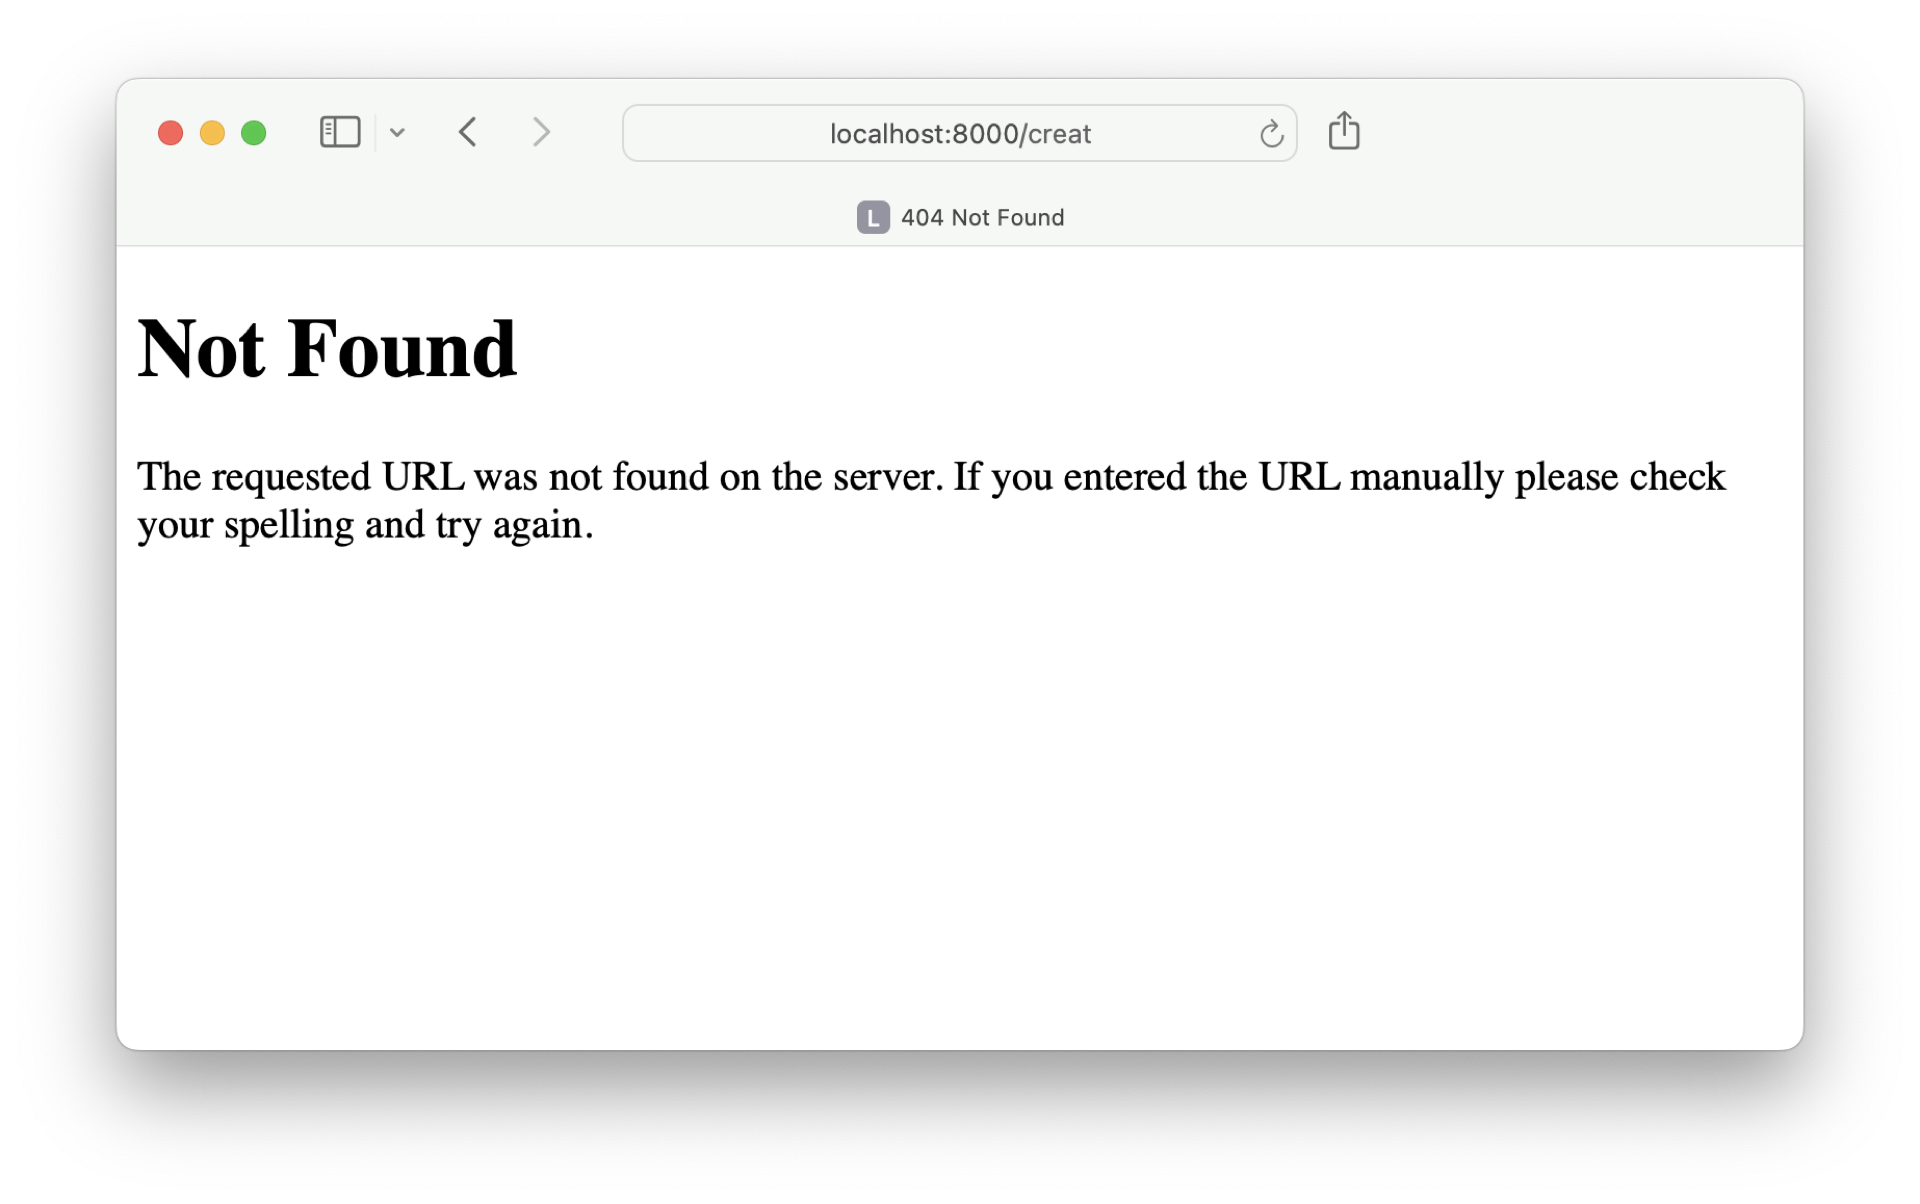
When a user enters a nonexistent page URL for your web app, then they’ll see a generic error page. Running into an error is never nice. However, you can still make it a better experience for the users of your Flask web project.
Create an Error Handler
When you end up on a URL that doesn’t exist, then Flask returns a 404 HTTP response status code with the generic website that you saw in the previous section. That’s quite similar to when you enter an existing URL for a page of your Flask project, except in that case, Flask finds the corresponding view and returns the rendered template.
To work with your custom error page, you can add an error handler to your project. An error handler is basically a view for a specific error type. That means you can implement an error handler for a 404 error similarly to regular views.
Create a new file named errors.py in your board/ folder and add the code below:
board/errors.py
from flask import render_template

def page_not_found(e):
    return render_template("errors/404.html"), 404
You can make the name of the view function whatever you like. However, it’s important that you respond with the correct response status code when you render the template. When a page doesn’t exist, then the error code must be 404.
Note: When Flask calls the error handler, you also receive the error object, which is commonly abbreviated to the letter e. Here, you’re not working with the error object yet. But later in this tutorial, this parameter will come in handy.
It’s also a good idea to use the error code as the filename for the template that you render for your custom error page. Here, you’re rendering a 404.html template.
Design the 404 Error Template
Your page_not_found() error handler wants to render a template named 404.html. Go ahead and create the 404.html template inside an errors/ subfolder in templates/ and add the code below:
templates/errors/404.html
<!DOCTYPE html>
<html lang="en">
<head>
  <title>{% block title %}{% endblock title %}</title>
  <link rel="stylesheet" href="{{ url_for('static', filename='styles.css') }}">
</head>
<body>
<h1>Page not found</h1>
<p>Please go to one of the pages below:</p>
  {% include("_navigation.html") %}
</body>
</html>
Just like with the templates of other pages in your Flask web project, you could make 404.html a child template of base.html. But it’s also reasonable to switch the styling a bit for error pages like this one.
Here, you’re displaying the navigation at the end of the page instead of at the top. Still, you use the same style sheet to display cohesive styling even when a user runs into an error. Before anyone can admire your error page, you must register the error handler in your Flask project.
Register the Error Handler
To work with custom error pages, you must register the error handler in your project’s application factory. Open __init__.py and add the highlighted code below:
board/__init__.py
 1import os
 2from dotenv import load_dotenv
 3from flask import Flask
 4
 5from board import (
 6    database,
 7    errors,
 8    pages,
 9    posts,
10)
11
12load_dotenv()
13
14def create_app():
15    app = Flask(__name__)
16    app.config.from_prefixed_env()
17
18    database.init_app(app)
19
20    app.register_blueprint(pages.bp)
21    app.register_blueprint(posts.bp)
22    app.register_error_handler(404, errors.page_not_found)
23    print(f"Current Environment: {os.getenv('ENVIRONMENT')}")
24    print(f"Using Database: {app.config.get('DATABASE')}")
25    return app
After importing errors in line 7, you can call .register_error_handler() in your application factory. The first argument is the error status code you want to register, which is 404. This status code must match the status code returned by the second argument, which is your page_not_found view.
Now that you’ve registered the 404 error, you can check out the error for any nonexistent URL of your project. For example, go to http://localhost:8000/hei:
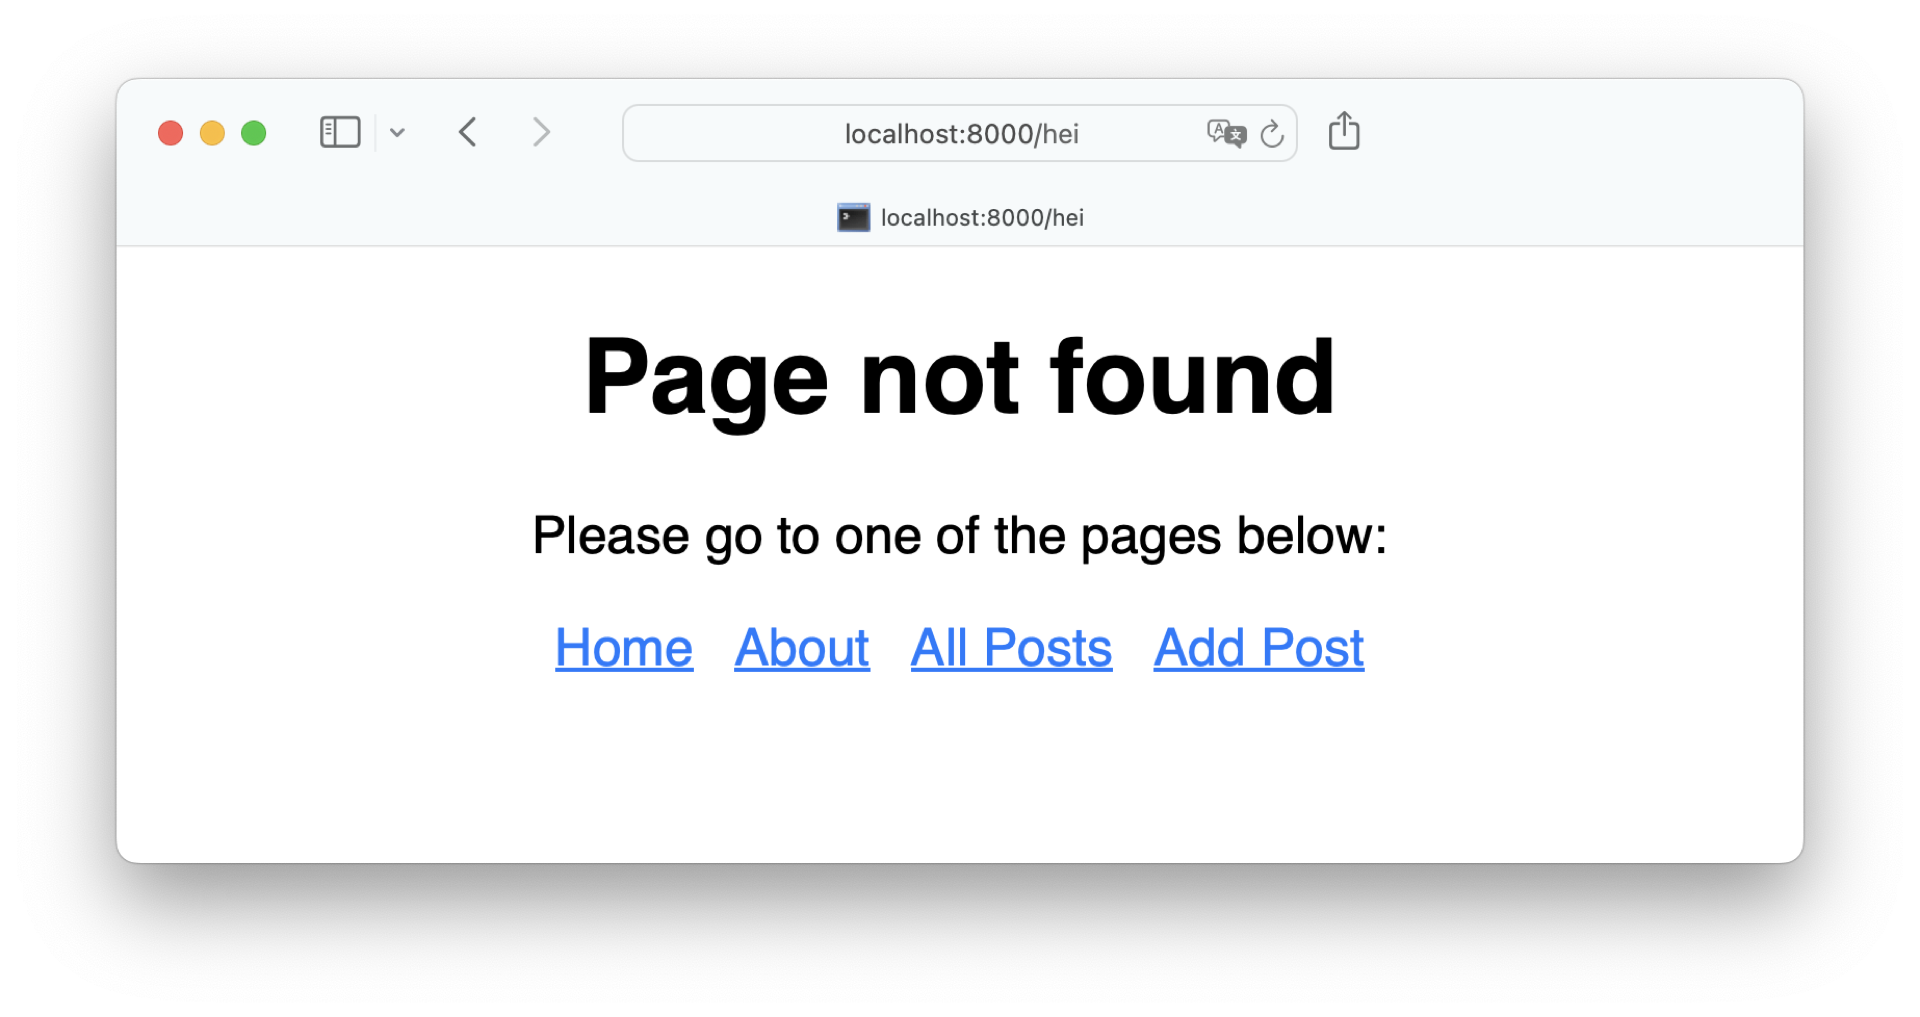
The error page looks much better than the generic error page. You also give the user the opportunity to choose one of your existing pages once they run into the error. Adding a custom error page enhances the user experience of your app tremendously. In the next section, you’ll continue to improve the user experience by showing a notification message to the user when they submit a form.
Give Feedback to the User
When you send a form to the message board, you can see that everything worked fine by finding your message posted to the board. However, it’d be nice to get better feedback on whether something worked or not. For this, you can use notification messages that pop up when a user submits a form.
Find a Spot for Notifications
First, you need to find a spot on your pages where you want to display notification messages when they appear. When they appear, it’s important that the users notice them. That’s why the top of the page is usually a good location to place your notification messages.
In your Flask project, the perfect spot is the header that you can find in the base template. Navigate to your templates/ folder, open base.html, and add three message containers inside the <header> element:
templates/base.html
<!DOCTYPE html>
<html lang="en">
<head>
  <title>Message Board - {% block title %}{% endblock title %}</title>
  <link rel="stylesheet" href="{{ url_for('static', filename='styles.css') }}">
</head>
<body>
<h1>Message Board</h1>
{% include("_navigation.html") %}
<section>
  <header>
    {% block header %}{% endblock header %}
    <div class="flash success">Everything worked!</div>
    <div class="flash error">Oh no, something went wrong.</div>
  </header>
  <main>
    {% block content %}<p>No messages.</p>{% endblock content %}
  <main>
</section>
</body>
</html>
The header Jinja block displays the headline of the page that you’re currently on. Placing any incoming notification messages underneath looks like a good choice!
Note: Later, you’ll display the notification messages dynamically. To make the notification elements look nice, it’s helpful to see them consistently for now.
In this tutorial, you’ll work with two message types:
- Success: A friendly notification that reassures the user that everything worked fine.
- Error: An informative notification to indicate that something went wrong.
Besides the success and error categories, you often use warning and info messages. Feel free to add any message category that you want to the list above. Later, you’ll learn how you can show any of them in Flask.
Style Your Notifications
With both notification elements in place, you can start styling them. Following the colors of most traffic lights, the success notification should be green, and the error notification should be red. Hop over to your CSS file in your static/ folder and add the CSS declarations below:
board/static/styles.css
/* ... */

.flash {
  padding: 20px;
  margin: 20px;
}

.flash.error {
  background-color: #ffa7ae;
  color: #a02a36;
}

.flash.success {
  background-color: #96faad;
  color: #1c7530;
}
All of your notifications share the .flash class. Thanks to the padding and margins, the text inside the notification element will have enough space, and the elements won’t collide with any other content. Then, you add specific colors to the text and the background of your notification categories.
Open your browser, visit http://localhost:8000/, and check out how your notification messages look:
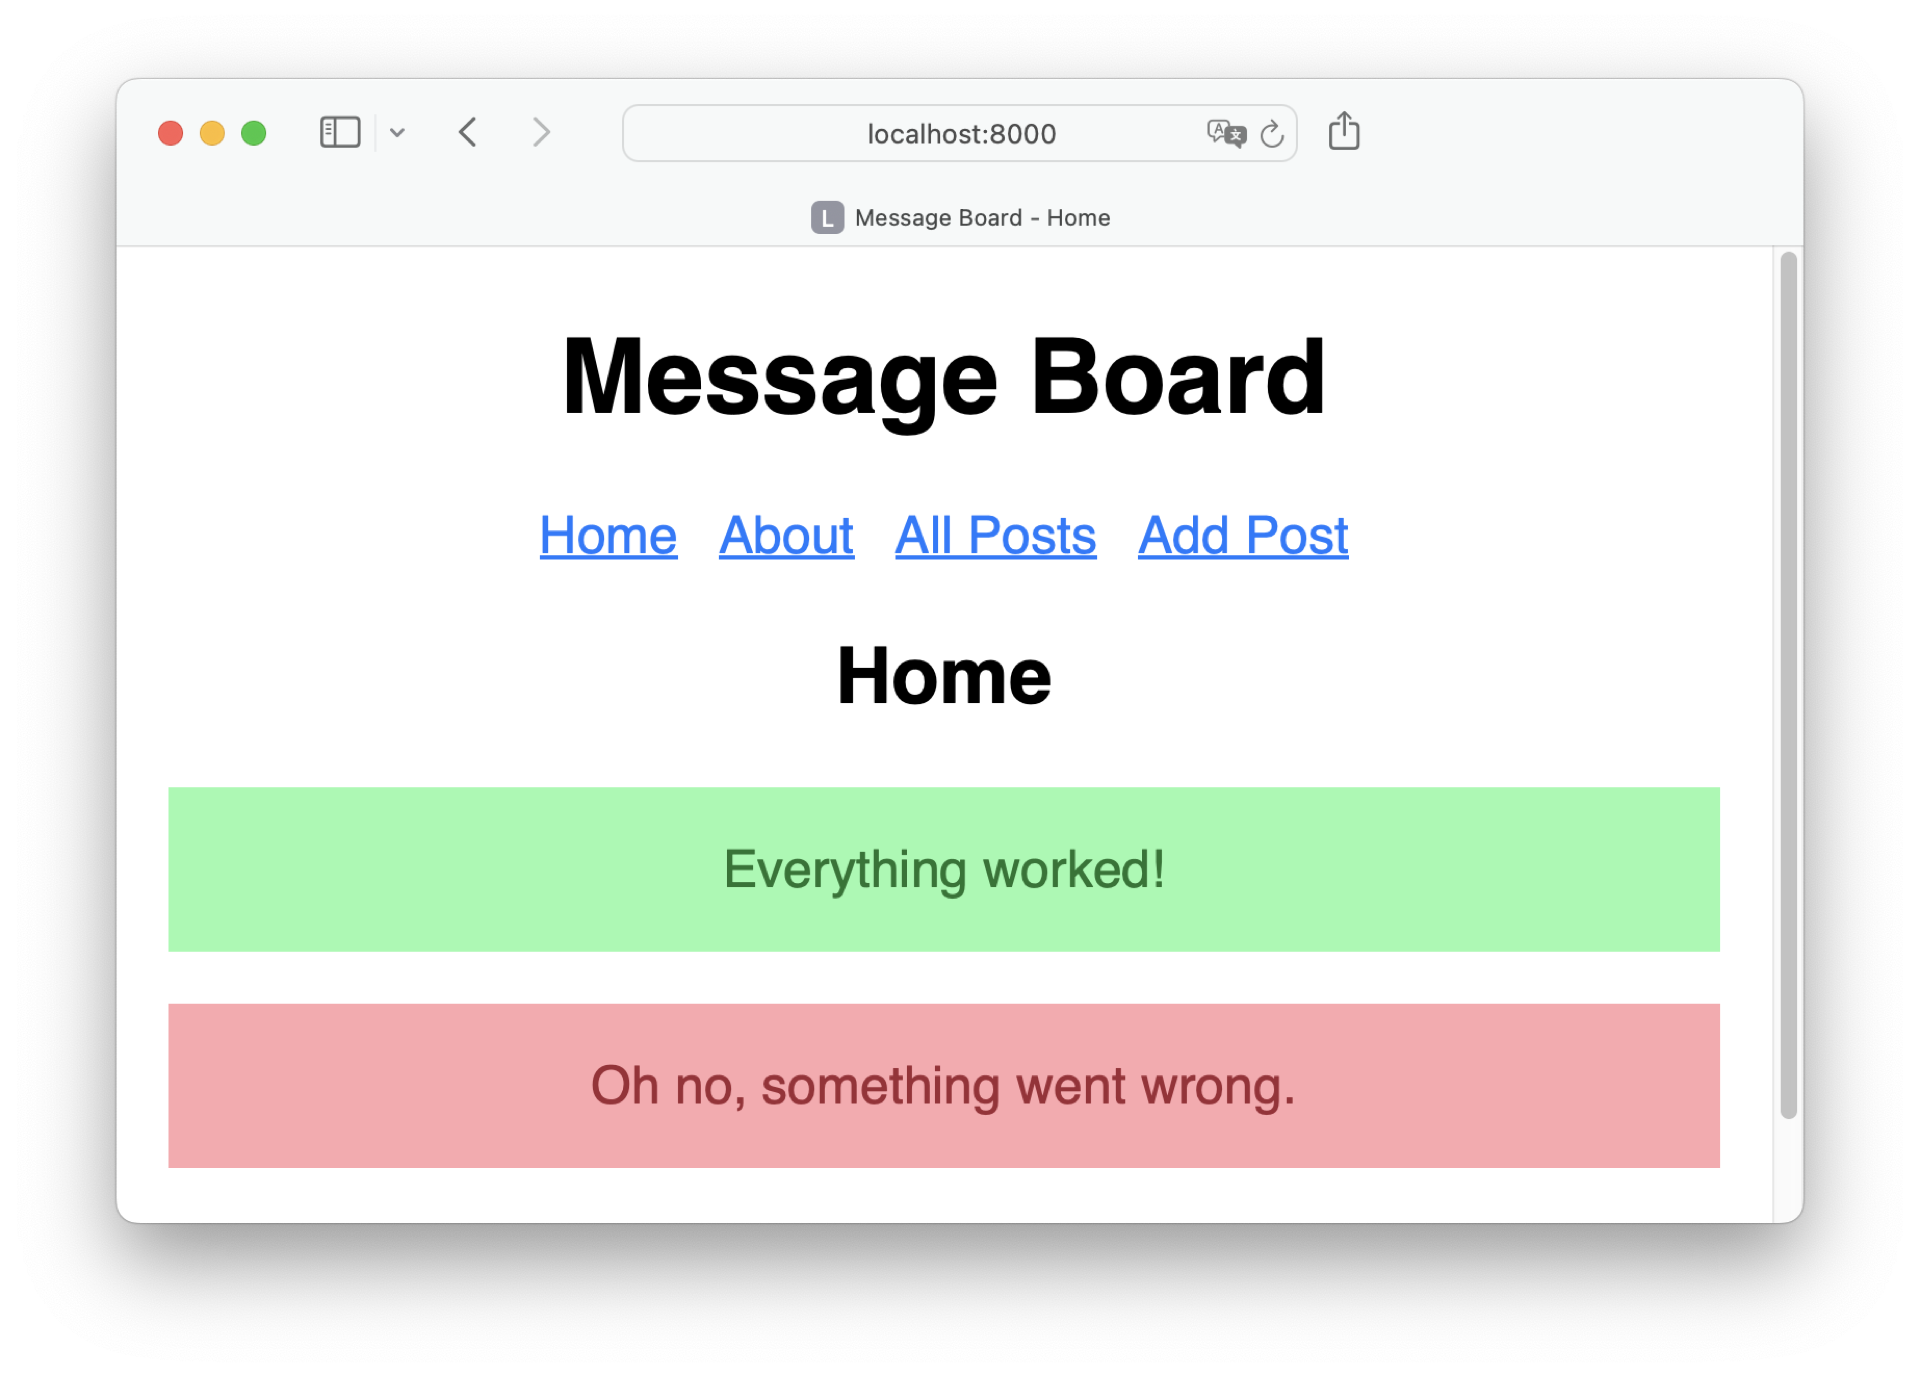
Nice! Now that you’ve styled the notification messages, you can continue to display dynamic notifications with Flask.
Leverage Flask’s Notification System
Displaying notification messages to users is vital for the look and feel of web applications. That’s why Flask comes with a message flashing system that you can leverage as a developer.
To display a notification message with Flask, you need to call the flash() function in suitable views. In your project, it’s a good idea to display notification messages after the user submits a form.
You can find the logic to handle forms in posts.py. Open the file and add the highlighted code below:
board/posts.py
 1from flask import (
 2    Blueprint,
 3    flash,
 4    redirect,
 5    render_template,
 6    request,
 7    url_for,
 8)
 9
10from board.database import get_db
11
12bp = Blueprint("posts", __name__)
13
14@bp.route("/create", methods=("GET", "POST"))
15def create():
16    if request.method == "POST":
17        author = request.form["author"] or "Anonymous"
18        message = request.form["message"]
19
20        if message:
21            db = get_db()
22            db.execute(
23                "INSERT INTO post (author, message) VALUES (?, ?)",
24                (author, message),
25            )
26            db.commit()
27            flash(f"Thanks for posting, {author}!", category="success")
28            return redirect(url_for("posts.posts"))
29        else:
30            flash("You need to post a message.", category="error")
31
32    return render_template("posts/create.html")
33
34# ...
After importing the flash object in line 3, you call flash() in line 27 and line 30.
In line 27, you call flash() with the category argument set to "success", thanking the user for posting a message. You only do so when the user actually submits a message. If the user didn’t submit a message, then you call flash() with category set to "error".
Before you can see the messages in action, you need to make an adjustment in base.html to work with Flask’s flash system:
templates/base.html
<!DOCTYPE html>
<html lang="en">
<head>
  <title>Message Board - {% block title %}{% endblock title %}</title>
  <link rel="stylesheet" href="{{ url_for('static', filename='styles.css') }}">
</head>
<body>
<h1>Message Board</h1>
{% include("_navigation.html") %}
<section>
  <header>
    {% block header %}{% endblock header %}
    {% for category, message in get_flashed_messages(with_categories=true) %}
      <div class="flash {{ category }}">{{ message }}</div>
    {% endfor %}
  </header>
  <main>
    {% block content %}<p>No messages.</p>{% endblock content %}
  <main>
</section>
</body>
</html>
To receive messages from your Flask view, you use get_flashed_messages(). By default, you’d only receive the message text from Flask. If you also pass in the with_categories argument and set it to true, then Flask also sends the message category along. Having category and message present enables you to set the notification message text and CSS class dynamically.
To see the notification messages in action, hop over to http://localhost:8000/create and post a message:
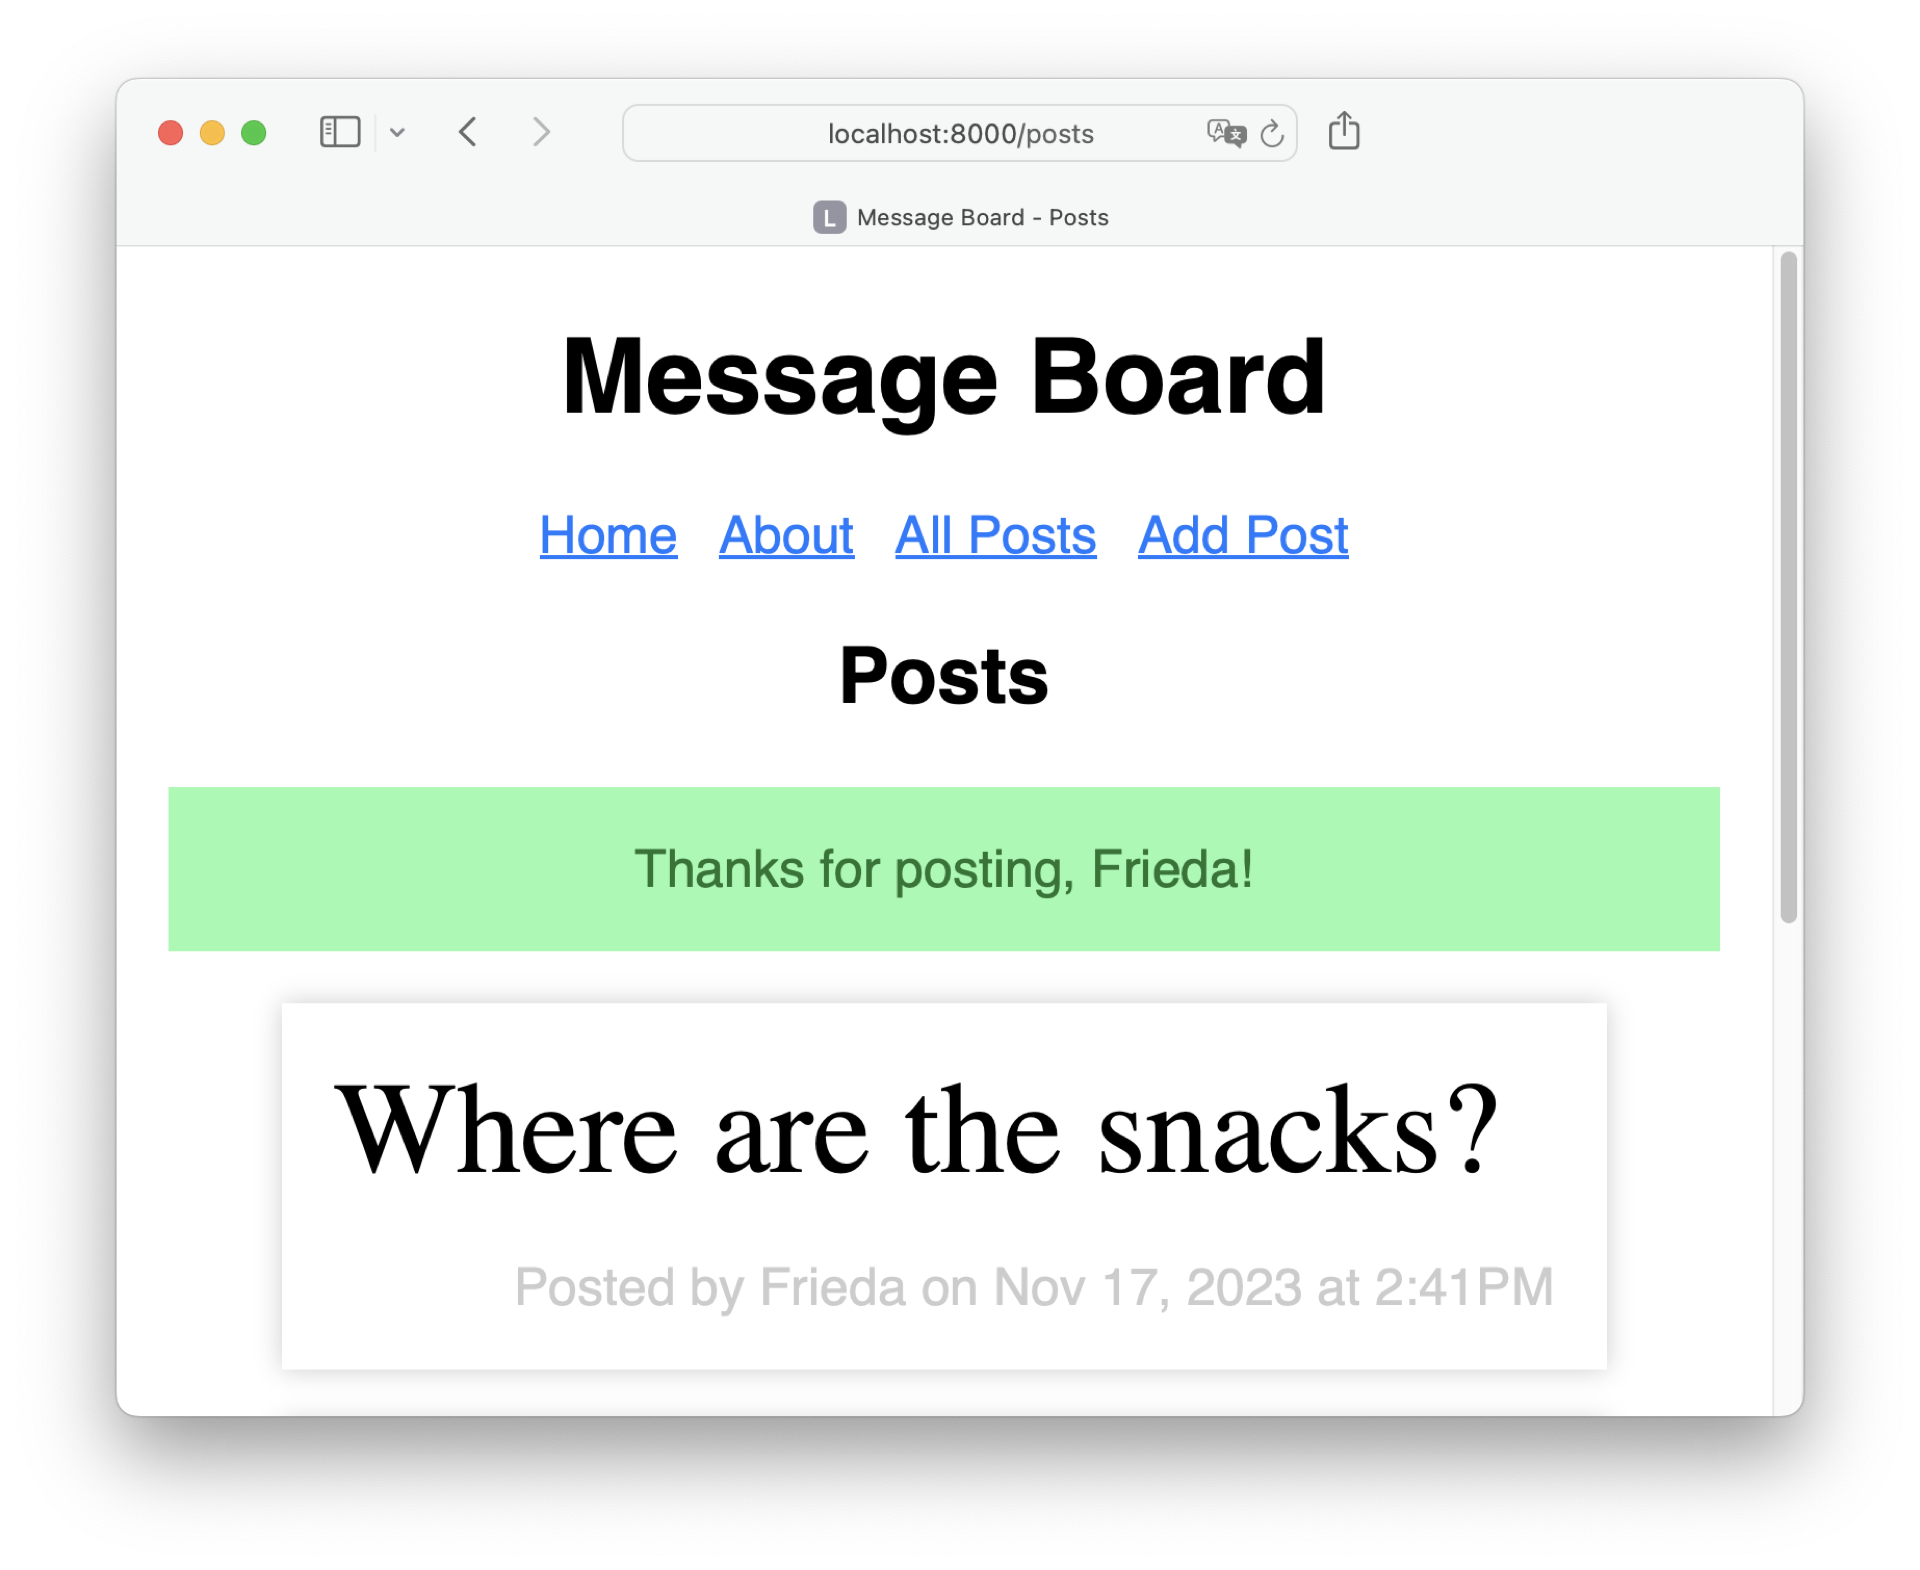
As long as a posted message contains text, you receive the success notification. Next, try posting a message without text:
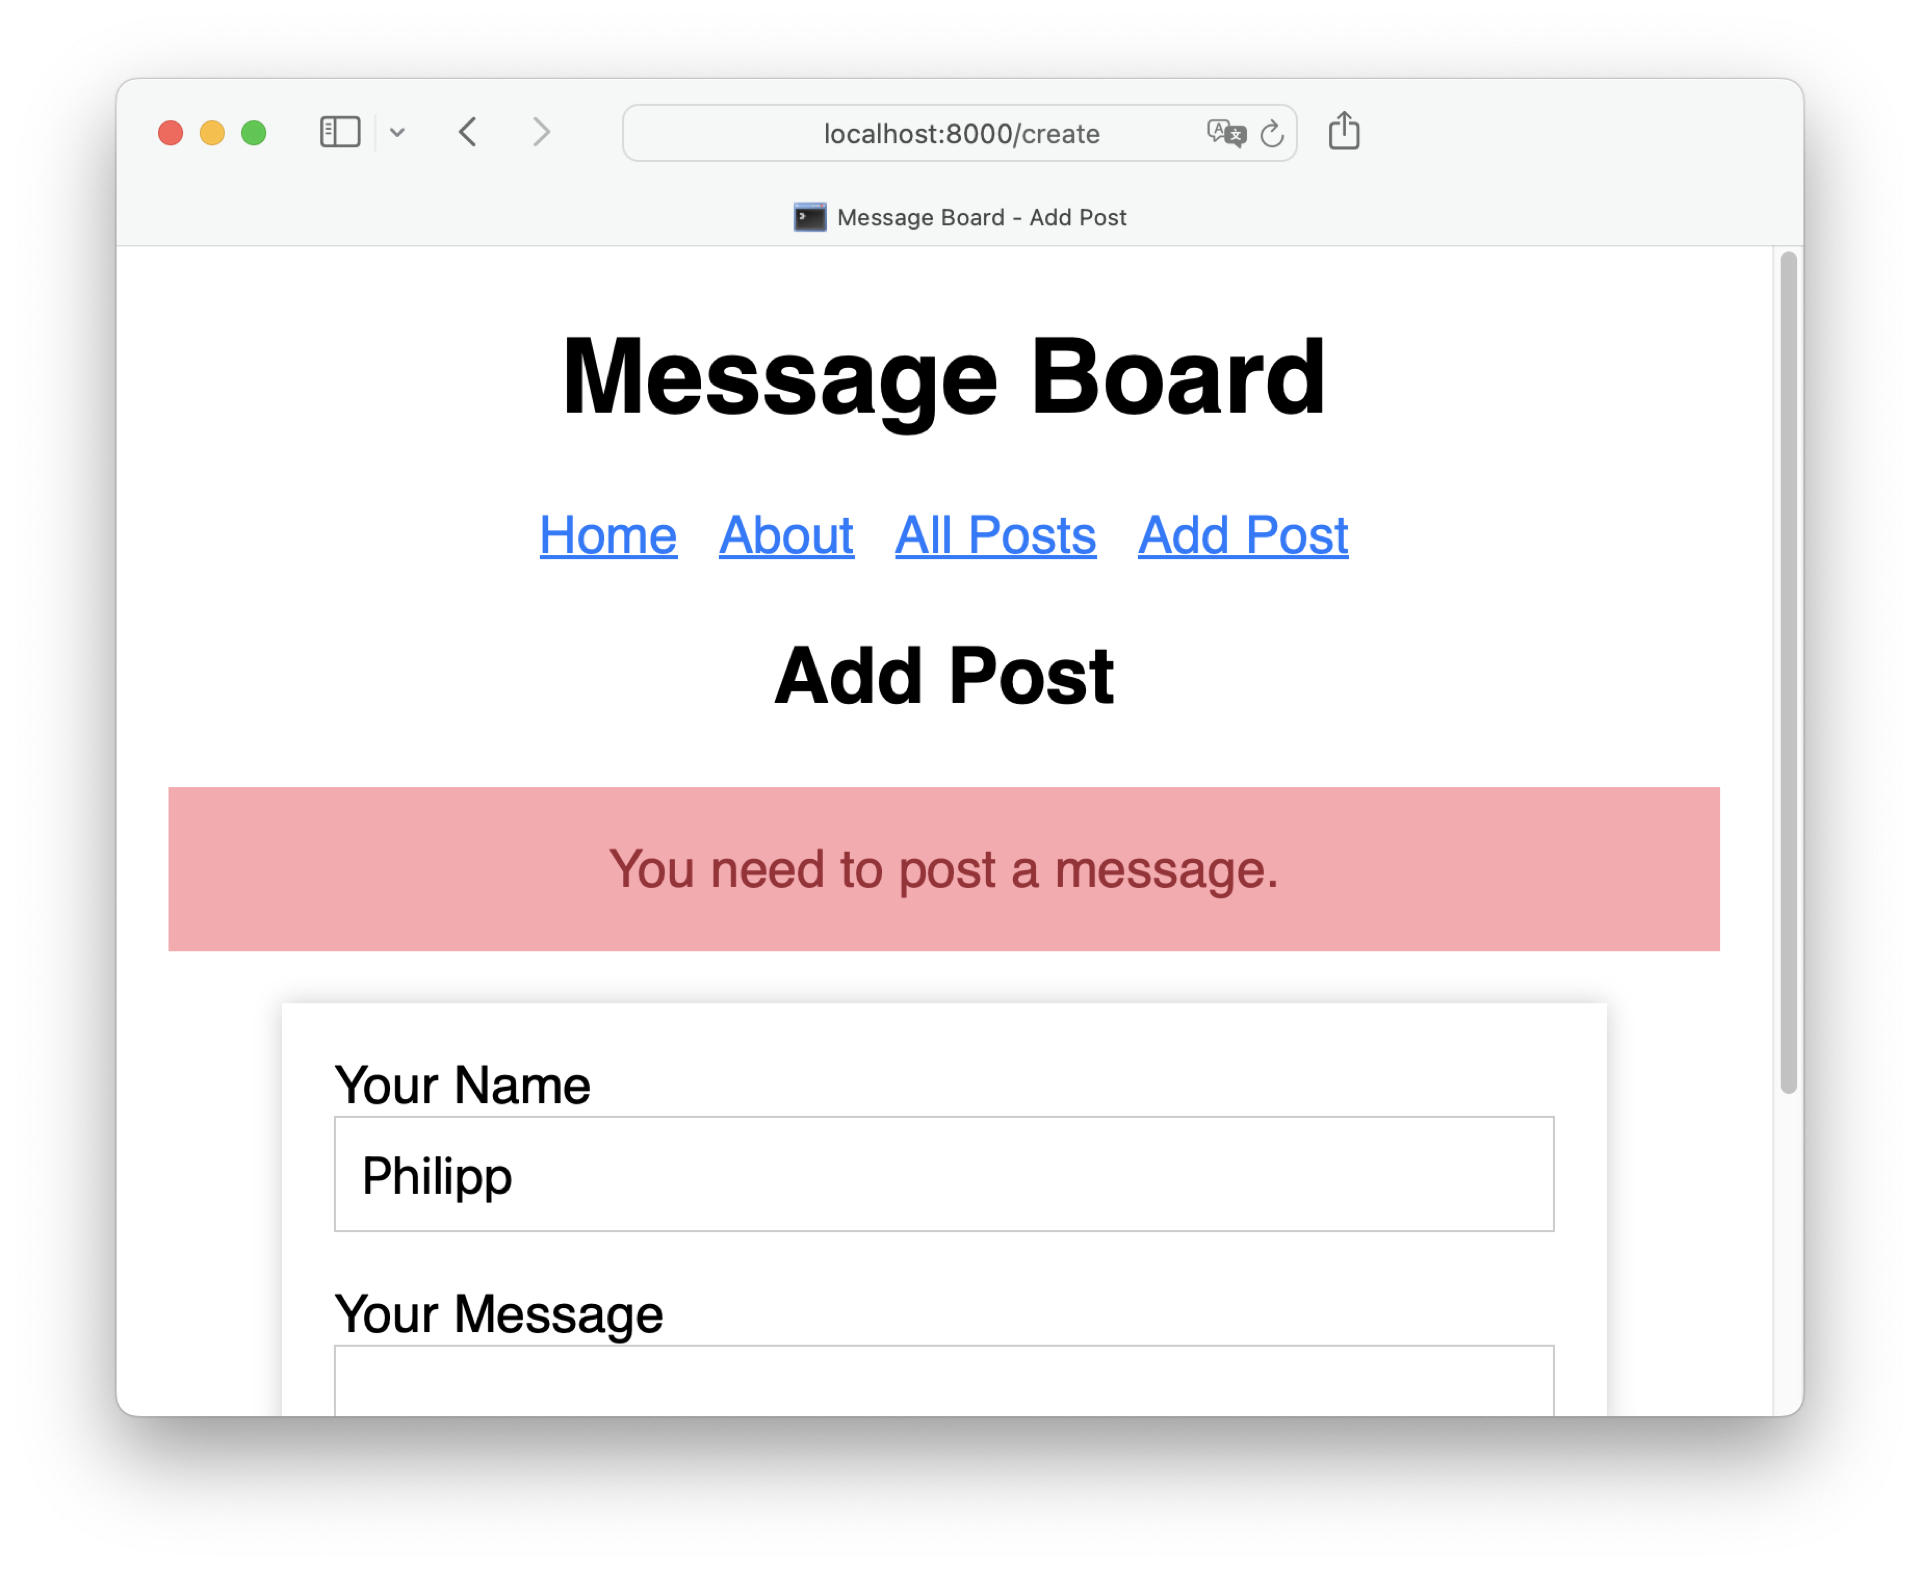
Just as expected, you receive a red error notification message when you leave the message input empty when sending the form. To prevent users from accidentally posting empty messages, you can consider setting a required HTML attribute.
However, keeping this potential erroneous situation in for the moment enables you to explore another user experience enhancement. This time, the enhancement is all for you as the admin of the Flask project.
Use Flask’s Logging Messages to Receive Terminal Info
When a user posts an incomplete form or enters a URL that doesn’t exist, they see an error message on the website. For you as an admin, it would be helpful to receive the information as well if something went wrong.
The last enhancement that you’ll implement in this tutorial will be seeing more information about your Flask project in the terminal when you run your Flask development server.
With logging, you can get a better understanding of your Python code. Flask uses Python’s standard logging module for the output that you already see in the terminal when you interact with your Flask project in the browser.
If you heavily rely on logging in a Flask project, then Flask offers you plenty of logging configuration options. But for your use case, it’s best to use the default logger of your Flask app.
Open __init__.py and replace the print() calls with debugging logs:
board/__init__.py
# ...

def create_app():
    app = Flask(__name__)
    app.config.from_prefixed_env()

    database.init_app(app)

    app.register_blueprint(pages.bp)
    app.register_blueprint(posts.bp)
    app.register_error_handler(404, errors.page_not_found)
    app.logger.debug(f"Current Environment: {os.getenv('ENVIRONMENT')}")
    app.logger.debug(f"Using Database: {app.config.get('DATABASE')}")
    return app
If you restart your Flask development server, then the output looks similar to the output that you saw before. But instead of just seeing your messages in the output, you can additionally see a timestamp and the file that triggered the log message:
(venv) $ python -m flask --app board run --port 8000 --debug
[2023-11-17 18:12:12,191] DEBUG in __init__: Current Environment: Development
[2023-11-17 18:12:12,192] DEBUG in __init__: Using Database: board.sqlite
 * Serving Flask app 'board'
 * Debug mode: on
...
In Flask, using app.logger.debug() instead of the print() function call offers another major advantage. You can work with logging levels.
Logging levels allow you to categorize messages according to their severity and importance. For example, using app.logger.debug() for debug messages ensures that you only see these messages when you start the development server in the debug mode.
With debug in your flask command, you can see both logging messages that you added to __init__.py. Now, stop the Flask development server by pressing Ctrl+C in your terminal and start the server again with this command:
(venv) $ python -m flask --app board run --port 8000
 * Serving Flask app 'board'
 * Debug mode: off
Without the debug flag, you run the server on the warning log level. As this level is higher than debug, Flask doesn’t output both of your messages anymore. That’s cool because it allows you to see debugging messages during your development and other logging messages in normal production.
Show Some Info
For now, you’re using logging when your application factory runs. But you can also log when a user interacts with your forms or runs into an error. For this, you’ll use the info log level.
Start by expanding the create() view that handles your forms in posts.py:
board/posts.py
 1from flask import (
 2    Blueprint,
 3    current_app,
 4    flash,
 5    redirect,
 6    render_template,
 7    request,
 8    url_for,
 9)
10
11from board.database import get_db
12
13bp = Blueprint("posts", __name__)
14
15@bp.route("/create", methods=("GET", "POST"))
16def create():
17    if request.method == "POST":
18        author = request.form["author"] or "Anonymous"
19        message = request.form["message"]
20
21        if message:
22            db = get_db()
23            db.execute(
24                "INSERT INTO post (author, message) VALUES (?, ?)",
25                (author, message),
26            )
27            db.commit()
28            current_app.logger.info(f"New post by {author}")
29            flash(f"Thanks for posting, {author}!", category="success")
30            return redirect(url_for("posts.posts"))
31        else:
32            flash("You need to post a message.", category="error")
33
34    return render_template("posts/create.html")
35
36# ...
After importing current_app in line 3, you can access your app’s logger in your views. In line 28, you’re logging when a user submits a form. You use the info log level for this message to see it even when you run the server without the debug flag.
Another opportunity to introduce some logging in your Flask project is the error handler that you created in the former section. For you as an admin, it can be helpful to know what pages your user wants to visit.
Open errors.py and adjust the code as shown below:
board/errors.py
 1from flask import current_app, render_template, request
 2
 3def page_not_found(e):
 4    current_app.logger.info(f"'{e.name}' error ({e.code}) at {request.url}")
 5    return render_template("errors/404.html"), 404
Remember the parameter e that you added to page_not_found() in an earlier section? With the error object available, you can access more information about an error and add it to your log in line 4.
In line 1, you import the request object. That way, you can add the URL that the user entered in the browser to your log.
To see the info-level log messages, you need to adjust the log level that Flask outputs:
board/__init__.py
 1# ...
 2
 3def create_app():
 4    app = Flask(__name__)
 5    app.config.from_prefixed_env()
 6    app.logger.setLevel("INFO")
 7
 8    database.init_app(app)
 9
10    app.register_blueprint(pages.bp)
11    app.register_blueprint(posts.bp)
12    app.register_error_handler(404, errors.page_not_found)
13    app.logger.debug(f"Current Environment: {os.getenv('ENVIRONMENT')}")
14    app.logger.debug(f"Using Database: {app.config.get('DATABASE')}")
15    return app
In line 6, you set the log level to "INFO".
When you set the log level to "INFO", only logs with the INFO level or higher are displayed. If you restart your development server, then you’ll notice that the debug log messages of lines 13 and 14 don’t show anymore.
You can try out your new info log messages by visiting a page that doesn’t exist and sending a form. If you do, then your server logs will look something like this:
...
[2023-11-20 20:10:10,694] INFO in posts: New post by Philipp
127.0.0.1 - - [20/Nov/2023 20:10:10] "POST /create HTTP/1.1" 302 -
127.0.0.1 - - [20/Nov/2023 20:10:10] "GET /posts HTTP/1.1" 200 -
[2023-11-20 20:10:31,425] INFO in errors: 'Not Found' error (404) at http://localhost:8000/part-4
127.0.0.1 - - [20/Nov/2023 20:10:31] "GET /part-4 HTTP/1.1" 404 -
By incorporating logging into your application factory, you’re now able to track when users interact with your forms or encounter errors. This is a great step forward in improving the robustness and user-friendliness of your Flask project.
As you continue to develop your application, remember to utilize these logging tools to help monitor its performance and troubleshoot any issues that may arise.
Conclusion
By following this tutorial, you’ve enhanced your Flask application by creating custom error pages, improving user experience with notification messages, and gaining insights through logging.
In this tutorial, you’ve learned how to:
- Create error pages
- Improve the user experience with notification messages
- Gain information with logging
By incorporating these features into your Flask application, you can improve both the user experience and the admin experience, making your application more robust, user-friendly, and manageable.
Can you think of ways how to enhance your web application even more? Let the Real Python community know in the comments below.
Get Your Code: Click here to download the free source code that shows you how to add error pages and logging to your Flask app.