
It has come to my attention that somebody ‘round these parts has been preaching the gospel of Sublime Text 3. As the resident senior developer (err, old fogey), I feel it’s my duty to tell you about the only TRUE Python development environment you will ever need: VIM.
That’s right. VIM is ubiquitous and fast, and it never crashes. It can also do just about anything!
On the down side though, VIM can be a pain to configure, but fear not. This article will show you how to get a powerful VIM environment set up in a way that is geared towards wrangling Python day in and day out.
Note: To get the most out of this article, you should have at least a basic understanding of how to use VIM and its command modes. If you’re just getting started, check out this resource or this one. You’ll want to spend some time with VIM and get the basics down before moving on.
Free Bonus: Click here to download a copy of the “VIM + Python Setup Guide” with tips and tweaks for optimizing your Python development setup.
Updated 2018-06-01
Installing
Since VIM comes pre-installed on a number of *nix systems, let’s first check to see if it’s installed:
$ vim --version
If it is installed, you should see something like:
VIM - Vi IMproved 7.3 (2010 Aug 15, compiled Nov  5 2014 21:00:28)
Compiled by root@apple.com
Normal version without GUI.  Features included (+) or not (-):
-arabic +autocmd -balloon_eval -browse +builtin_terms +byte_offset +cindent
-clientserver -clipboard +cmdline_compl +cmdline_hist +cmdline_info +comments
-conceal +cryptv +cscope +cursorbind +cursorshape +dialog_con +diff +digraphs
-dnd -ebcdic -emacs_tags +eval +ex_extra +extra_search -farsi +file_in_path
+find_in_path +float +folding -footer +fork() -gettext -hangul_input +iconv
+insert_expand +jumplist -keymap -langmap +libcall +linebreak +lispindent
+listcmds +localmap -lua +menu +mksession +modify_fname +mouse -mouseshape
-mouse_dec -mouse_gpm -mouse_jsbterm -mouse_netterm -mouse_sysmouse
+mouse_xterm +multi_byte +multi_lang -mzscheme +netbeans_intg -osfiletype
+path_extra -perl +persistent_undo +postscript +printer -profile +python/dyn
-python3 +quickfix +reltime -rightleft +ruby/dyn +scrollbind +signs
+smartindent -sniff +startuptime +statusline -sun_workshop +syntax +tag_binary
+tag_old_static -tag_any_white -tcl +terminfo +termresponse +textobjects +title
 -toolbar +user_commands +vertsplit +virtualedit +visual +visualextra +viminfo
+vreplace +wildignore +wildmenu +windows +writebackup -X11 -xfontset -xim -xsmp
 -xterm_clipboard -xterm_save
   system vimrc file: "$VIM/vimrc"
     user vimrc file: "$HOME/.vimrc"
      user exrc file: "$HOME/.exrc"
  fall-back for $VIM: "/usr/share/vim"
Compilation: gcc -c -I. -D_FORTIFY_SOURCE=0 -Iproto -DHAVE_CONFIG_H -arch i386 -arch x86_64 -g -Os -pipe
Linking: gcc -arch i386 -arch x86_64 -o vim -lncurses
At this point, you want to check two things:
- The VIM version should be higher than 7.3.
+pythonshould show up in the list of features, so you know Python is supported.
If both of these checks pass, then move right along to VIM Extensions. If not, it’s time to install/upgrade.
macOS / OS X
Grab Homebrew, if you don’t already have it, and run:
$ brew update
$ brew install vim
*NIX / Linux
For Debian or Ubuntu, you can try:
$ sudo apt-get remove vim-tiny
$ sudo apt-get update
$ sudo apt-get install vim
For other flavors of Linux, check the docs from your package manager. Here is a link to get you started: Install Vim.
Windows
There are many different ways to install VIM on Windows. Start with the official docs.
Verifying Your VIM Install
Make sure you have installed VIM > 7.3 with Python support. Again, run vim --version to verify this. If you want to check the specific version of Python used in VIM, run :python import sys; print(sys.version) from within VIM:
2.7.6 (default, Sep  9 2014, 15:04:36)
[GCC 4.2.1 Compatible Apple LLVM 6.0 (clang-600.0.39)]
This should output your current version of Python. If you get an error, then you don’t have Python support and you either need to reinstall or recompile if you’re building from source.
With VIM installed, let’s look at how to customize VIM for Python development.
VIM Extensions
VIM can do a lot of what developers need right out of the box. However, it is also massively extensible, and there are some pretty killer extensions that make it behave more like a “modern” IDE. The very first thing you need is a good extension manager.
Note: Extensions in VIM are often referred to as bundles or plugins.
Vundle
VIM has several extension managers, but the one I strongly recommend is Vundle. Think of it as pip for VIM. It makes installing and updating packages trivial.
Let’s get Vundle installed:
$ git clone https://github.com/gmarik/Vundle.vim.git ~/.vim/bundle/Vundle.vim
This command downloads the Vundle plugin manager and chucks it in your VIM bundles directory. Now you can manage all your extensions from the .vimrc configuration file.
Add the file to your user’s home directory:
$ touch ~/.vimrc
Now set up Vundle in your .vimrc by adding the following to the top of the file:
set nocompatible              " required
filetype off                  " required

" set the runtime path to include Vundle and initialize
set rtp+=~/.vim/bundle/Vundle.vim
call vundle#begin()

" alternatively, pass a path where Vundle should install plugins
"call vundle#begin('~/some/path/here')

" let Vundle manage Vundle, required
Plugin 'gmarik/Vundle.vim'

" add all your plugins here (note older versions of Vundle
" used Bundle instead of Plugin)

" ...

" All of your Plugins must be added before the following line
call vundle#end()            " required
filetype plugin indent on    " required
That’s it. You’re now set up to use Vundle. Afterward, you can add the plugins you want to install, then fire up VIM and run:
:PluginInstall
This command tells Vundle to work its magic—downloading all the plugins and installing/updating them for you.

Note: If you are a Windows user, check out the Windows Installation Instructions.
Let’s Make an IDE
We couldn’t possibly list all the VIM features, but let’s look at a quick list of some of the powerful out-of-the-box features perfect for Python development.
Ditch the Mouse
Probably the most important feature of VIM is that it doesn’t require a mouse (except for the graphical variants of VIM). At first, this may seem like a horrible idea, but after you invest the time—and it does take time—to learn the key combinations, you will speed up your overall workflow!
Split Layouts
If you open a file with :sp <filename>, you split the layout vertically (opening the new file below the current file). If you reverse the keys to :vs <filename>, you get a horizontal split (opening the new file to the right of your current file).
You can nest splits as well, so you can have splits inside of splits, horizontal and vertical, to your heart’s content. As we all know, we often need to look at several files at once when developing.
Pro Tip #1: Make sure to utilize tab completion to find files after typing :sp.
Pro Tip #2: You can also specify different areas of the screen where the splits should occur by adding the following lines to the .vimrc file:
set splitbelow
set splitright
Pro Tip #3: Want to move between the splits without using the mouse? If you simply add the following to .vimrc, you’ll be able to jump between splits with just one key combination:
"split navigations
nnoremap <C-J> <C-W><C-J>
nnoremap <C-K> <C-W><C-K>
nnoremap <C-L> <C-W><C-L>
nnoremap <C-H> <C-W><C-H>
Key combos:
- Ctrl+J move to the split below
- Ctrl+K move to the split above
- Ctrl+L move to the split to the right
- Ctrl+H move to the split to the left
In other words, press Ctrl plus the standard VIM movement key to move to a specific pane.
But wait—what is the nnoremap thing? In a nutshell, nnoremap remaps one key combination to another. The no part means remap the key in normal mode as opposed to visual mode. Basically, nnoremap <C-J> <C-W><C-j> says, in normal mode when I hit <C-J>, do <C-W><C-j> instead. More info can be found here.
Buffers
While VIM can do tabs, many users prefer buffers and splits. You can think of a buffer as a recently opened file. VIM provides easy access to recent buffers. Just type :b <buffer name or number> to switch to an open buffer. (Auto-complete works here as well.) You can also use :ls to list all buffers.
Pro Tip #4: At the end of the :ls output, VIM will prompt with Hit enter to continue. You can instead type :b <buffer number> and pick the buffer immediately while you still have the list displayed. Doing so will save you a keystroke, and you won’t have to remember the buffer number.
Code Folding
Most “modern” IDEs provide a way to collapse (or fold) methods and classes, showing you just the class/method definition lines instead of all the code.
You can enable that in .vimrc with the following lines:
" Enable folding
set foldmethod=indent
set foldlevel=99
This works all right, but you have to type za to fold (and unfold). The space key would be much better. So add this line to your .vimrc file as well:
" Enable folding with the spacebar
nnoremap <space> za
Now you can easily hide portions of your code that you’re not currently working on.
The initial command, set foldmethod=indent, creates folds based upon line indents. This, however, often creates more folds than you really want. But have no fear! There are several extensions that attempt to rectify that. We recommend SimpylFold. Install it with Vundle by adding the following line to .vimrc:
Plugin 'tmhedberg/SimpylFold'
Note: Don’t forget to install the plugin - :PluginInstall.
Pro Tip #5: Try this if you want to see the docstrings for folded code:
let g:SimpylFold_docstring_preview=1
Python Indentation
Of course, for code folding to work based on indentations, you want your indents to be correct. Again, VIM falls short a bit out of the box because it doesn’t handle auto-indent after a function definition. You can do two things with indentation:
- Get indentation to follow PEP 8 standards.
- Better handle auto-indentation.
PEP 8
To add the proper PEP 8 indentation, add the following to your .vimrc:
au BufNewFile,BufRead *.py
    \ set tabstop=4
    \ set softtabstop=4
    \ set shiftwidth=4
    \ set textwidth=79
    \ set expandtab
    \ set autoindent
    \ set fileformat=unix
This will give you the standard four spaces when you hit tab, ensure your line length doesn’t go beyond 80 characters, and store the file in a Unix format so you don’t get a bunch of conversion issues when checking into GitHub and/or sharing with other users.
For full stack development, you can use another au command for each filetype:
au BufNewFile,BufRead *.js, *.html, *.css
    \ set tabstop=2
    \ set softtabstop=2
    \ set shiftwidth=2
This way, you can have different settings for different filetypes. There is also a plugin called ftypes that will allow you to have a separate file for each filetype you want to maintain settings for, so use that if you see fit.
Auto-Indentation
autoindent will help, but in some cases (like when a function signature spans multiple lines), it doesn’t always do what you want, especially when it comes to conforming to PEP 8 standards. To fix that, you can use the indentpython.vim extension:
Plugin 'vim-scripts/indentpython.vim'
Flagging Unnecessary Whitespace
You also want to avoid extraneous whitespace. You can have VIM flag that for you so that it’s easy to spot and then remove:
au BufRead,BufNewFile *.py,*.pyw,*.c,*.h match BadWhitespace /\s\+$/
This will mark extra whitespace as bad and probably color it red.
UTF-8 Support
For the most part, you should be using UTF-8 when working with Python, especially if you’re working with Python 3. Make sure VIM knows that with the following line:
set encoding=utf-8
Auto-Complete
The best plugin for Python auto-complete is YouCompleteMe. Again, use Vundle to install:
Bundle 'Valloric/YouCompleteMe'
Under the hood, YouCompleteMe uses a few different auto-completers (including Jedi for Python), and it needs some C libraries to be installed for it to work correctly. The docs have very good installation instructions, so I won’t repeat them here, but be sure you follow them.
It works out of the box pretty well, but let’s add a few customizations:
let g:ycm_autoclose_preview_window_after_completion=1
map <leader>g  :YcmCompleter GoToDefinitionElseDeclaration<CR>
The first line ensures that the auto-complete window goes away when you’re done with it, and the second defines a shortcut for goto definition.
Note: My leader key is mapped to space, so space-g will goto definition of whatever I’m currently on. That’s helpful when I’m exploring new code.
Virtualenv Support
One issue with the goto definition above is that VIM, by default, doesn’t know anything about virtualenv, so you have to make VIM and YouCompleteMe aware of your virtualenv by adding the following lines of code to .vimrc:
"python with virtualenv support
py << EOF
import os
import sys
if 'VIRTUAL_ENV' in os.environ:
  project_base_dir = os.environ['VIRTUAL_ENV']
  activate_this = os.path.join(project_base_dir, 'bin/activate_this.py')
  execfile(activate_this, dict(__file__=activate_this))
EOF
This determines if you are running inside a virtualenv, switches to that specific virtualenv, and then sets up your system path so that YouCompleteMe will find the appropriate site packages.
Syntax Checking/Highlighting
You can have VIM check your syntax on each save with the syntastic extension:
Plugin 'vim-syntastic/syntastic'
Also add PEP 8 checking with this nifty little plugin:
Plugin 'nvie/vim-flake8'
Finally, make your code look pretty:
let python_highlight_all=1
syntax on
Color Schemes
Color schemes work in conjunction with the basic color scheme that you are using. Check out solarized for GUI mode, and Zenburn for terminal mode:
Plugin 'jnurmine/Zenburn'
Plugin 'altercation/vim-colors-solarized'
Then, just add a bit of logic to define which scheme to use based upon the VIM mode:
if has('gui_running')
  set background=dark
  colorscheme solarized
else
  colorscheme zenburn
endif
Solarized also ships with a dark and light theme. To make switching between them very easy (by pressing F5) add:
call togglebg#map("<F5>")
File Browsing
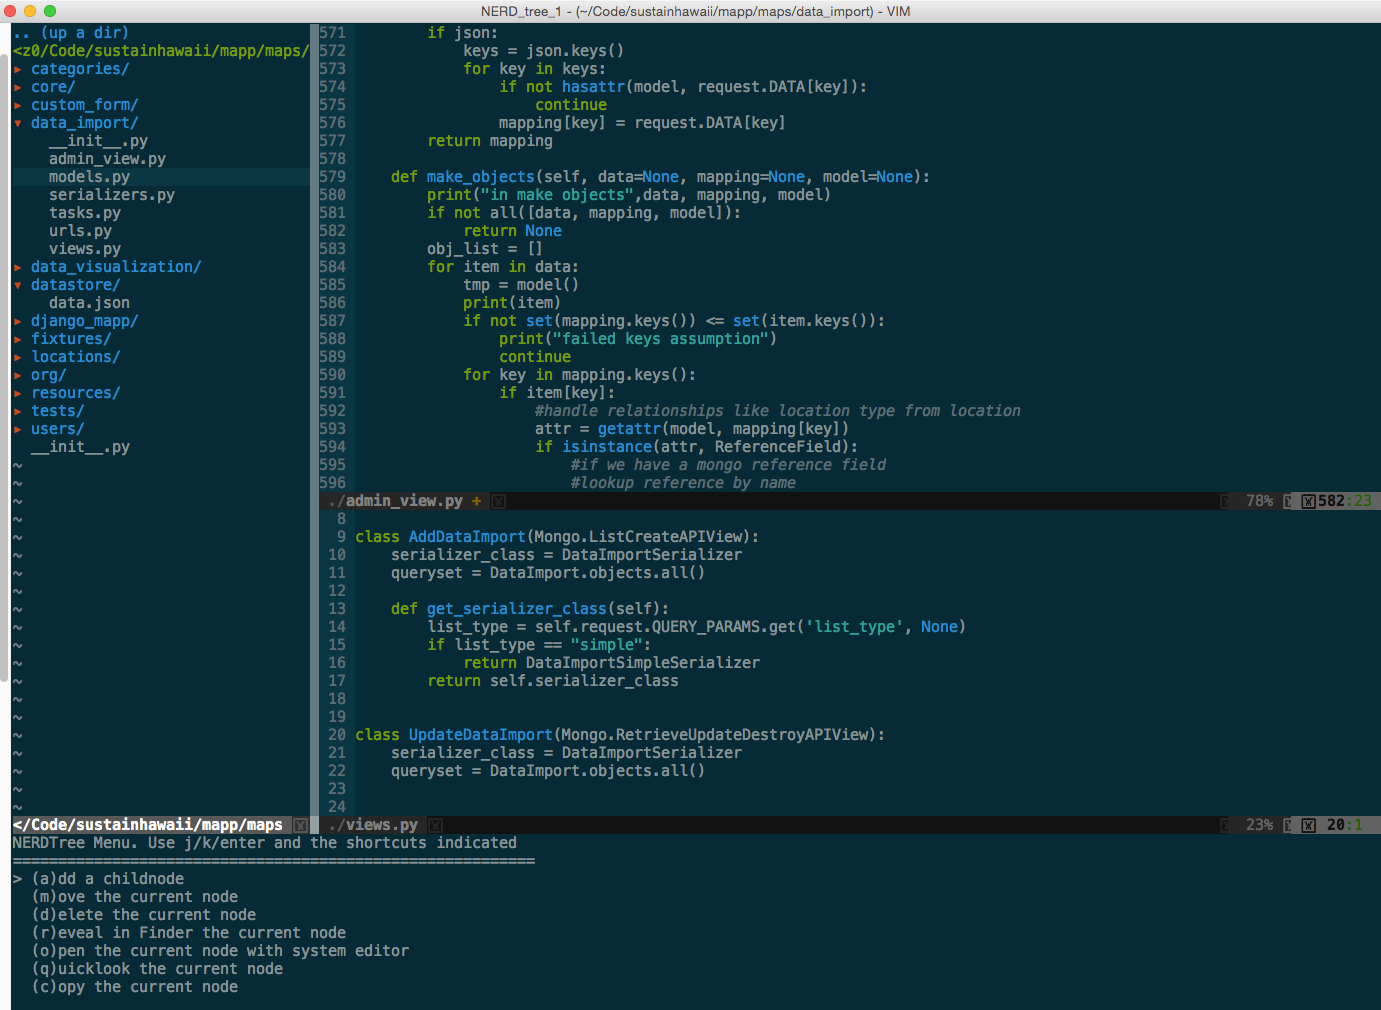
If you want a proper file tree, then NERDTree is the way to go:
Plugin 'scrooloose/nerdtree'
If you want to use tabs, utilize vim-nerdtree-tabs:
Plugin 'jistr/vim-nerdtree-tabs'
Want to hide .pyc files? Then add the following line:
let NERDTreeIgnore=['\.pyc$', '\~$'] "ignore files in NERDTree
Super Searching
Want to search for basically anything from VIM? Check out ctrlP:
Plugin 'kien/ctrlp.vim'
As you might expect, pressing Ctrl+P will enable the search, so you can just start typing. If your search matches anything close to the file you’re looking for, it will find it. Oh, and it’s not just files: it will find tags as well! For more, check out this YouTube video.
Line Numbering
Turn on line numbers on the side of the screen with:
set nu
Git Integration
Want to perform basic git commands without leaving the comfort of VIM? Then vim-fugitive is the way to go:
Plugin 'tpope/vim-fugitive'
See it in action on VIMcasts.
Powerline
Powerline is a status bar that displays things like the current virtualenv, git branch, files being edited, and much more.

It’s written in Python, and it supports a number of other environments like zsh, bash, tmux, and IPython:
Plugin 'Lokaltog/powerline', {'rtp': 'powerline/bindings/vim/'}
Take a look at the official docs for all the configuration options.
System Clipboard
Vim usually has its own clipboard and ignores the system keyboards, but sometimes you might want to cut, copy, and/or paste to/from other applications outside of VIM. On OS X, you can access your system clipboard with this line:
set clipboard=unnamed
VIM in the Shell
Finally, once you’ve mastered VIM and its keyboard shortcuts, you’ll often find yourself getting annoyed with the lack of those same shortcuts in the shell. Fear not: most shells have a VI mode. To turn it on for your shell, add the following line to ~/.inputrc:
set editing-mode vi
Now, you will be able to use VIM key combos not only in the shell but also in the Python interpreter and any other tool that uses GNU Readline (most database shells). Now you have VIM everywhere!
Conclusion
That’s more or less it (for Python development, at least). There are a ton of other extensions that you can use, as well as alternatives to everything detailed in this post. What are some of your favorite extensions? How have you configured VIM to match your personality?
Here is a link to my current VIM config. Got one of your own? Please share!
Thanks for reading!
Resources
Free Bonus: Click here to download a copy of the “VIM + Python Setup Guide” with tips and tweaks for optimizing your Python development setup.
- VIM Tutor comes with VIM, so once VIM is installed, just type
vimtutorfrom the command line, and the program will teach you how to use VIM by, well, using VIM. - VIMcasts are advanced tutorial videos describing how to use many of VIM’s features.
- Official VIM docs
- Open Vim
- Learn Vimscript the Hard Way is perfect for learning vimscript.