Integrating local large language models (LLMs) into your Python projects using Ollama is a great strategy for improving privacy, reducing costs, and building offline-capable AI-powered apps.
Ollama is an open-source platform that makes it straightforward to run modern LLMs locally on your machine. Once you’ve set up Ollama and pulled the models you want to use, you can connect to them from Python using the ollama library.
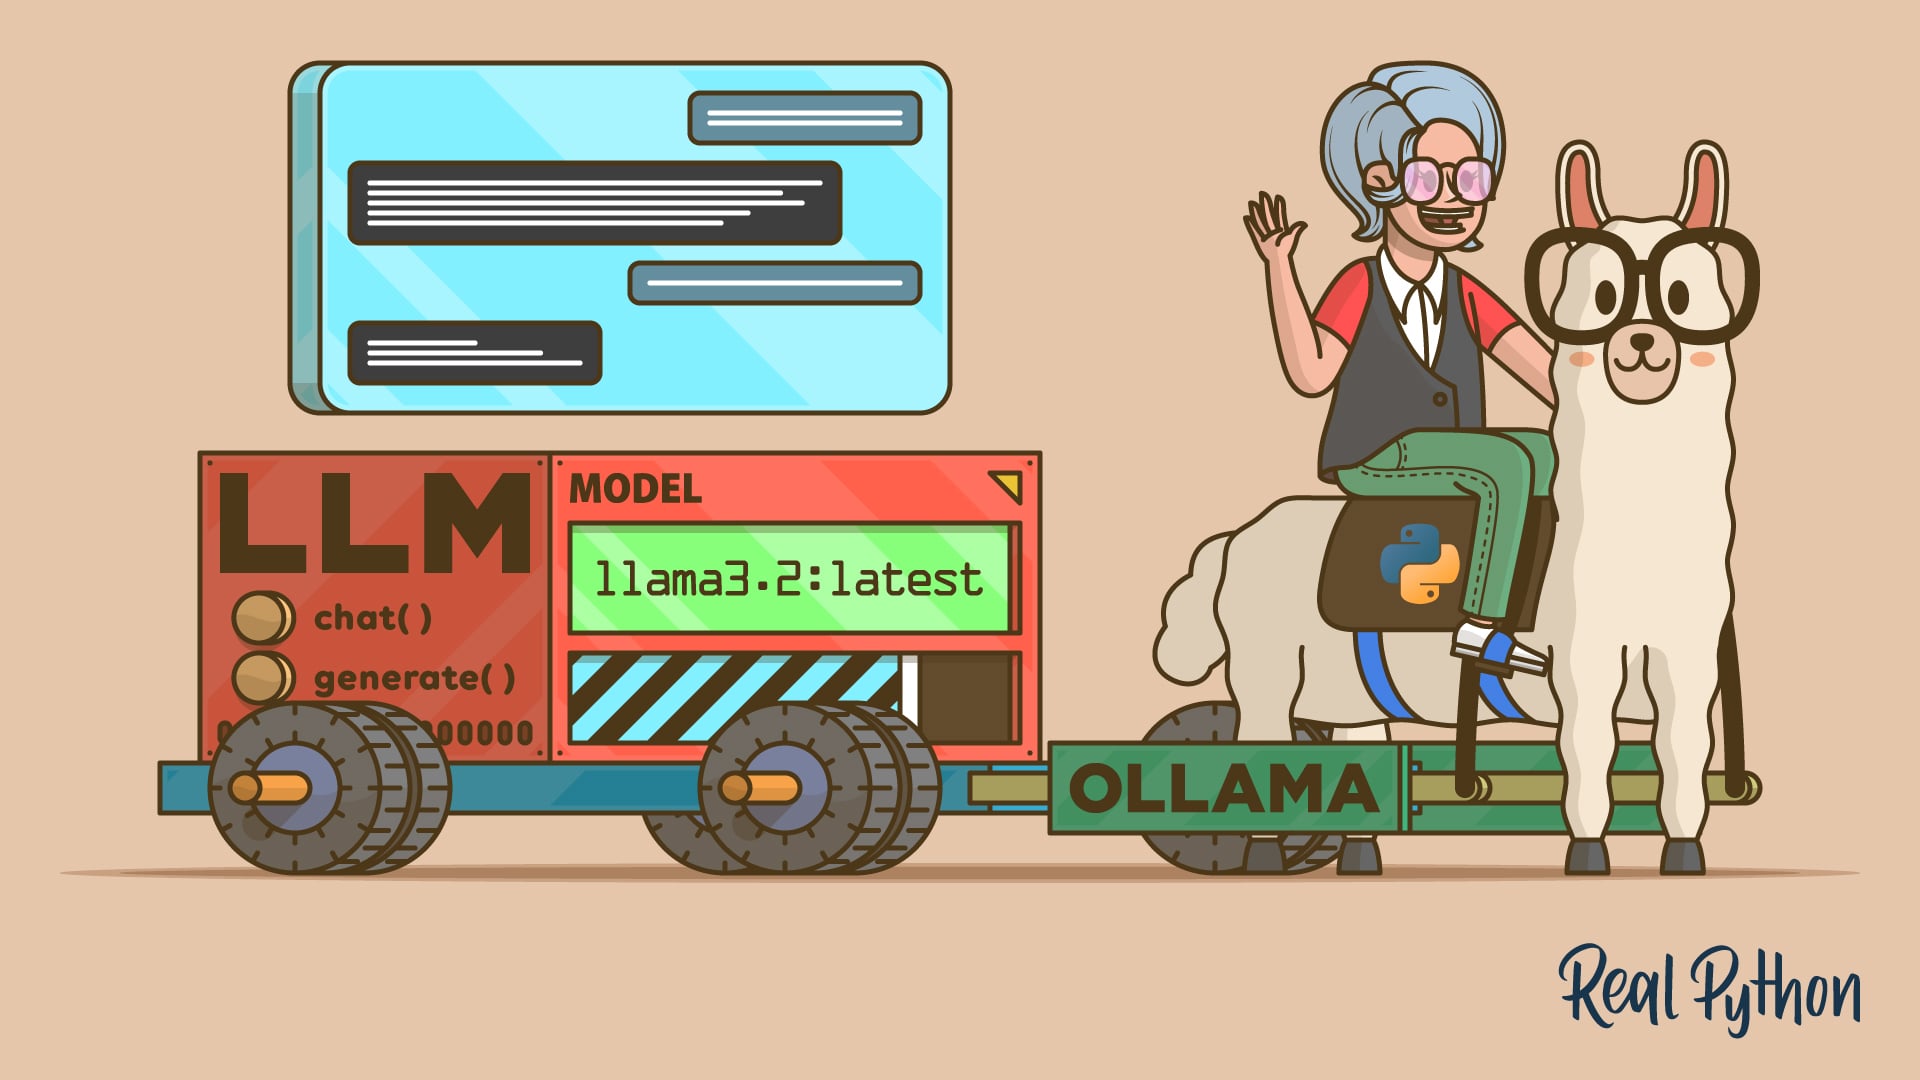
Here’s a quick demo:
In this tutorial, you’ll integrate local LLMs into your Python projects using the Ollama platform and its Python SDK.
You’ll first set up Ollama and pull a couple of LLMs. Then, you’ll learn how to use chat, text generation, and tool calling from your Python code. These skills will enable you to build AI-powered apps that run locally, improving privacy and cost efficiency.
Get Your Code: Click here to download the free sample code that you’ll use to integrate LLMs With Ollama and Python.
Take the Quiz: Test your knowledge with our interactive “How to Integrate Local LLMs With Ollama and Python” quiz. You’ll receive a score upon completion to help you track your learning progress:
Interactive Quiz
How to Integrate Local LLMs With Ollama and PythonCheck your understanding of using Ollama with Python to run local LLMs, generate text, chat, and call tools for private, offline apps.
Prerequisites
To work through this tutorial, you’ll need the following resources and setup:
- Ollama installed and running: You’ll need Ollama to use local LLMs. You’ll get to install it and set it up in the next section.
- Python 3.8 or higher: You’ll be using Ollama’s Python software development kit (SDK), which requires Python 3.8 or higher. If you haven’t already, install Python on your system to fulfill this requirement.
- Models to use: You’ll use
llama3.2:latestandcodellama:latestin this tutorial. You’ll download them in the next section. - Capable hardware: You need relatively powerful hardware to run Ollama’s models locally, as they may require considerable resources, including memory, disk space, and CPU power. You may not need a GPU for this tutorial, but local models will run much faster if you have one.
With these prerequisites in place, you’re ready to connect local models to your Python code using Ollama.
Step 1: Set Up Ollama, Models, and the Python SDK
Before you can talk to a local model from Python, you need Ollama running and at least one model downloaded. In this step, you’ll install Ollama, start its background service, and pull the models you’ll use throughout the tutorial.
Get Ollama Running
To get started, navigate to Ollama’s download page and grab the installer for your current operating system. You’ll find installers for Windows 10 or newer and macOS 14 Sonoma or newer. Run the appropriate installer and follow the on-screen instructions. For Linux users, the installation process differs slightly, as you’ll learn soon.
On Windows, Ollama will run in the background after installation, and the CLI will be available for you. If this doesn’t happen automatically for you, then go to the Start menu, search for Ollama, and run the app.
On macOS, the app manages the CLI and setup details, so you just need to launch Ollama.app.
If you’re on Linux, install Ollama with the following command:
$ curl -fsSL https://ollama.com/install.sh | sh
Once the process is complete, you can verify the installation by running:
$ ollama -v
If this command works, then the installation was successful. Next, start Ollama’s service by running the command below:
$ ollama serve
That’s it! You’re now ready to start using Ollama on your local machine. In some Linux distributions, such as Ubuntu, this final command may not be necessary, as Ollama may start automatically when the installation is complete. In that case, running the command above will result in an error.
Pull the Required Models
Once Ollama is installed and running, you can pull the required models. You must have sufficient free disk space to complete the process. For example, the llama3.2:latest model requires 2.0 GB of space, and the codellama:latest model needs 3.8 GB.
To pull the models, run the following commands:
$ ollama pull llama3.2:latest
$ ollama pull codellama:latest
These commands will take some time to complete because they download the models to your local drive.
Note: If you’re familiar with Docker and its workflows, then you’ll notice that Ollama’s CLI works similarly. You pull models, just like Docker images, and then you run them locally.
Now that you’ve downloaded the models, you can try them out from the command line:
$ ollama run llama3.2:latest
>>> Explain what Python is in one sentence.
Python is a high-level, interpreted programming language known for its
simplicity, readability, and versatility, often used for web development,
data analysis, machine learning, automation, and more.
If you ran this prompt successfully, then you’re ready to connect from Python. You can press Ctrl+D to exit the chat.
Install Ollama’s Python SDK
Ollama provides a Python library that enables you to use local models within your Python applications and projects. You can install the library from PyPI into a virtual environment with the following command:
(venv) $ python -m pip install ollama
This library is also known as the Ollama Python SDK (Software Development Kit) and provides the recommended way to integrate Python projects with Ollama.
Step 2: Generate Text and Code From Python
The Ollama Python library gives you two primary tools to interact with local models from your code:
ollama.chat()for role-based, multi-turn conversations. It’s great for building assistants with multi-turn interactions and context.ollama.generate()for one-shot prompts. It’s suitable for drafting, rewriting, summarizing, and code generation.
In the following sections, you’ll learn the basics of how to use these tools to integrate local LLMs into your Python applications and projects.
Interact With Ollama’s Chat Interface
Here’s a minimal chat example in Python that resembles the command-line example from the previous section:
>>> from ollama import chat

>>> messages = [
...     {
...         "role": "user",
...         "content": "Explain what Python is in one sentence.",
...     },
... ]

>>> response = chat(model="llama3.2:latest", messages=messages)
>>> print(response.message.content)
Python is a high-level, interpreted programming language that is widely used
for its simplicity, readability, and versatility, making it an ideal choice
for web development, data analysis, machine learning, automation, and more.
In this example, you should consider a few things about the messages:
messagesis a list of dictionaries because the chat interface is built for multi-turn conversations.- Each message is represented as a Python dictionary, which has a
roleand acontentkey with the corresponding values.
The call to chat() with the model and your messages as arguments generates a ChatResponse that contains several attributes. To get the generated answer, you can access the response.message.content attribute.
To keep the context of the current conversation, you can append the model’s reply and ask a follow-up question. Consider the following example where you keep a conversation about Python list comprehensions:
>>> messages = [
...     {"role": "system", "content": "You are an expert Python tutor."},
...     {
...         "role": "user",
...         "content": "Define list comprehensions in a sentence."
...     },
... ]
>>> response = chat(model="llama3.2:latest", messages=messages)
>>> print(response.message.content)
List comprehensions are a concise and expressive way to create new lists
by performing operations on existing lists or iterables, using a compact
syntax that combines conditional statements and iteration.

>>> messages.append(response.message)  # Keep context
>>> messages.append(
...     {
...         "role": "user",
...         "content": "Provide a short, practical example."
...     }
... )
>>> response = chat(model="llama3.2:latest", messages=messages)
>>> print(response.message.content)
Here's an example of a list comprehension:

```python
numbers = [1, 2, 3, 4, 5]
double_numbers = [num * 2 for num in numbers if num % 2 == 0]

print(double_numbers)  # Output: [2, 4, 6]
```
In this example, you take each number in the numbers list, double it, and include only the results where the original number is even.
Here, you start a conversation about list comprehensions in Python. Once the model replies, you append the answer to the list of messages so that the model uses it as context. Next, you run another chat interaction and get the response grounded in the provided context.
If you’re building CLI and chat apps, then the chat streaming capabilities make the model responses feel much more interactive and fluid. Consider the following script:
streams.py
from ollama import chat

stream = chat(
    model="llama3.2:latest",
    messages=[
        {
            "role": "user",
            "content": "Explain Python dataclasses with a quick example."
        }
    ],
    stream=True,
)

for chunk in stream:
    print(chunk.message.content, end="", flush=True)
The key in this code is the stream argument. When you set it to True, chat() returns an iterator that yields partial response chunks as they arrive. That way, you can print or render the assistant’s message incrementally, rather than waiting for the full response.
Go ahead and run the script from your command line to check how it behaves!
Use Ollama’s Text Generation Interface
If you don’t need to keep a conversation with context, then generate() is a great fit. This function allows you to run one-shot prompts on the target model. Here’s how it works:
>>> from ollama import generate

>>> response = generate(
...     model="llama3.2:latest",
...     prompt="Explain what Python is in one sentence."
... )

>>> print(response.response)
Python is a high-level, interpreted programming language known for its
simplicity, readability, and versatility. It is widely used in various
fields such as web development, data analysis, artificial intelligence,
and more.
The generate() function is quite convenient for one-shot tasks, such as summarizing, rewriting, or rephrasing text.
You can also use this function to generate Python code. For example, say that you want the model to help you write a custom function that implements the FizzBuzz challenge, where you iterate over a range of numbers and replace certain values with words as follows:
- “Fizz” for multiples of 3
- “Buzz” for multiples of 5
- “FizzBuzz” for multiples of both 3 and 5
Here’s a prompt that asks the model to generate a basic implementation of this challenge:
>>> from ollama import generate

>>> prompt = """
... Write a Python function fizzbuzz(n: int) -> List[str] that:
...
... - Returns a list of strings for the numbers 1..n
... - Uses "Fizz" for multiples of 3
... - Uses "Buzz" for multiples of 5
... - Uses "FizzBuzz" for multiples of both 3 and 5
... - Uses the number itself (as a string) otherwise
... - Raises ValueError if n < 1
...
... Include type hints compatible with Python 3.8.
... """

>>> response = generate(model="codellama:latest", prompt=prompt)
>>> print(response.response)
```
from typing import List

def fizzbuzz(n: int) -> List[str]:
    if n < 1:
        raise ValueError("n must be greater than or equal to 1")
    result = []
    for i in range(1, n+1):
        if i % 3 == 0 and i % 5 == 0:
            result.append("FizzBuzz")
        elif i % 3 == 0:
            result.append("Fizz")
        elif i % 5 == 0:
            result.append("Buzz")
        else:
            result.append(str(i))
    return result
```
For this example, you’ve used the codellama:latest model, which is intended to generate code from natural language prompts.
Now that the model has generated the code, review it and run a quick test. Copy the generated code into the REPL session and call it with an integer as an argument:
>>> from typing import List

>>> def fizzbuzz(n: int) -> List[str]:
...     if n < 1:
...         raise ValueError("n must be greater than or equal to 1")
...     result = []
...     for i in range(1, n+1):
...         if i % 3 == 0 and i % 5 == 0:
...             result.append("FizzBuzz")
...         elif i % 3 == 0:
...             result.append("Fizz")
...         elif i % 5 == 0:
...             result.append("Buzz")
...         else:
...             result.append(str(i))
...     return result
...

>>> fizzbuzz(16)
['1', '2', 'Fizz', '4', 'Buzz', 'Fizz', ..., 'FizzBuzz', '16']
Great! The code works as expected. You can experiment with other prompts and get the model to build helper functions, classes, and more.
Step 3: Use Tool Calling for Augmented Answers
Tool calling, also known as function calling, enables a model to call a Python function and use the result as context to provide better responses. This technique can be used for retrieval-augmented generation (RAG), which can help you obtain more accurate, up-to-date, and on-topic responses.
Understand the Tool Calling Workflow
Before attempting to use tool calling in your code, be aware that this feature depends on the model’s capabilities. Therefore, make sure you use a model known to support tool calling. In this tutorial, you’re using the llama3.2:latest model, which supports this feature.
The high-level flow for tool calling looks something like this:
- Define relevant tools as Python functions.
- Pass the tools along with the prompt.
- Execute the selected tools in your code.
- Append the tool result as a
role="tool"message. - Generate the final answer that uses the tool’s result.
Now that you understand the high-level workflow, you can implement tool calling in Python and walk through a complete example.
Implement Tool Calling in Python
To see tool calling in action, you define a simple Python function and pass it to the model as a tool. Here’s an example using the square_root() function:
tool_calling.py
import math

from ollama import chat

# Define a tool as a Python function
def square_root(number: float) -> float:
    """Calculate the square root of a number.

    Args:
        number: The number to calculate the square root for.

    Returns:
        The square root of the number.
    """
    return math.sqrt(number)

messages = [
    {
        "role": "user",
        "content": "What is the square root of 36?",
    }
]

response = chat(
    model="llama3.2:latest",
    messages=messages,
    tools=[square_root]  # Pass the tools along with the prompt
)

# Append the response for context
messages.append(response.message)

if response.message.tool_calls:
    tool = response.message.tool_calls[0]
    # Call the tool
    result = square_root(float(tool.function.arguments["number"]))

    # Append the tool result
    messages.append(
        {
            "role": "tool",
            "tool_name": tool.function.name,
            "content": str(result),
        }
    )

    # Obtain the final answer
    final_response = chat(model="llama3.2:latest", messages=messages)
    print(final_response.message.content)
When defining tools, clear docstrings and type hints can help the model decide which tool to call and how. That’s why the square_root() function has both.
Next, you call chat() with your prompt and a list of tools. You should append the response message to your list of messages to keep the context of your conversation. Then, you call the tools. In this specific example, you have only one tool, square_root(). The result should be added to the list of messages with the role set to "tool".
Finally, you call chat() again with all the context provided by messages. If you run the script, then you’ll get a response like the following:
(venv) $ python tool_calling.py
The square root of 36 is 6.
As you can see, the model is properly using the tool’s result to provide a grounded answer to your original question.
If you’re not seeing any output, the model may have decided to provide a direct answer without calling the tool. Alternatively, it may be returning the tool call as text rather than populating the .tool_calls attribute. In these cases, try using a larger model, such as llama3.1:8b, or tweaking your prompt to encourage tool usage.
Conclusion
You’ve set up Ollama on your system, pulled a couple of language models, and connected them to Python through the ollama library. You’ve explored both the chat and text-generation interfaces, learned how to maintain conversation context, and streamed responses to achieve a smoother user experience.
Running LLMs locally matters for privacy, cost control, and offline reliability. With these skills, you can start prototyping, building, and shipping AI-powered apps without depending on external online services.
In this tutorial, you’ve learned how to:
- Install and run Ollama, and then pull models to use locally
- Use
chat()for multi-turn conversations with roles and context - Use
generate()for one-shot text and code generation - Leverage tool calling to obtain responses grounded in the results of custom functions
With these skills, you can build privacy-focused, cost-effective assistants that run fully on your local machine. Keep experimenting with prompts, response streaming, and custom tools to tailor local LLM workflows to your Python projects.
Get Your Code: Click here to download the free sample code that you’ll use to integrate LLMs With Ollama and Python.
Frequently Asked Questions
Now that you have some experience integrating local LLMs with Ollama and Python, you can use the questions and answers below to check your understanding and recap what you’ve learned.
These FAQs are related to the most important concepts you’ve covered in this tutorial. Click the Show/Hide toggle beside each question to reveal the answer.
Yes, you can! Install the ollama package from PyPI, keep the Ollama service running, and call local models using chat() and generate() in your Python code.
Ollama is open source and free to download and run locally. You still need to account for model licenses and local compute and storage costs, but there are no cloud per-token fees when running on your own machine.
Running locally improves privacy, reduces ongoing cloud spend, and enables offline work. The trade-offs are heavier hardware needs, sizable model downloads, and slower performance without a GPU.
No, you don’t. Models can run on a CPU, though a GPU speeds things up considerably and makes larger models more accessible.
Use chat() for multi-turn, role-based conversations where you need to keep context and optionally stream the output. Use generate() for one-shot prompts that don’t require context, such as drafting, summarizing, or quick code generation.
Take the Quiz: Test your knowledge with our interactive “How to Integrate Local LLMs With Ollama and Python” quiz. You’ll receive a score upon completion to help you track your learning progress:
Interactive Quiz
How to Integrate Local LLMs With Ollama and PythonCheck your understanding of using Ollama with Python to run local LLMs, generate text, chat, and call tools for private, offline apps.


