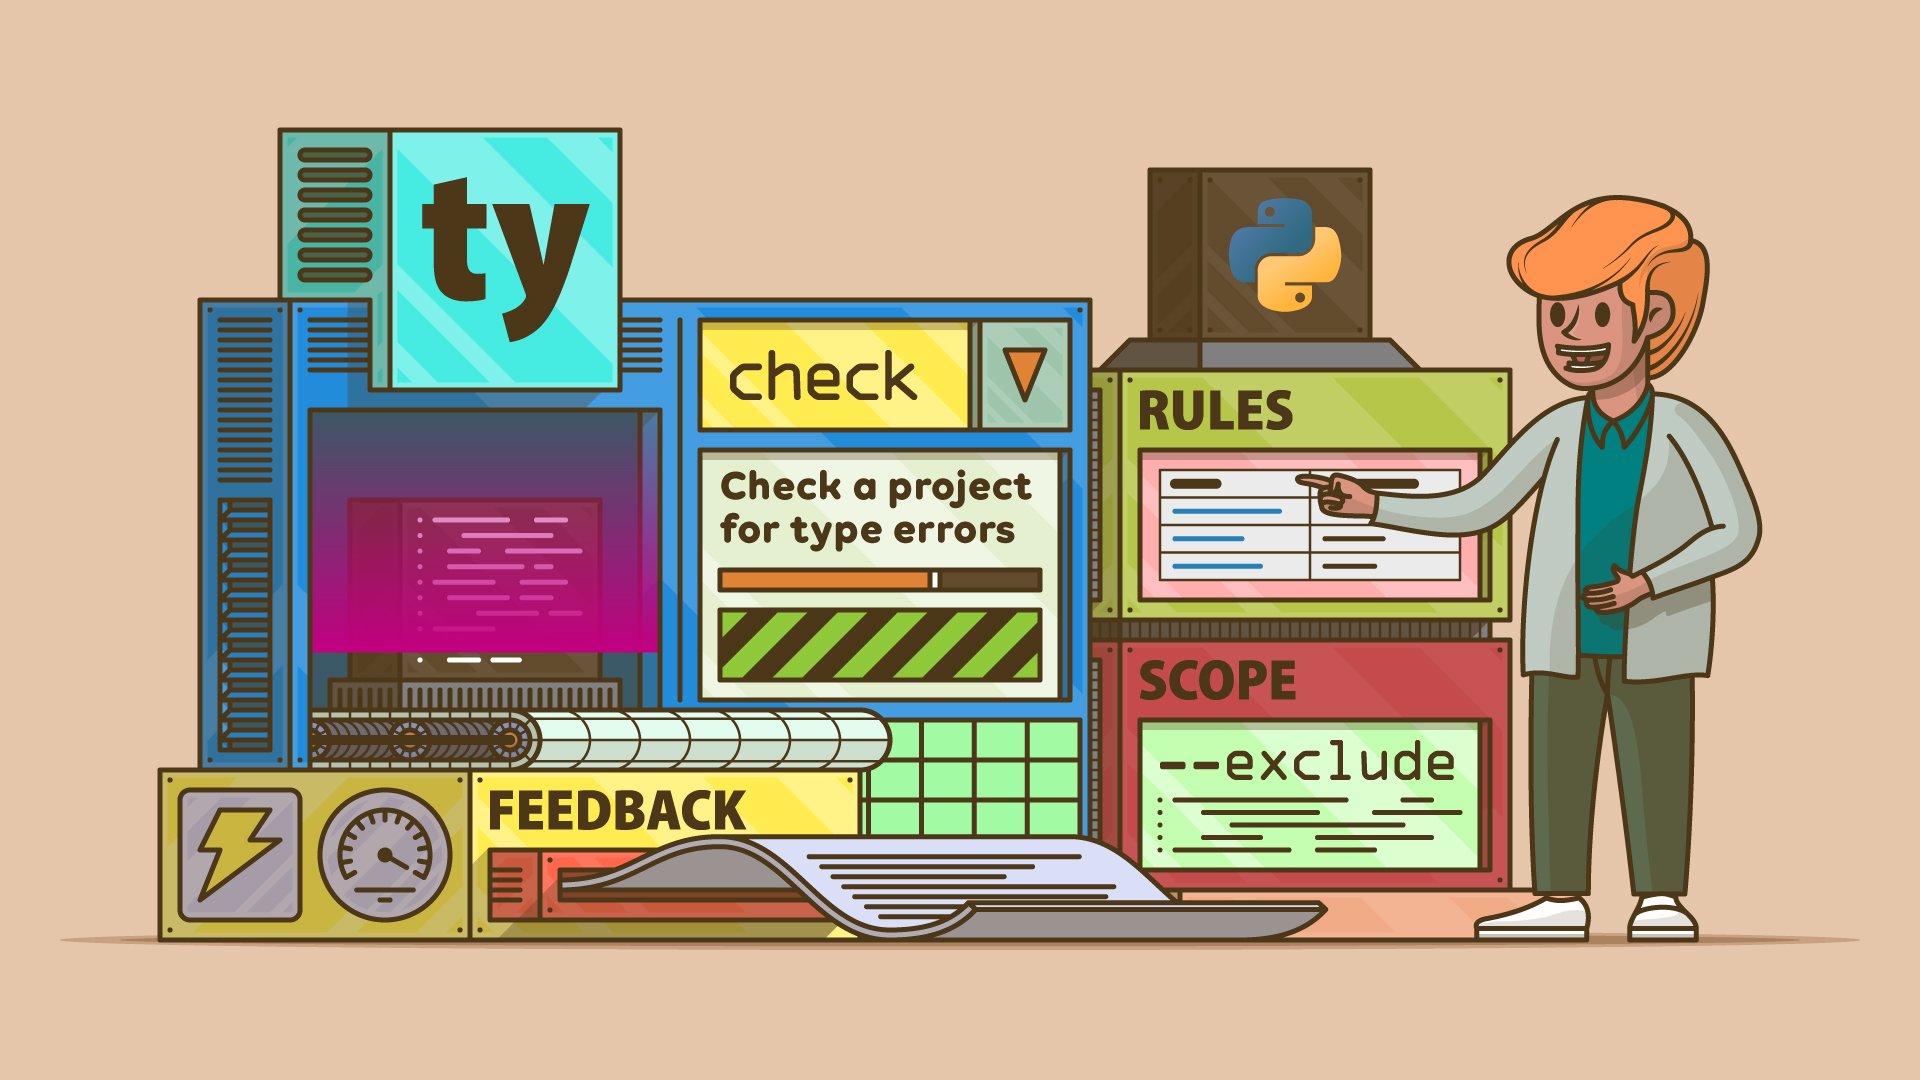
After Ruff and uv, the Astral team is back with another Rust-based tool called ty, short for type check. This new tool delivers a lightning-fast static type-checking experience in Python, aiming to outpace existing tools in both performance and convenience. By incorporating ty into your daily workflow, you’ll catch type-related bugs earlier and get clearer feedback.
But is ty suitable for you? Take a look at the table below to make a quick decision:
| Use Case | Pick ty |
Pick Other Tools |
|---|---|---|
| Development or experimentation | ✅ | ❌ |
| Production use | ❌ | ✅ |
At the time of writing, ty is available as an early preview release with hundreds of open issues. Despite being actively developed and boasting over ten thousand stars on GitHub, it’s still missing essential features and might occasionally fail.
As such, it’s not ready for full adoption in production yet, nor is it going to be a drop-in replacement for any of its competitors. Bugs can take you by surprise in unexpected ways! Additionally, because ty’s implementation is moving fast, some of the information you’ll find in this tutorial may become outdated over time.
If you’d like to get familiar with a new, robust, and promising type checker in your personal projects, then by all means give ty a try! Ready to dive in? Click the link below to grab the sample code you’ll be working with in this tutorial:
Get Your Code: Click here to download the free sample code that you’ll use to learn about Astral’s ty.
Take the Quiz: Test your knowledge with our interactive “Astral's ty Type Checker for Python” quiz. You’ll receive a score upon completion to help you track your learning progress:
Interactive Quiz
Astral's ty Type Checker for PythonTest your knowledge of Astral's ty—a blazing-fast, Rust-powered Python type checker. You'll cover installation, usage, rule configuration, and the tool's current limitations.
Start Using ty in Python Now
Python is a dynamically typed language, so it requires third-party tools to perform type checking and other kinds of static code analysis. Recently, ty joined the club of external type-checking tools for Python. Despite being created by a private company, Astral, the tool itself remains open source and MIT-licensed.
Although ty is mostly written in Rust, you don’t need the Rust compiler or its execution environment to type check your Python projects with it. To quickly get started with ty, you can install it directly from PyPI with pip, preferably within an activated virtual environment:
(venv) $ python -m pip install ty
As long as you’re on one of the three major operating systems—Windows, macOS, or Linux—this command will bring a hefty binary script called ty into your virtual environment. The script is already compiled to machine code suitable for your platform with all the necessary dependencies baked in, so you can run it directly, just like any other command-line program.
To verify the installation, run the following command in your terminal emulator app:
(venv) $ ty --version
ty 0.0.1-alpha.21
You should see a version number similar to the one above appear in the output. Alternatively, if that doesn’t work, then try to execute ty as a Python module using the interpreter’s -m option:
(venv) $ python -m ty --version
ty 0.0.1-alpha.21
When you do, Python runs a tiny wrapper script that looks for the ty binary executable in your path and invokes it for you.
Note that the pip install command only installs ty into the given virtual environment, which is usually associated with a specific project. To make ty available globally from any folder on your computer, you’ll need to use a different approach. Check out the official documentation for more installation options.
Note: If Visual Studio Code is your code editor of choice, then you’ll benefit from installing the official ty extension. This extension integrates ty directly into VS Code, letting you work without ever touching the command line. Unfortunately, users of PyCharm and other popular IDEs must wait until plugins for their tools catch up.
If your editor supports the Language Server Protocol, then you could leverage the ty server subcommand. For PyCharm, this requires installing the LSP4IJ plugin first, though this tutorial won’t cover its configuration.
Finally, if none of this works for you, then you may want to run the ty check subcommand with the optional --watch switch. This will have ty automatically rerun the checks for instant feedback whenever changes are detected upon saving one of the files in your project.
From now on, you won’t see the virtual environment’s name (venv) in the command prompts for the rest of this tutorial. To keep the code blocks concise, it’ll be assumed that ty is already installed globally and available in your system’s path.
Alright. It’s time for the fun part: letting ty scrutinize some Python code to catch bugs before they sneak in.
Catch Typing Errors With ty
The command-line interface of ty is pretty minimal and straightforward, as you’ll notice when you run ty without providing any subcommands or options:
$ ty
An extremely fast Python type checker.

Usage: ty <COMMAND>

Commands:
  check    Check a project for type errors
  server   Start the language server
  version  Display ty's version
  help     Print this message or the help of the given subcommand(s)

Options:
  -h, --help     Print help
  -V, --version  Print version
The highlighted line indicates the only subcommand you really need to care about: ty check. It runs a number of type checks against your codebase using a comprehensive set of built-in rules, which you can fine-tune later to match your preferences.
To reveal more details about the ty check subcommand, use the --help flag as follows:
$ ty check --help
Check a project for type errors

Usage: ty check [OPTIONS] [PATH]...

Arguments:
  [PATH]...
          List of files or directories to check [default: the project root]

Options:
      --project <PROJECT>
          Run the command within the given project directory.

          (...)
This displays a ton of options, which might feel a bit intimidating at first. Fortunately, you can ignore all of them for now by relying on ty’s sensible defaults and a clever discovery of Python code. The help page above will become more useful as you gain some experience with ty.
When you run the bare ty check command without any options from the root folder of your project, it’ll recursively scan all the files and directories within that project. For starters, you can try running it against the source code of the popular Django framework to see how ty works in a real-world scenario.
You can use Git to clone Django’s source code from GitHub if you haven’t already. Don’t forget to install Django and its dependencies into a virtual environment afterward:
$ git clone git@github.com:django/django.git
$ cd django/
$ python -m venv .venv/ --prompt django
$ source .venv/bin/activate
(django) $ python -m pip install .
(django) $ deactivate
Now, while you’re still in the top-level django/ folder, run the ty check command as follows:
$ ty check
WARN ty is pre-release software and not ready for production use.
⮑ Expect to encounter bugs, missing features, and fatal errors.
Checking ----------------------------------------------------- 2871/2871 files

(...)

Found 14249 diagnostics
Notice the prominent warning message that ty displays up top, serving as a reminder that this tool isn’t yet suitable for production environments. In this case, ty issued numerous errors and warnings, collectively called diagnostics, which have been omitted for brevity.
By the way, it’s worth appreciating how ty checks 2,871 Python files—averaging 175 lines of code each—in just a few seconds. Some of this time is actually spent printing the diagnostic messages on the screen. When you use ty’s silent mode (-qq), the measured time drops even further:
$ time ty check -qq

real    0m3.804s
user    0m12.224s
sys     0m1.531s
The discrepancy between the real and user times reported by the time command is a good thing. It indicates that ty leverages your multi-core processor architecture for parallel execution.
And here’s what a sample error message displayed by ty looks like by default:
 1error[missing-argument]: No arguments provided for required parameters `year`, `month`, `day` of function `__new__`
 2  --> django/utils/dateparse.py:78:20
 3   |
 476 |         if match := date_re.match(value):
 577 |             kw = {k: int(v) for k, v in match.groupdict().items()}
 678 |             return datetime.date(**kw)
 7   |                    ^^^^^^^^^^^^^^^^^^^
 8   |
 9info: rule `missing-argument` is enabled by default
On most terminals, this output is colorful and resembles Ruff’s, which ty is based upon. In fact, the new type checker includes Ruff as a submodule on GitHub, meaning much of ty’s core implementation is developed within the Ruff codebase.
The structure of the above error message is the following:
- Line 1 contains the severity level, which can be
error,warning, orinfo, followed by a rule name in square brackets identifying the type of issue. The line ends with a human-readable description. - Line 2 indicates the location consisting of the file path, line number, and column number, which tell you exactly where the issue was found.
- The following lines reveal a line-numbered code snippet, which shows a few surrounding lines of code for context. The caret symbol (^) highlights the exact code segment related to the issue.
- Line 9 contains additional notes, such as why a particular rule was triggered.
Sometimes, this might be too much information shown at once. To reduce the noise, you can tell ty to use a more concise format:
$ ty check --output-format concise
WARN ty is pre-release software and not ready for production use.
⮑ Expect to encounter bugs, missing features, and fatal errors.
Checking ----------------------------------------------------- 2846/2846 files
django/apps/config.py:197:27: error[invalid-argument-type] Argument to function `issubclass` is incorrect: Expected `type`, found `None | (@Todo & ~None) | Unknown`
django/apps/registry.py:87:26: error[not-iterable] Object of type `Unknown | None` may not be iterable
  ⋮
tests/xor_lookups/tests.py:86:13: error[unresolved-attribute] Type `<class 'Number'>` has no attribute `objects`
Found 14249 diagnostics
With the --output-format switch, you can change the output style to a compact format that fits each diagnostic message on a single line. This can be particularly helpful for parsing the output programmatically in CI/CD pipelines, for example, with the grep command.
Each line still contains the corresponding rule name, allowing you to override how ty behaves by default. Next up, you’ll learn what you can do with this information.
Tweak the Type Checking Rules
Out of the box, ty assigns a default severity level to each of its rules, which you can view in the reference documentation. Here are a couple of examples:
| Rule | Severity Level |
|---|---|
unresolved-attribute |
error |
deprecated |
warning |
division-by-zero |
ignore |
Depending on the rule’s level, ty uses different colors to display the violation and takes a slightly different action. When the command detects an error, it returns with an exit code of 1. On the other hand, if there are only warnings and you haven’t used the --error-on-warning flag, then the command returns with an exit code of 0. Finally, problems with the ignore level aren’t reported.
By knowing the rule names, you can change their default levels using the corresponding command-line options. Specifically, you can elevate or degrade the default levels with the --error, --warn, and --ignore options. Each of these options can appear more than once within a single invocation:
$ ty check --ignore unresolved-attribute \
           --ignore=unresolved-import \
           --warn division-by-zero \
           --error deprecated
As you can see, listing the new rule levels directly on the command line can quickly get cumbersome and error-prone. Plus, this approach isn’t easily repeatable across a team of developers. You’ll often prefer tweaking the rules for your project using a persistent configuration file, such as pyproject.toml or ty.toml:
pyproject.toml
# ...

[tool.ty.rules]
unresolved-attribute = "ignore"
unresolved-import = "ignore"
division-by-zero = "warn"
deprecated = "error"
If you have both files in your project, then ty.toml takes precedence over pyproject.toml. Note that you can also include a user-level configuration shared across multiple projects that can override the individual rules with their own configuration.
Both the command-line switches and the configuration files have a global effect on ty’s behavior across your entire project. To suppress rules only in a specific location in your code, you can write comments that start with a special marker on a given line. This marker comes in a few flavors:
# ty: ignore# ty: ignore[rule1]# ty: ignore[rule1, rule2, rules3, ...]
When you don’t specify any rule names in square brackets, then ty will disable all rules affecting that line. Otherwise, it’ll only disable the listed rules. Note that you can’t elevate rules to errors or warnings with comments like you did before with the command-line switches—you can only ignore them.
If the affected expression or statement spans multiple lines, then try putting your comment either on its first or last line:
adder.py
import warnings

@warnings.deprecated("Use the new_adder() instead")
def legacy_adder(x, y):
    return x + y

legacy_adder(  # ty: ignore
    42,
    555
)

legacy_adder(
    42,
    555
)  # ty: ignore
Unfortunately, commenting such multiline expressions doesn’t always work as expected at the moment. Quirks like this are to be expected in a pre-release version of ty.
As mentioned earlier, the bare # ty: ignore marker comment sets the level for all potential rule violations that might occur on the chosen line of code. Meanwhile, the official documentation recommends always explicitly listing one or more rules in square brackets:
adder.py
# ...

type Number = int | float

def new_adder(x: Number, y: Number) -> Number:
    return x + y

new_adder(a=42, b=555)  # ty: ignore[unknown-argument, missing-argument]
You use a comma to separate the listed rule names. This approach helps avoid potential ambiguity and prevents unintentional silencing of important red flags in your code.
Note: The ty type checker also supports the # type: ignore comment mentioned in PEP 484, which turns off all rules. You can’t specify explicit rule names with it, though.
At this point, you know a lot about tweaking the output and the default rule levels in ty. However, you glossed over a few important details about its convenient module discovery mechanism, which you’ll explore in the next section.
Narrow Down the Discovery Scope
You can narrow down the scope of the search by specifying particular files or directories as positional arguments, or by changing your working directory to a subdirectory. Conversely, by using the --exclude option, you can define glob patterns to be exempt from type checking, which can reduce unnecessary checks on files that are irrelevant to your current task:
$ cd tests/
$ ty check auth_tests/ runtests.py --exclude "**/test_*.py"
(...)

Found 10 diagnostics
This cuts down the output significantly, yet it’s still pretty verbose.
Regardless of where in your project you run the ty check command, the tool detects the configuration files, such as pyproject.toml, and remains fully aware of the overall project structure. It supports both src and flat layouts, among others. This is crucial for resolving imports correctly, letting you operate on relative paths.
When scanning, ty looks for plain Python files (.py), stub files (.pyi) with type signatures, and even Jupyter Notebooks (.ipynb). At the same time, it skips commonly ignored directories like virtual environments, which often contain Python’s own standard library and any installed third-party packages. You don’t want to type check those directly, after all.
However, since your code often depends on these third-party packages, the type checker still needs to access their source code—or their accompanying type stubs—to verify if your own code uses them correctly. The discovery of third-party modules in ty is also automated and involves multiple steps. Here are a few common scenarios:
- Active Environment: If you run
ty checkfrom within an activated virtual environment or a Conda environment, then ty will automatically detect and include the packages installed in that environment. - Inactive Environment: If your project has a virtual environment stored in a local folder named
.venv/(prefixed with a dot), then ty will recognize it even if you haven’t activated that environment yourself. Note that ty doesn’t currently recognize the equally commonvenv/folder as a virtual environment during the discovery phase. However, it ignoresvenv/when scanning for files to type check. - Custom Interpreter or Environment: You can explicitly provide the path to a given
pythonexecutable or a virtual environment’s home folder by using the--pythonoption, but you can specify it only once. - System Python: Finally, ty falls back on your system Python to find any missing modules.
Apart from discovering first-party and third-party modules, ty makes a best effort to determine a suitable Python version for your project based on various configuration options, metadata, and the environment. At the same time, you can override it with the --python-version switch, providing a custom Python version as low as 3.7:
$ ty check --python-version 3.7
WARN ty is pre-release software and not ready for production use.
⮑ Expect to encounter bugs, missing features, and fatal errors.
Checking ----------------------------------------------------------- 1/1 files
error[invalid-syntax]
 --> python_version.py:3:1
  |
1 | from typing import Literal
2 |
3 | type Size = Literal["S", "M", "L", "XL"]
  | ^^^^ Cannot use `type` alias statement on Python 3.7 (syntax was added in Python 3.12)
  |
info: Python 3.7 was assumed when parsing syntax because it was specified on the command line

Found 1 diagnostic
This gives you control over which elements of the Python syntax and which modules in the standard library are enabled.
Similarly, you can use the --platform switch to enforce the desired operating system mode, effectively restricting the visibility of platform-specific objects in Python. This makes cross-platform type checking easier:
$ ty check --platform win32
WARN ty is pre-release software and not ready for production use.
⮑ Expect to encounter bugs, missing features, and fatal errors.
Checking ----------------------------------------------------------- 1/1 files
info[revealed-type]: Revealed type
 --> cross_platform.py:9:13
  |
7 |     x = "macOS or Linux"
8 |
9 | reveal_type(x)
  |             ^ `Literal["Windows"]`
  |

Found 1 diagnostic
The valid values match those of Python’s sys.platform attribute. When left unspecified, ty defaults to your native operating system. Alternatively, you can use the special value all to type check every platform-specific branch of code.
Finally, ty recognizes patterns defined in .gitignore and .ignore files. This means any files or directories listed in these files will be skipped during checks, just like with exclusions in the configuration. You can use .gitignore or .ignore to manage ignored files globally for your project, and ty will automatically honor those patterns unless you override this behavior with specific command-line options or configuration settings.
Beware of Limitations and Gotchas
While ty is exciting, remember that it’s still preview software. Here are a few important things to be aware of:
- Not production-ready: Stick to mature tools like mypy, Microsoft’s Pyright, or Meta’s Pyre for mission-critical projects.
- Bugs and missing features: Core functionality is still evolving, and quirks are inevitable.
- Incomplete ecosystem support: IDE integration is limited outside of VS Code, and some typing features aren’t fully implemented yet.
- Rapid changes: The tool is moving fast, so behavior and features may shift between versions.
That said, ty shines when you need fast, lightweight, and intuitive feedback in personal or experimental projects. Its shortcomings are likely to shrink over time, so keep an eye on updates!
Conclusion
Astral’s ty offers a fresh take on Python type checking, emphasizing speed and developer experience. While it’s still in preview and not yet ready to replace mature tools in production, ty’s fast feedback loop and intuitive output make it a compelling option for experimentation and personal projects.
In this tutorial, you’ve learned how to:
- Install
tyfrom PyPI for immediate use - Run the
ty checkcommand to scan projects for type errors - Read and interpret ty’s structured, color-coded diagnostics
- Configure rules globally or inline to fine-tune checks
- Limit scope and exclude files for faster, focused analysis
- Override Python version and platform to test cross-environment compatibility
Keep in mind that ty is evolving rapidly. By the time you read this, new features may have landed, bugs may have been fixed, and IDE support may have improved. So stay curious, keep your tools updated, and don’t hesitate to explore the latest developments in its documentation and GitHub repository.
Get Your Code: Click here to download the free sample code that you’ll use to learn about Astral’s ty.
Frequently Asked Questions
Now that you have some experience with ty in Python, you can use the questions and answers below to check your understanding and recap what you’ve learned.
These FAQs are related to the most important concepts you’ve covered in this tutorial. Click the Show/Hide toggle beside each question to reveal the answer.
No. You shouldn’t use ty in production yet because it’s a preview release with missing features and known issues. You can use it in personal or experimental projects to get fast feedback.
You install ty from PyPI with pip, ideally inside a virtual environment, or follow the documentation for global installs. After installing, you can run ty with the --version flag to confirm that the binary is on your path.
You run ty check from your project root folder and let its discovery scan your code, stubs, and notebooks. You can pass paths or use exclude patterns to narrow the scope and switch to concise or quiet output to cut noise.
You set rule levels in pyproject.toml or ty.toml and override them with options like --error, --warn, and --ignore. You can silence a single line with a comment, such as # ty: ignore[rule1, rule2], to avoid muting unrelated checks.
You can install the official VS Code extension for integrated diagnostics. For other editors, you can run the ty language server via LSP, and in PyCharm, you’ll need the LSP4IJ plugin to connect.
Take the Quiz: Test your knowledge with our interactive “Astral's ty Type Checker for Python” quiz. You’ll receive a score upon completion to help you track your learning progress:
Interactive Quiz
Astral's ty Type Checker for PythonTest your knowledge of Astral's ty—a blazing-fast, Rust-powered Python type checker. You'll cover installation, usage, rule configuration, and the tool's current limitations.


