In this four-part tutorial series, you’re building a social network with Django that you can showcase in your portfolio. This project will strengthen your understanding of relationships between Django models and show you how to use forms so that users can interact with your app and with each other. You’ll also make your Django front end look good by using the Bulma CSS framework.
In the first part, you extended the Django User model to add profile information that allows users to follow and unfollow each other. You also learned how to customize the Django admin interface and troubleshoot during development with the help of Django’s error messages.
In the second part of this tutorial series, you’ll learn how to:
- Integrate Bulma CSS and style your app
- Use template inheritance to reduce repetition
- Structure Django templates in a folder hierarchy
- Build routing and view functions
- Interlink pages of your app using dynamic URLs
After finishing the second part of this project, you’ll move on to the third part of this tutorial series, where you’ll create the back end for adding content to your social network. You’ll also add the missing templates to allow your users to view the text-based content on their dashboard page.
You can download the code that you’ll need to start the second part of this project by clicking the link below and going to the source_code_start/ folder:
Get Source Code: Click here to get the source code for this part of building out your Django social network.
Demo
In this four-part tutorial series, you’re building a small social network that allows users to post short text-based messages. The users of your app can also follow other user profiles to see the posts of these users or unfollow them to stop seeing their text-based posts:
In the second part of this series, you’ll work with templates and learn to use the CSS framework Bulma to give your app a user-friendly appearance. You’ll also tackle common tasks such as setting up routing, views, and templates for individual user profile pages as well as interlinking them with the profile list page:
At the end of this part of the tutorial series, you’ll be able to access detail pages and the profile list page and navigate between them. You’ll also have Bulma added to style the pages.
Project Overview
In this section, you’ll get an overview of the topics that you’ll cover in this second part of the tutorial series. You’ll also get a chance to revisit the full project implementation steps, in case you need to skip back to a previous step from an earlier part of the series or if you want to see what’s still up ahead.
At this point, you should have finished working through part one of this tutorial series. If you did, then you’re ready to continue with your next steps, which focus on templates and front-end styling:
| Step 4 | Create a Base Template With Bulma |
| Step 5 | List All User Profiles |
| Step 6 | Access Individual Profile Pages |
After completing all steps of this second part of the series, you can continue with part three.
To refresh your memory and get an overview of how you’ll work through all four parts of this series on building your Django social network, you can expand the collapsible section below:
You’re implementing the project in a number of steps spread out over multiple separate tutorials in this series. There’s a lot to cover, and you’re going into detail along the way:
✅ Part 1: Models and Relationships
- Step 1: Set Up the Base Project
- Step 2: Extend the Django User Model
- Step 3: Implement a Post-Save Hook
📍 Part 2: Templates and Front-End Styling
- Step 4: Create a Base Template With Bulma
- Step 5: List All User Profiles
- Step 6: Access Individual Profile Pages
- Step 7: Follow and Unfollow Other Profiles
- Step 8: Create the Back-End Logic For Dweets
- Step 9: Display Dweets on the Front End
⏭ Part 4: Forms and Submissions
- Step 10: Submit Dweets Through a Django Form
- Step 11: Prevent Double Submissions and Handle Errors
- Step 12: Improve the Front-End User Experience
Each of these steps will provide links to any necessary resources. By approaching the steps one at a time, you’ll have the opportunity to pause and come back at a later point in case you want to take a break.
With the high-level structure of this tutorial series in mind, you’ve got a good idea of where you’re at and which implementation steps you’ll handle in the later parts.
Before getting started with the next step, take a quick look at the prerequisites to skim any links to other resources that might be helpful along the way.
Prerequisites
To successfully work through this part of your project, you need to have completed the first part on models and relationships and you should confirm that your project is working as described there. It would be best if you’re also comfortable with the following concepts:
- Using object-oriented programming in Python
- Setting up a basic Django project
- Managing routing and redirects, view functions, templates, models, and migrations in Django
- Using and customizing the Django admin interface
- Reading and writing HTML with class attributes
Remember that you should have completed the first part of this series by now. This second part will pick up right where you left off at the end of that one.
Note: You won’t be able to follow this part of the tutorial series if you don’t have the working project from the first part ready to go.
You can also download the code that you’ll need for starting the second part of this project by clicking the link below and going to the source_code_start/ folder:
Get Source Code: Click here to get the source code for this part of building out your Django social network.
For additional prerequisites and further links, check out the prerequisites mentioned in the first part of this tutorial series on building a basic social network in Django.
Step 4: Create a Base Template With Bulma
After finishing the first three steps of this tutorial series, which you can catch up on in the first part, your user profiles are now automatically created when you create a new user. A user profile holds information about which other profiles a user follows.
At the end of this step, you’ll have set up the templates folder structure and created a base template that uses the Bulma CSS framework for a modern user interface.
Chances are, you’re planning to show this project to others or add it to your portfolio. However, a portfolio project is only half as impressive when you don’t have a user-facing side. Even if your main interest is in back-end development, your portfolio will look much better if your projects look good.
Note: Most larger companies split up the responsibilities for the front end and the back end of a product between different teams of developers, including when working with Django. However, having a fundamental understanding of how you can make your website projects look decent without too much effort goes a long way.
You’ll build the front end of your web app using Django templates, which the framework renders by request to HTML pages that your users will get to interact with.
Create a Base Template
You’ll start by creating a place for your app’s templates in a dedicated folder inside of dwitter/:
dwitter/
│
├── migrations/
│
├── templates/
│
├── __init__.py
├── admin.py
├── apps.py
├── models.py
├── tests.py
└── views.py
The templates/ folder will hold all the templates associated with your dwitter app. Add a new file in this folder and call it base.html:
dwitter/
│
├── migrations/
│
├── templates/
│   └── base.html
│
├── __init__.py
├── admin.py
├── apps.py
├── models.py
├── tests.py
└── views.py
The folder structure for your dwitter app should look like the tree structure you can see above, with base.html nested inside of templates/.
You can now open base.html and add the basic HTML structure that all your templates will share through template inheritance:
 1<!-- dwitter/templates/base.html -->
 2
 3<!DOCTYPE html>
 4<html lang="en">
 5<head>
 6    <meta charset="UTF-8">
 7    <meta http-equiv="X-UA-Compatible" content="IE=edge">
 8    <meta name="viewport" content="width=device-width, initial-scale=1.0">
 9    <title>Dwitter</title>
10</head>
11<body>
12    <section>
13        <h1>Dwitter</h1>
14        <p>Your tiny social network built with Django</p>
15    </section>
16    <div>
17        {% block content %}
18
19        {% endblock content %}
20    </div>
21</body>
22</html>
This HTML code consists of a boilerplate HTML structure with a couple of additions that are specific to your app and that you want to see on all of your pages:
- Line 9: You add a title to your web app that’ll be displayed in the browser tab for all pages.
- Lines 12 to 15: You add a title and a subtitle. You can customize them if you want to.
- Lines 17 to 19: You add the
blockDjango template tag, which opens up the space where your child templates can inject their content into the base template.
Feel free to copy-paste this code into your file. It’s enough to understand the main concepts of why you’d want to use template inheritance and how the child templates can extend base.html.
View Your Base Template
It’s often helpful to view the results of your code as you’re developing it. To make Django render and display your base template, you’ll need to set up URL routing and a view function.
Open up your primary urls.py file in the management app that you called social, then route requests that point to the base URL forward to your dwitter app:
 1# social/urls.py
 2
 3from django.contrib import admin
 4from django.urls import path, include
 5
 6urlpatterns = [
 7    path("", include("dwitter.urls")),
 8    path("admin/", admin.site.urls),
 9]
On line 4, you import include from django.urls, which you then use on line 7 to redirect all requests made to the base URL ("") to your dwitter app’s urls.py file. You’ll later change the code in that file to distribute incoming requests further.
Note: By default, Django apps don’t come with their own urls.py files. However, it’s best to create a URL configuration for each app in your Django project and include them in your main URLconf. For each new app, you’ll need to create a new urls.py file.
You can now create your dwitter app’s urls.py file so that you can continue following the path that a request takes through your project. This file should live next to the other Python files in dwitter/:
dwitter/
│
├── migrations/
│
├── templates/
│   └── base.html
│
├── __init__.py
├── admin.py
├── apps.py
├── models.py
├── tests.py
├── urls.py
└── views.py
After you’ve created dwitter/urls.py, you can open the file and add some code. The base structure of this file should be similar to social/urls.py but without needing to handle the /admin route. Catch the incoming request to the base URL that gets redirected to this file and send it to a new function called dashboard:
# dwitter/urls.py

from django.urls import path
from .views import dashboard

app_name = "dwitter"

urlpatterns = [
    path("", dashboard, name="dashboard"),
]
In this code snippet, you import a view function called dashboard from your app’s views.py file. Note that you haven’t created dashboard() yet. When you run your development server at this point, you’ll encounter a helpful error message that’ll tell you all about it:
File "/<your_path>/dwitter/urls.py", line 2, in <module>
    from .views import dashboard
ImportError: cannot import name 'dashboard' from 'dwitter.views'
(/<your_path>/dwitter/views.py)
Django tells you in your terminal that it can’t import something called dashboard from dwitter.views. This error message gives you a good idea of where to look next. Go ahead and create dashboard() in views.py to make Django happy and restore functionality to your app:
# dwitter/views.py

from django.shortcuts import render

def dashboard(request):
    return render(request, "base.html")
With dashboard(), you’re pointing the incoming request to base.html and telling Django to render that template. Go ahead and start your development server if it isn’t running yet:
(social) $ python manage.py runserver
Navigate to your base URL at localhost:8000/, and you should see the text that you entered in your base template now rendered in your browser:
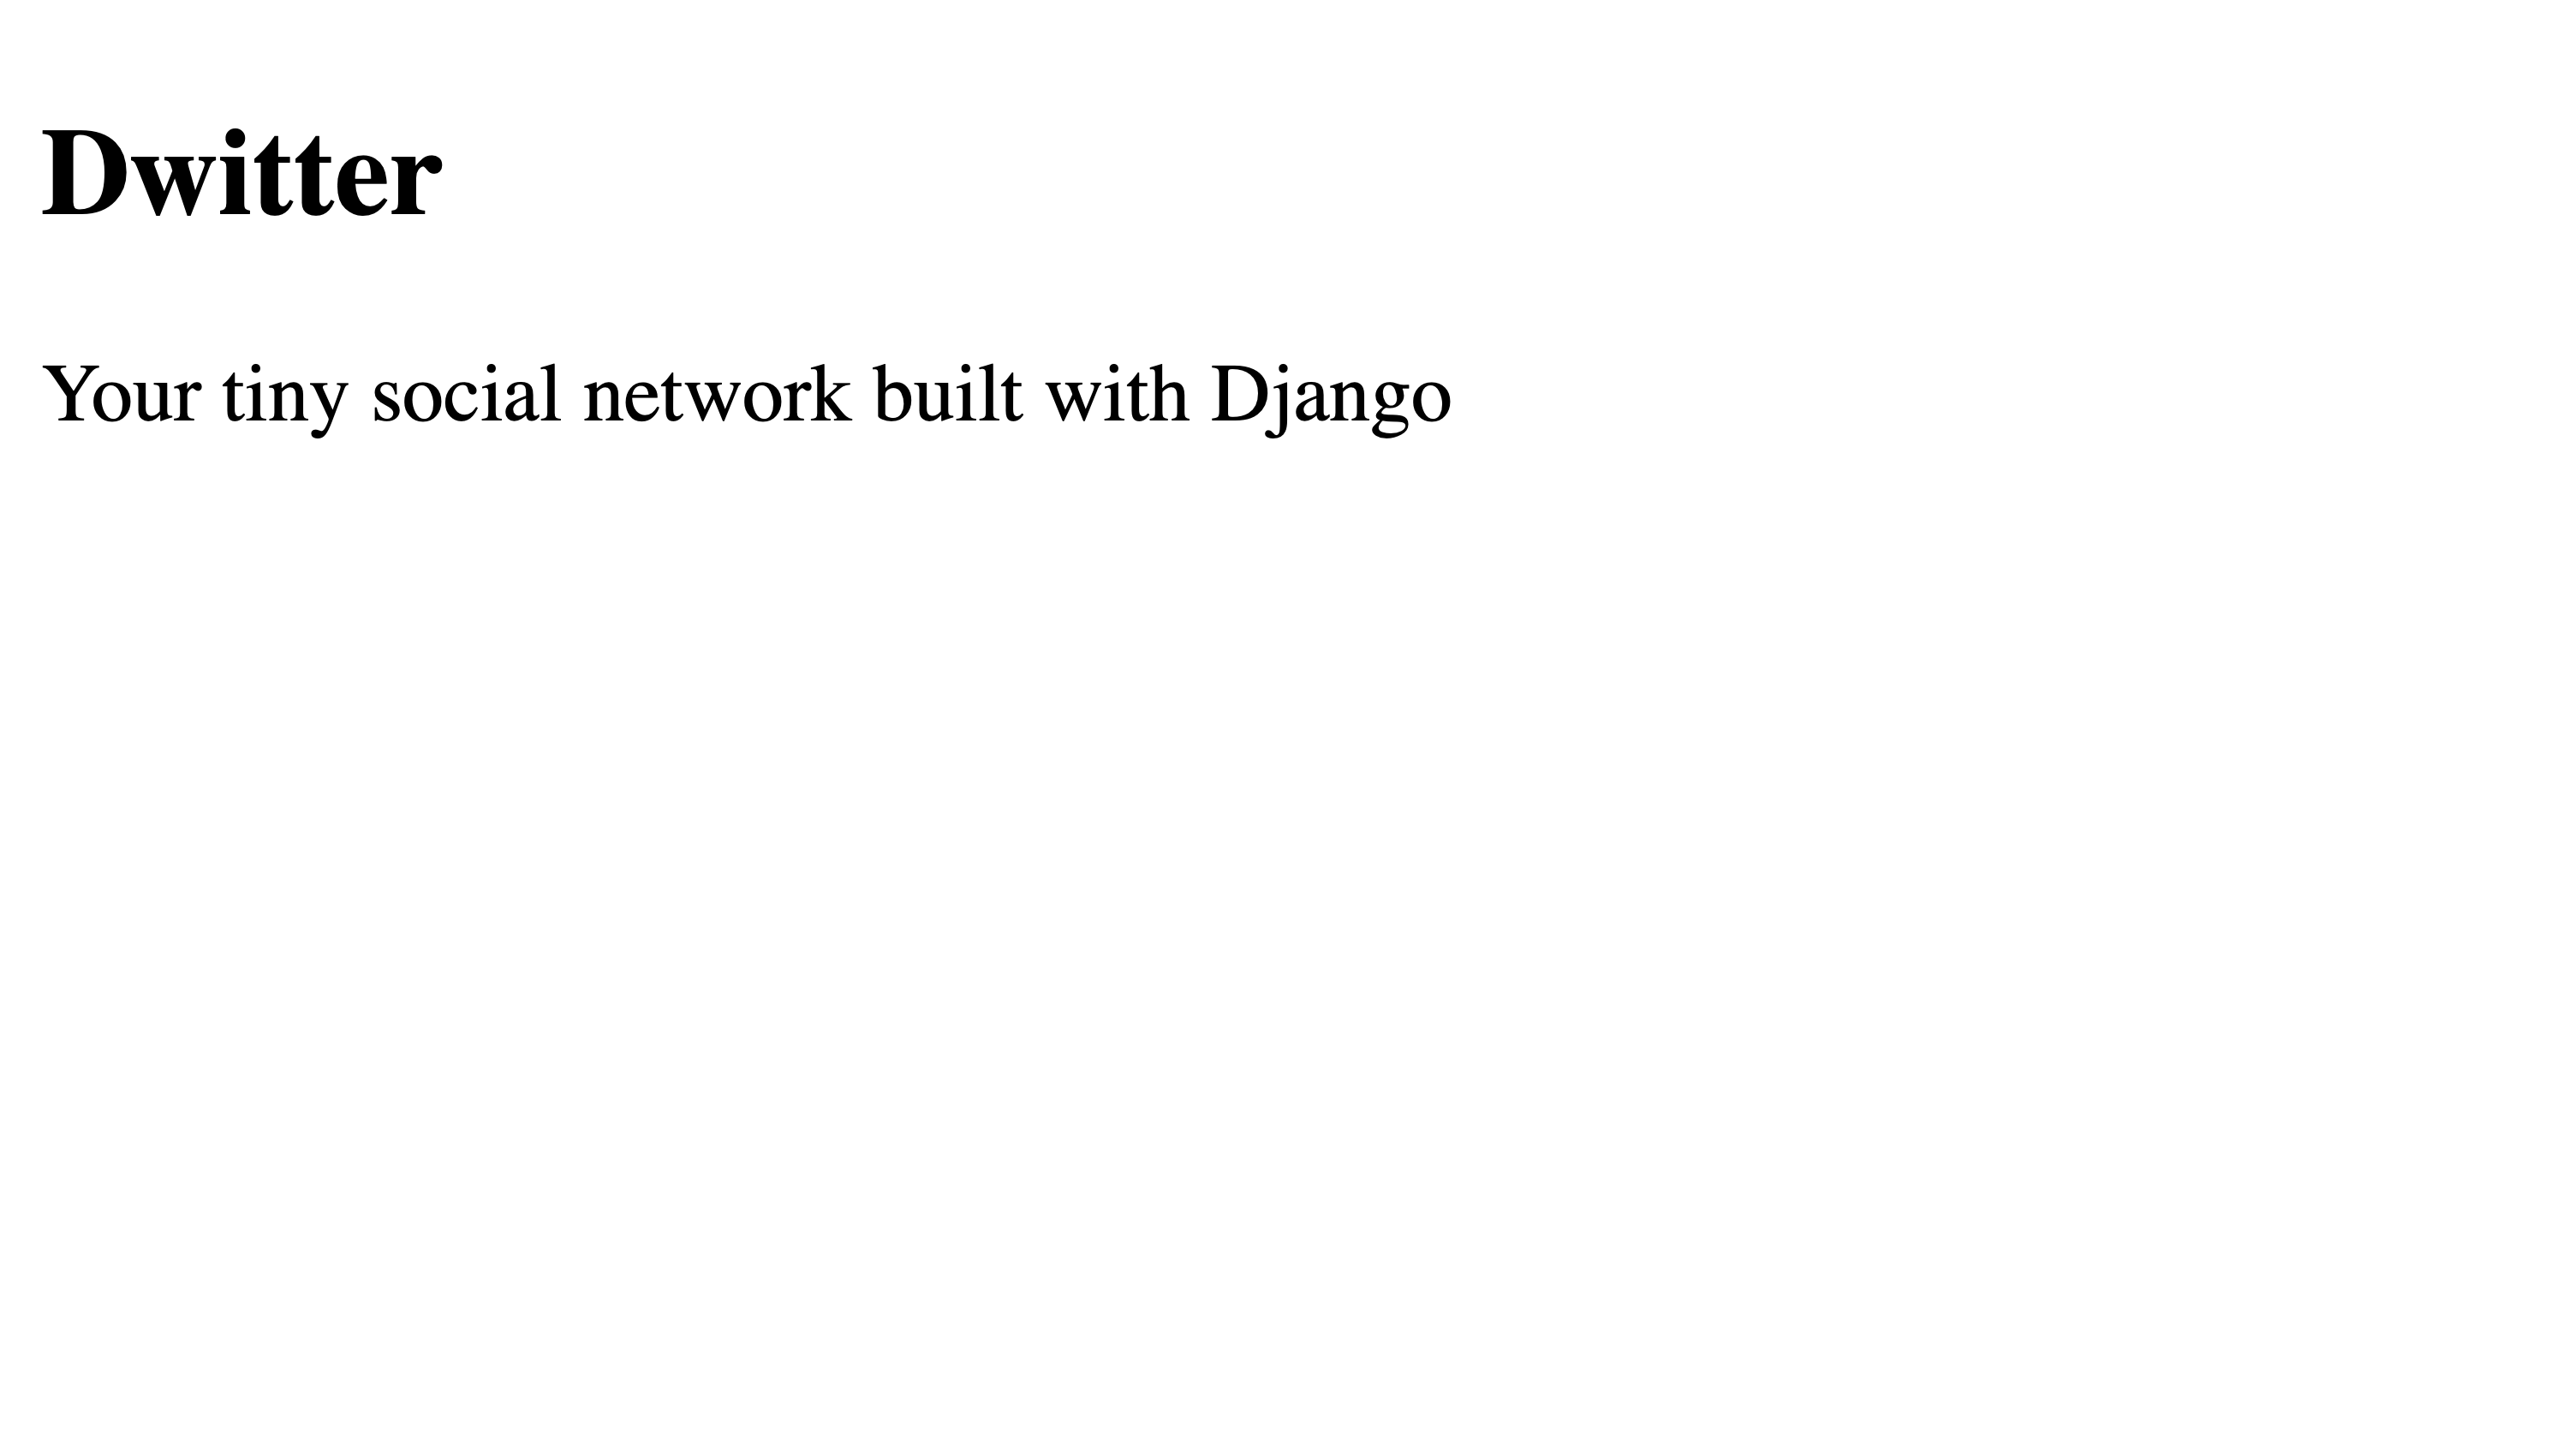
There’s some text all right, but it doesn’t look terrific. Will many people be interested in joining a social network that only serves pure HTML text?
Add Bulma CSS to Your Base Template
You can improve the look of your HTML by adding CSS. But writing your own CSS files can be a lot of work! CSS frameworks are a great alternative and will help you make your web apps look better with less effort.
In this tutorial, you’ll use the CSS framework Bulma to handle the CSS rules for you. To get started, you’ll need to make the Bulma CSS stylesheet available to all of your templates. A quick way to do that is by adding a link to the stylesheet file, which is hosted on a content delivery network (CDN), to your base template’s <head> element:
<!-- dwitter/templates/base.html -->

<!DOCTYPE html>
<html lang="en">
<head>
    <meta charset="UTF-8">
    <meta http-equiv="X-UA-Compatible" content="IE=edge">
    <meta name="viewport" content="width=device-width, initial-scale=1.0">
    <!-- Include the Bulma CSS framework for styling -->
    <link rel="stylesheet"
          href="https://cdn.jsdelivr.net/npm/bulma@0.9.3/css/bulma.min.css">
    <title>Dwitter</title>
</head>
<body>
    <section>
        <h1>Dwitter</h1>
        <p>Your tiny social network built with Django</p>
    </section>
    <div>
        {% block content %}

        {% endblock content %}
    </div>
</body>
</html>
If your development server is still running, you should see a change in the text that’s displayed in your browser:
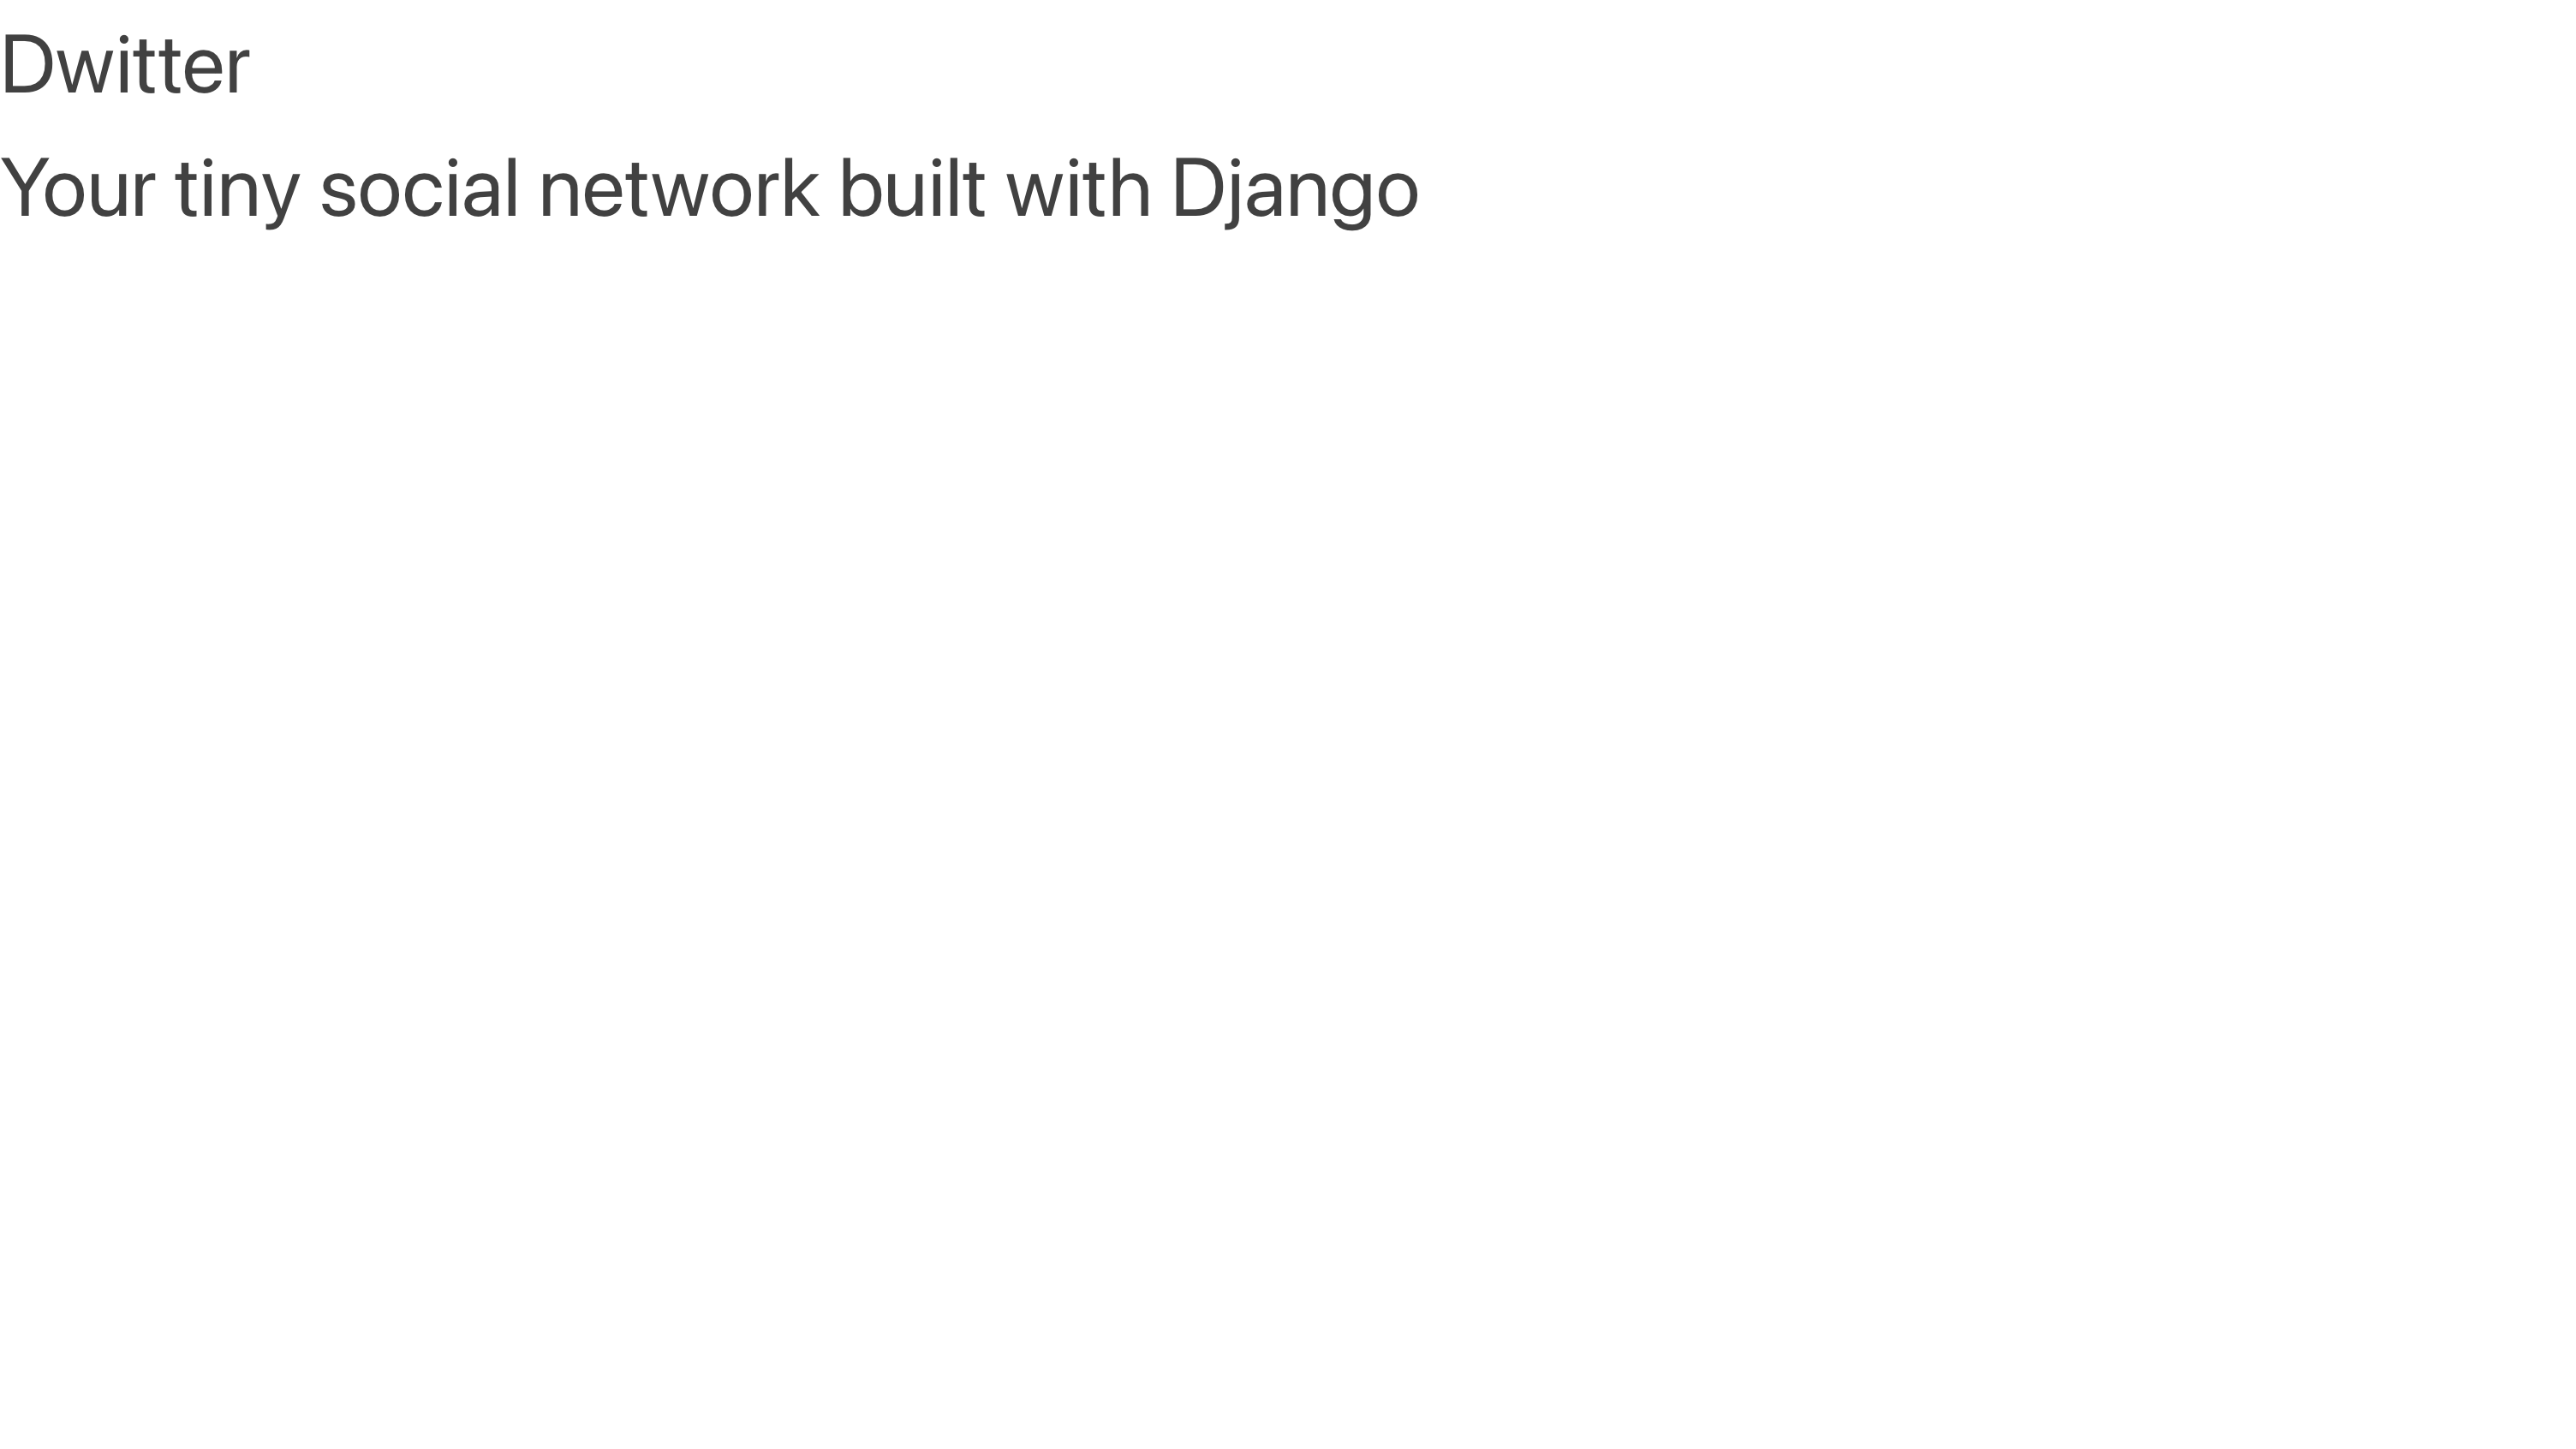
Your page doesn’t look that different yet, but you can see that the font family has changed, proving that your app can successfully load Bulma’s stylesheet through the CDN.
You can now continue to improve the look of your page by employing pre-made classes defined in that stylesheet. You just need to add HTML classes to the HTML elements that you want to style differently:
<!-- dwitter/templates/base.html -->

<!DOCTYPE html>
<html lang="en">
<head>
    <meta charset="UTF-8">
    <meta http-equiv="X-UA-Compatible" content="IE=edge">
    <meta name="viewport" content="width=device-width, initial-scale=1.0">
    <!-- Include the Bulma CSS framework for styling -->
    <link rel="stylesheet"
          href="https://cdn.jsdelivr.net/npm/bulma@0.9.3/css/bulma.min.css">
    <title>Dwitter</title>
</head>
<body>
    <section class="hero is-small is-success mb-4">
        <div class="hero-body">
            <h1 class="title is-1">Dwitter</h1>
            <p class="subtitle is-4">
                Your tiny social network built with Django
            </p>
        </div>
    </section>

    <div class="container">
        <div class="columns">

            {% block content %}

            {% endblock content %}

        </div>
    </div>
</body>
</html>
In the code snippet above, you added a small number of additional HTML elements to wrap your content following Bulma-suggested structures. Additionally, you added predefined HTML classes to these elements.
These classes have associated CSS style rules in Bulma’s CSS stylesheet that you linked in <head>. Because of this, your browser knows how to render your elements with additional style added to them:
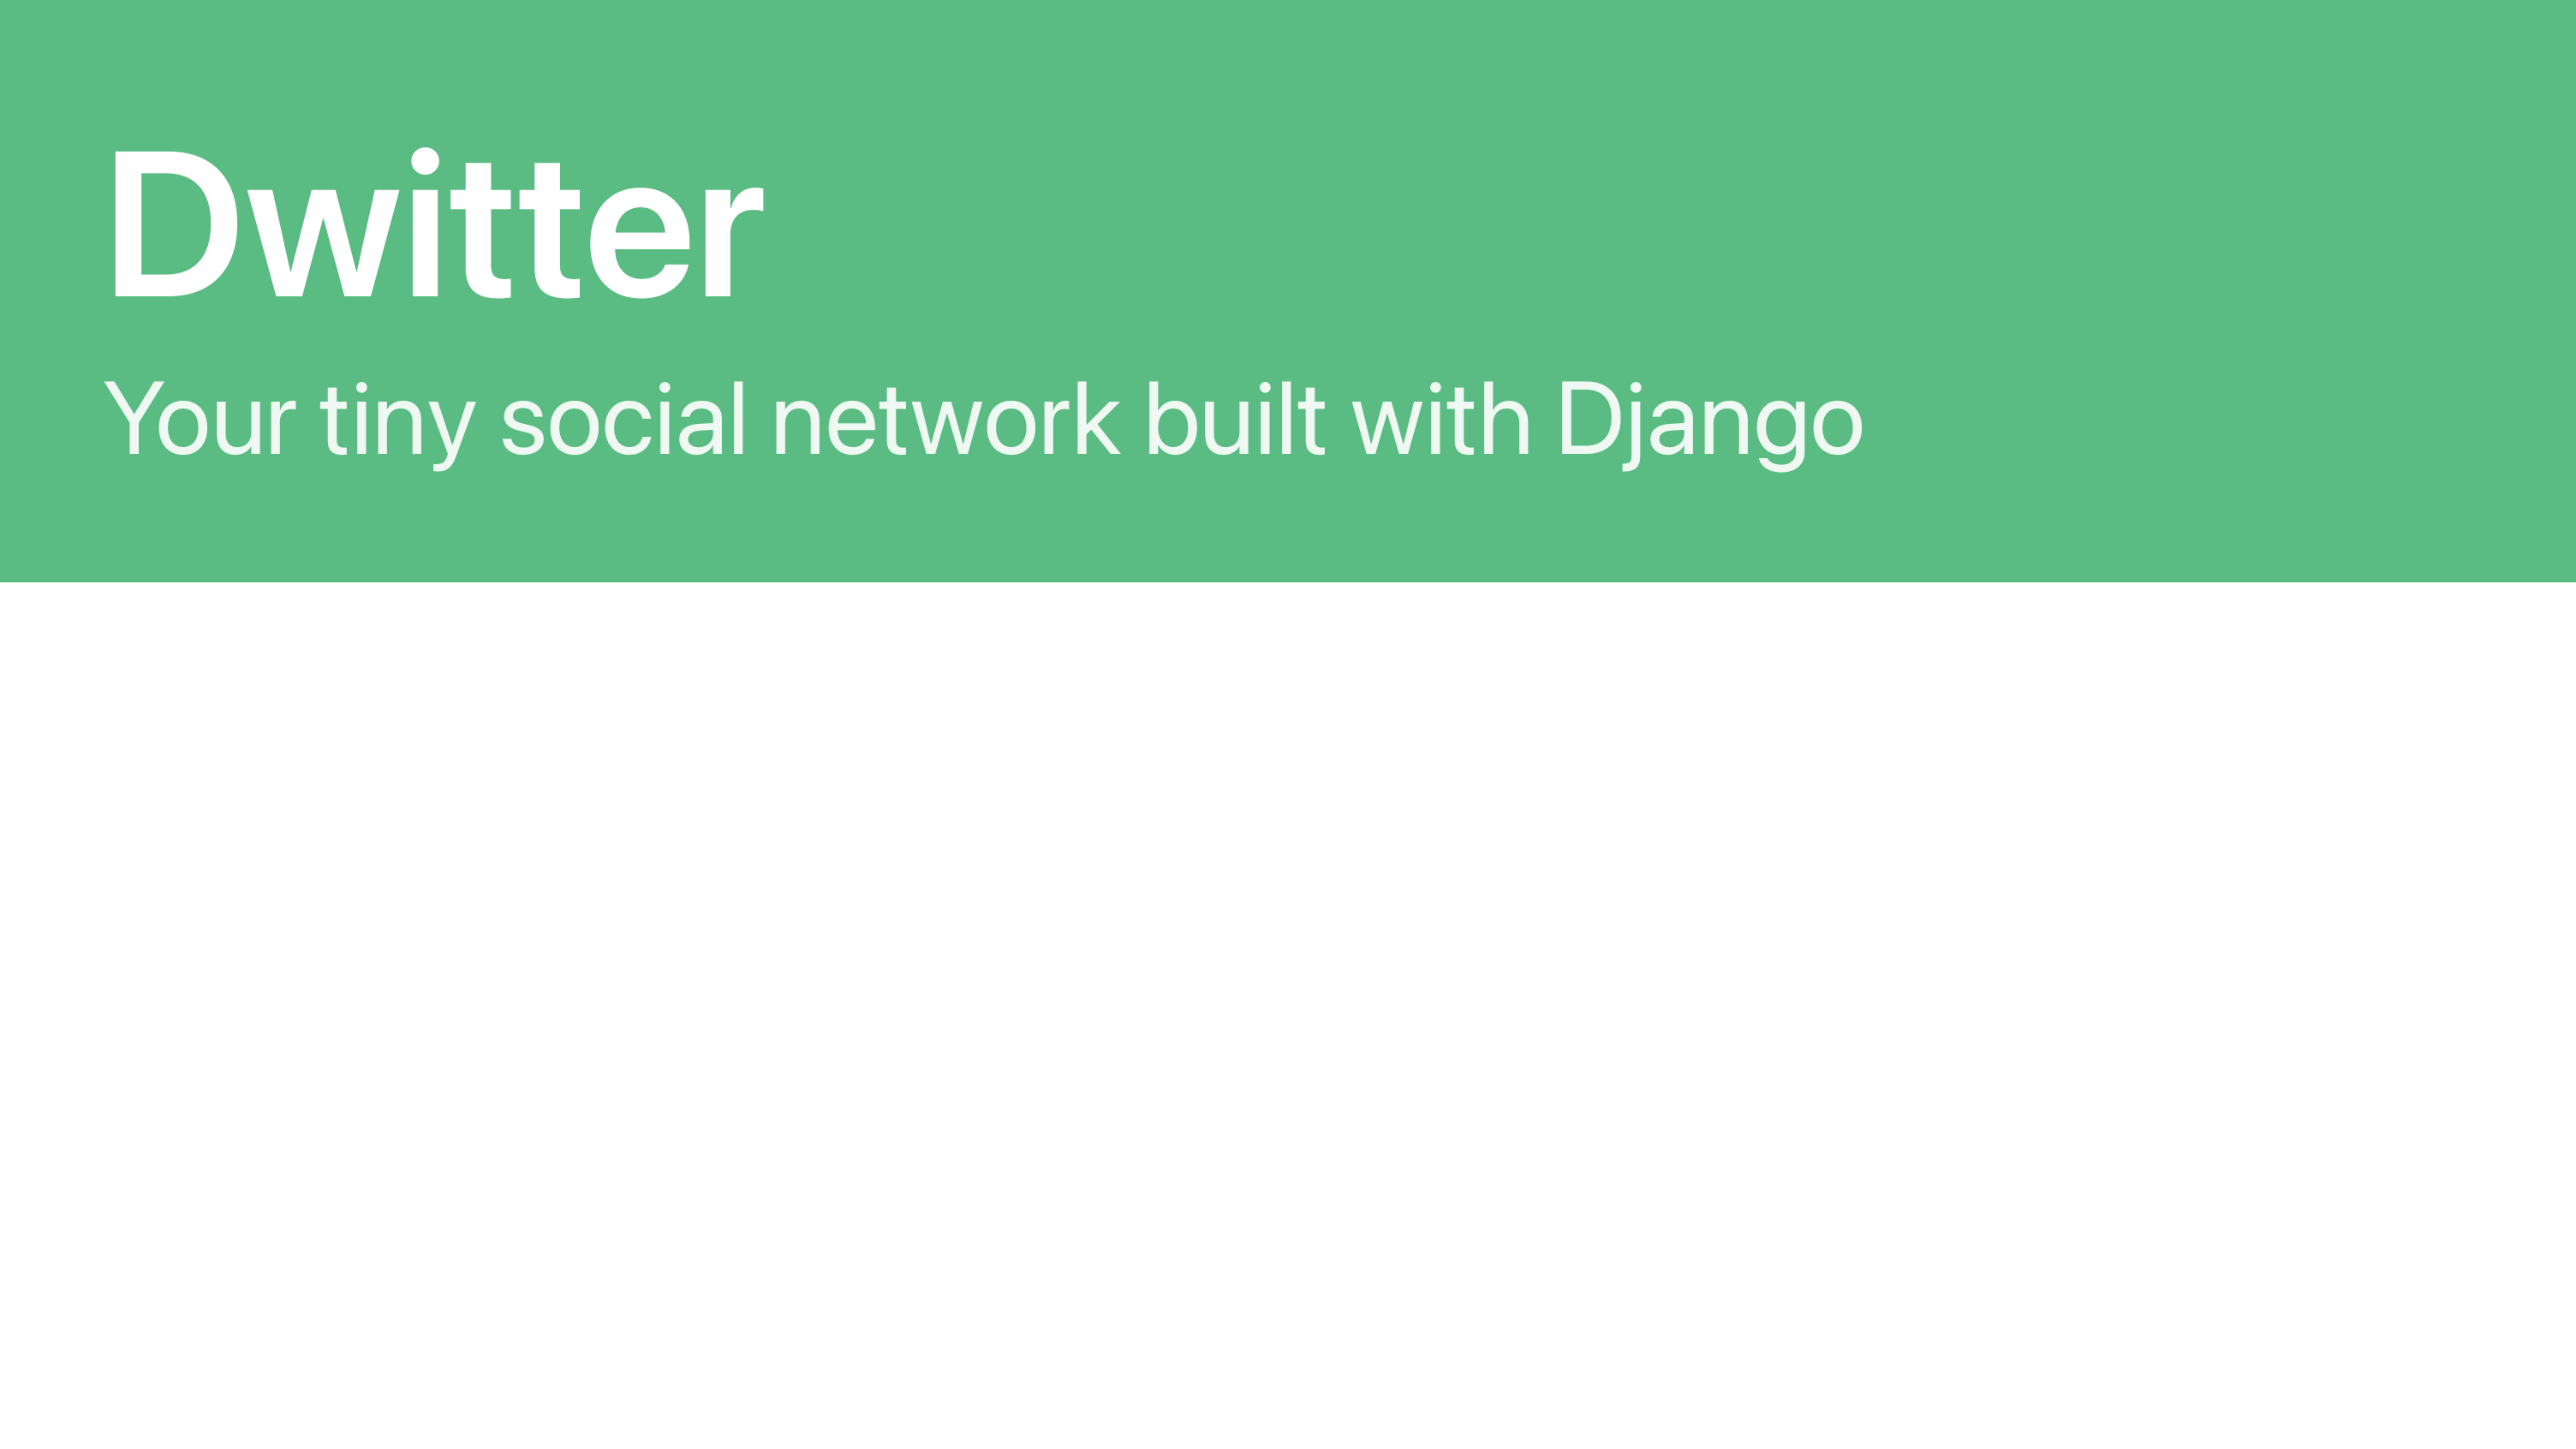
That looks significantly better than before! To get these style improvements, you didn’t need to define any CSS style rules. You just needed to implement the proper HTML structure and assign the Bulma-defined HTML classes that you want.
You’ll see HTML with class names from Bulma’s CSS throughout this tutorial series. Feel free to either copy-paste the HTML code if you don’t want to learn more about this CSS framework currently or to use the provided code as a vantage point from which you can explore more of Bulma’s functionality.
Note: Bulma’s documentation is notoriously difficult to search. However, a different service called Bulma Search allows you to find the documentation pages for different features more quickly.
In this step, you’ve successfully created a new templates folder in your app and added a base template from which all future templates will inherit. You’ve added a link to the Bulma CSS file in base.html, which gives all child pages access to the styles that this CSS framework provides.
You also set up the basic routing for your project, made sure that requests to your base URL get redirected to your dwitter app, and created dashboard() as a placeholder view that currently renders your base template.
In the next step, you’ll create a child template that will display a list of all user profiles.
Step 5: List All User Profiles on the Front End of Your Django App
At this point, you can inherit from your base template, which links to style scaffolding through Bulma. By the end of this step, you’ll display a page that lists all user profiles, which you’ll have styled in a modern way using a CSS framework.
To get started, you’ll follow the flow of a request through the Django web framework and write the code that you’ll need piece by piece.
Write the Routes and Code Logic
For every web page that you want to generate and display using Django, you can think through the different parts of the web app that a user’s request flows through:
| Topic | File Location |
|---|---|
| Routing | urls.py |
| Logic | views.py |
| Representation | HTML files in templates/ |
You already routed all requests that point to the base URL onwards to your dwitter app when you wrote the code to view your base template. Now you’ll pick up requests that go to /profile_list in dwitter/urls.py and take it from there:
# dwitter/urls.py

from django.urls import path
from .views import dashboard, profile_list

app_name = "dwitter"

urlpatterns = [
    path("", dashboard, name="dashboard"),
    path("profile_list/", profile_list, name="profile_list"),
]
By adding these lines of code, you’re telling Django that you want to route requests that come to /profile_list to the view function called profile_list().
Note: The names of your URL slug and the view function don’t need to match, but it makes sense to name them the same to keep your code clearer and more straightforward to debug.
Just like before, you haven’t written profile_list() yet, which means that your development server will run into an error if you try to run your web app now. But you have a good idea of where to go next, so you open up dwitter/views.py and add the code for profile_list():
 1# dwitter/views.py
 2
 3from django.shortcuts import render
 4from .models import Profile
 5
 6def dashboard(request):
 7    return render(request, "base.html")
 8
 9def profile_list(request):
10    profiles = Profile.objects.exclude(user=request.user)
11    return render(request, "dwitter/profile_list.html", {"profiles": profiles})
With this code, you’re defining the view function that’ll handle all requests to the /profile_list URL slug:
- Line 4: You import
Profilefromdwitter/models.pyusing a relative path, where the dot (.) represents the current app directory. - Line 9: You create
profile_list()and take Django’srequestobject as an argument. - Line 10: You use Django’s object-relational mapper (ORM) to retrieve objects from your profile table and store them in
profiles. You want to get all user profiles except for your own, which you accomplish with.exclude(). - Line 11: Finally, you return a call to
render(), to which you pass a string for the template you want to render and a context dictionary that containsprofiles.
In short, you fetch all user profiles except for your own from your database and send that information onwards to a template with the path dwitter/profile_list.html. But that template doesn’t exist yet, so you’ll have to make that next to avoid confusing Django.
Write the Profile List Template
You’ll need to build profile_list.html so that Django can render the template when your users request your web app’s /profile_list endpoint.
Head back to dwitter/templates/ and create another folder called dwitter/ in there. Inside of this second dwitter/ folder, you can create a new file called profile_list.html:
dwitter/
│
├── migrations/
│
├── templates/
│   │
│   ├── dwitter/
│   │   └── profile_list.html
│   │
│   └── base.html
│
...
└── views.py
The second-level dwitter/ folder should be a subfolder of dwitter/templates/ and a sibling to base.html.
Note: The reason why you’re creating this second dwitter/ folder is to avoid complications with templates from other apps you might add to your project in the future. You can learn more about this by exploring Django’s double-folder structure.
Open your new template at dwitter/templates/dwitter/project_list.html and add HTML to display information about the user profiles:
 1<!-- dwitter/templates/dwitter/profile_list.html -->
 2
 3{% for profile in profiles %}
 4
 5<div>
 6    <p>{{ profile.user.username }}</p>
 7    <p>@{{ profile.user.username|lower }}</p>
 8</div>
 9
10{% endfor %}
This code snippet is a mix of HTML code and Django template syntax:
- Lines 3 and 10: You use some looping code logic to iterate over the items in
profiles, which is aQuerySetobject that you’re sending over from your view function. - Line 6: You display the username of each user. Once you’ve collected more information about a user, you could swap this with their real name.
- Line 7: You display the username a second time, but this time you apply a template filter to the output to convert it to lowercase.
While this code snippet doesn’t represent a proper HTML structure yet, your browser is still smart enough to render it correctly. Start your development server and navigate to http://localhost:8000/profile_list to see your intermediate result:
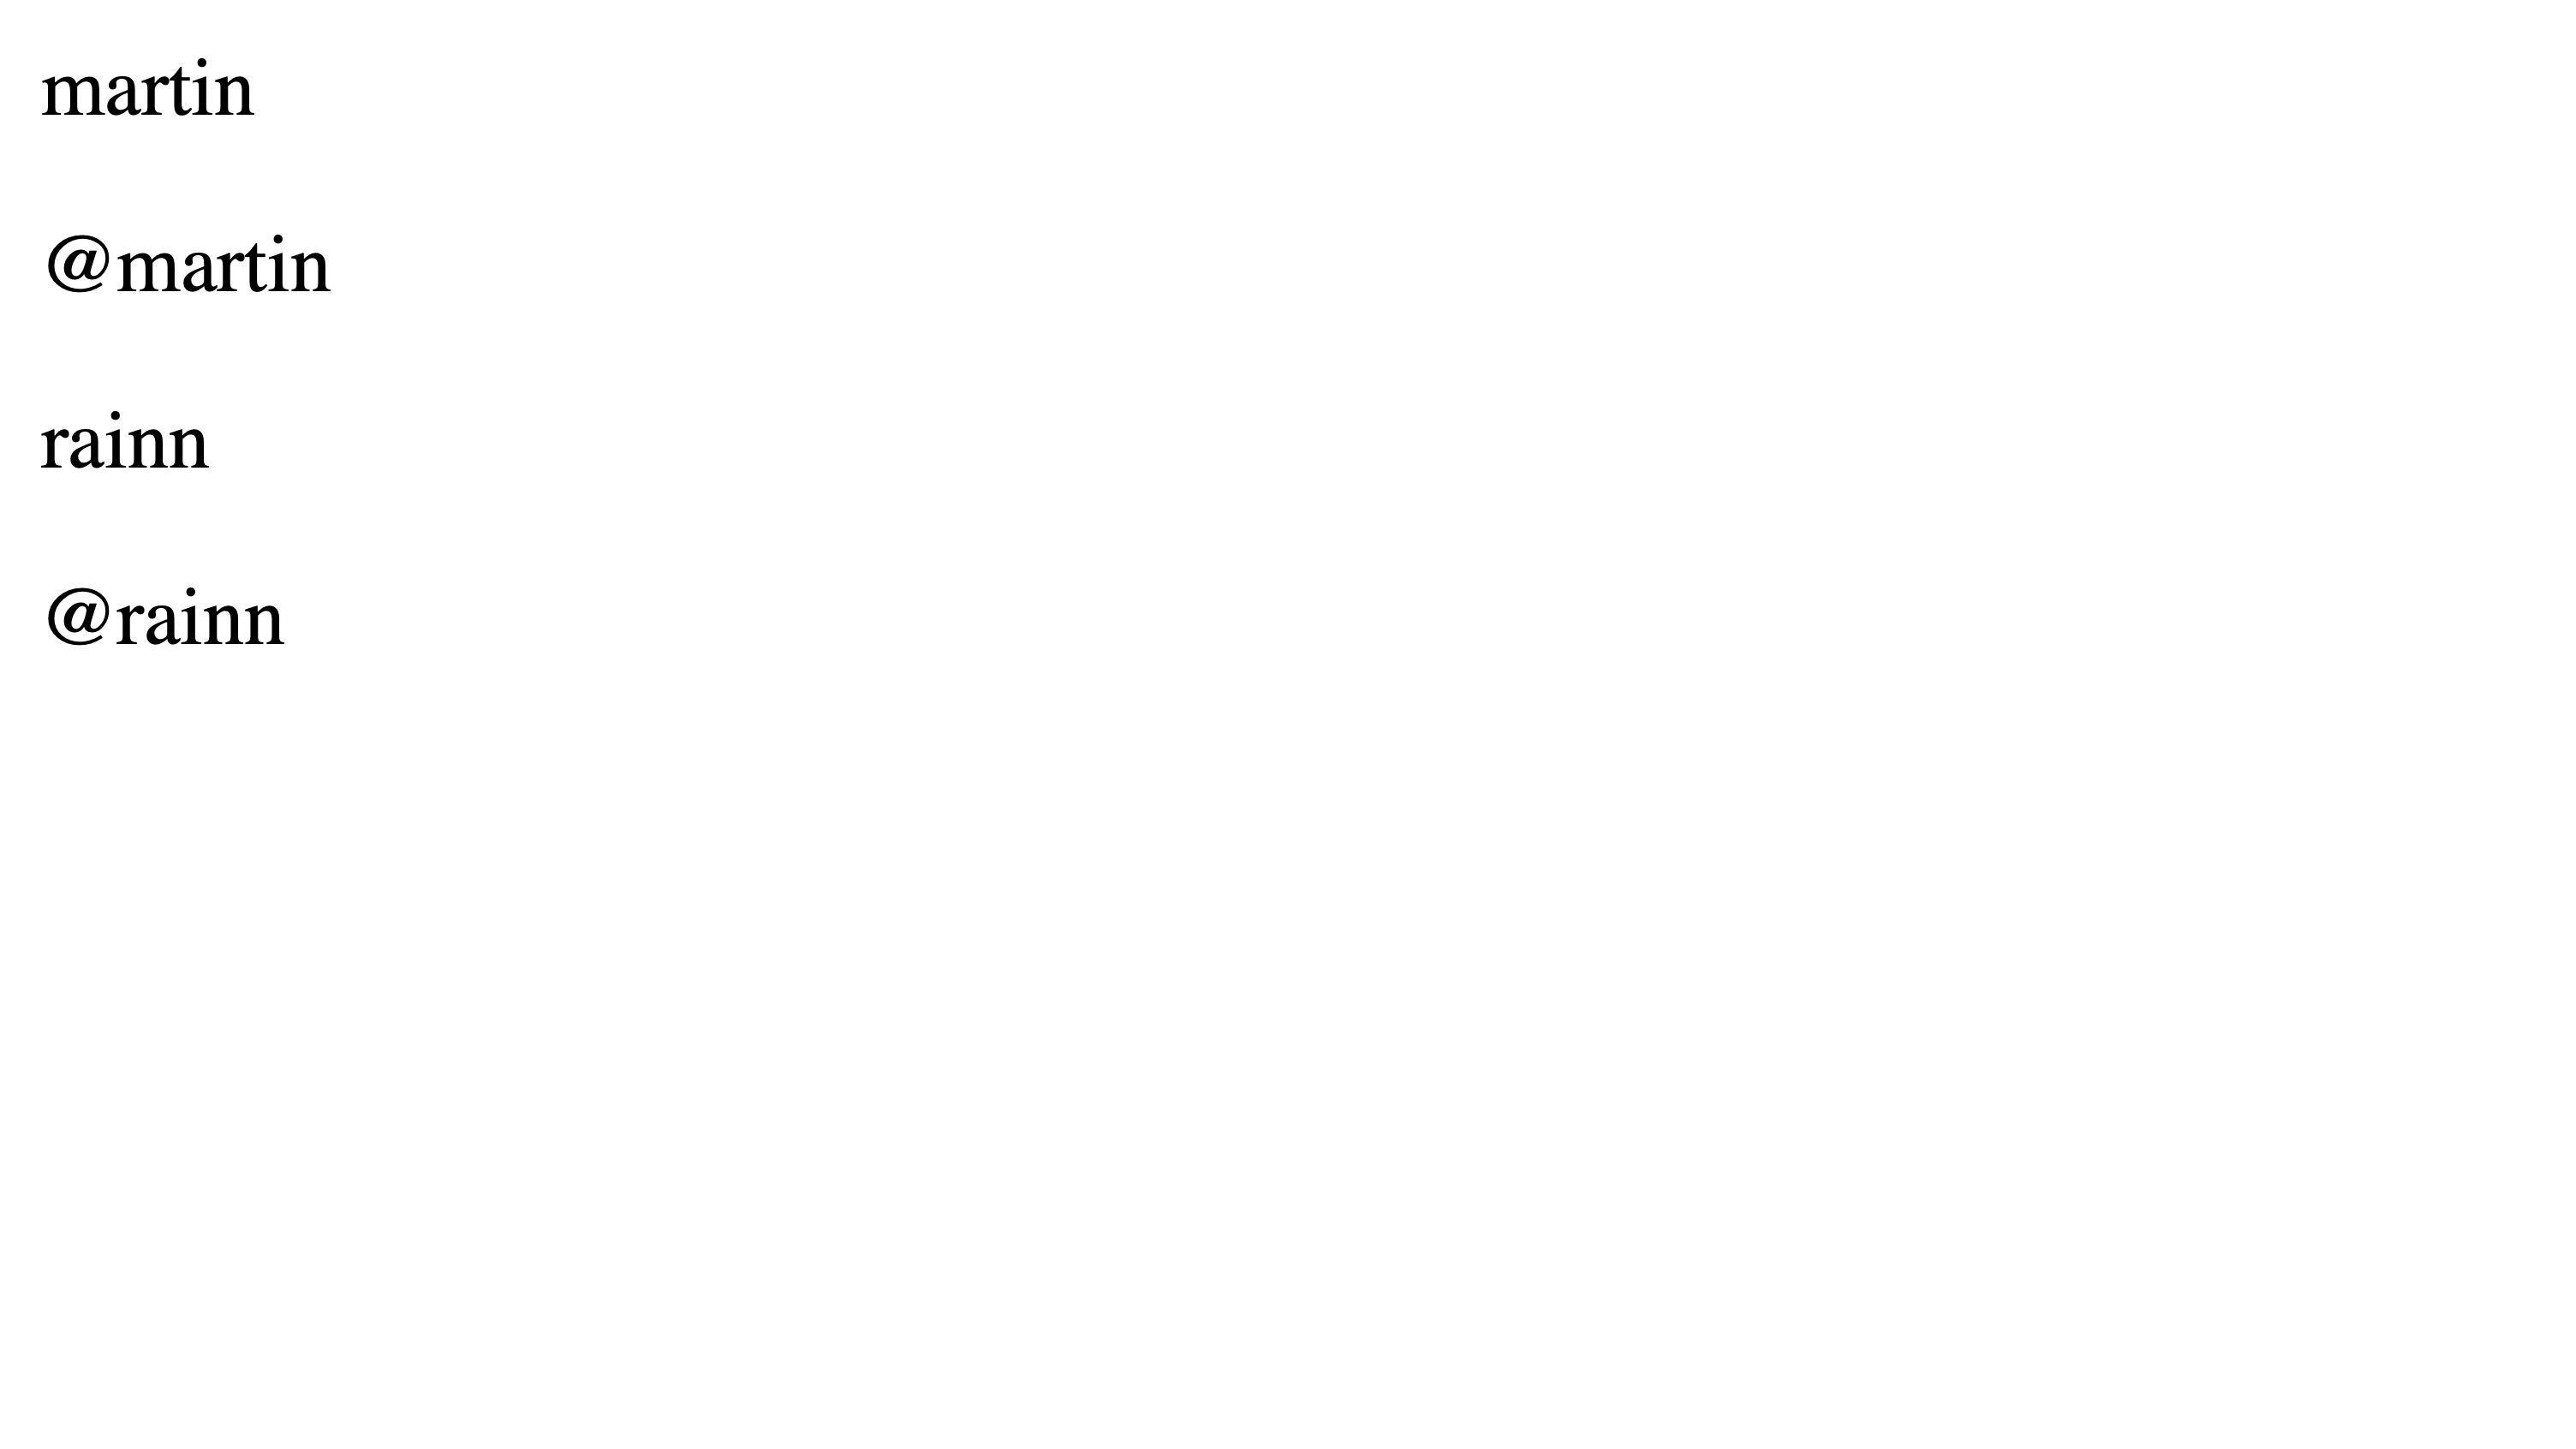
Great, your user data gets displayed as expected. However, it doesn’t look that great yet. It’s time to add the scaffolding that you set up in base.html and add more Bulma-specific HTML structure and classes to improve the look and feel of your profiles page:
<!-- dwitter/templates/dwitter/profile_list.html -->

{% extends 'base.html' %}

{% block content %}

<div class="column">

{% for profile in profiles %}

    <div class="block">
      <div class="card">
        <a href="#">
          <div class="card-content">
            <div class="media">
              <div class="media-left">
                <figure class="image is-48x48">
                  <img src="https://bulma.io/images/placeholders/96x96.png"
                       alt="Placeholder image">
                </figure>
              </div>
              <div class="media-content">
                <p class="title is-4">
                  {{ profile.user.username }}
                </p>
                <p class="subtitle is-6">
                  @{{ profile.user.username|lower }}
                </p>
              </div>
            </div>
          </div>
        </a>
      </div>
    </div>

{% endfor %}

</div>

{% endblock content %}
To make these updates, you start by extending base.html and wrapping your site-specific HTML into the {% block content %} tag. This structure allows Django to insert the child template’s content into your base template’s HTML structure.
You’ve also used the HTML structure for a Bulma card to improve how the profile information for each user appears on your page. Additionally, you wrapped your entire for loop logic into an HTML <div> element with the Bulma column class, which implements CSS flexbox to arrange the content evenly:
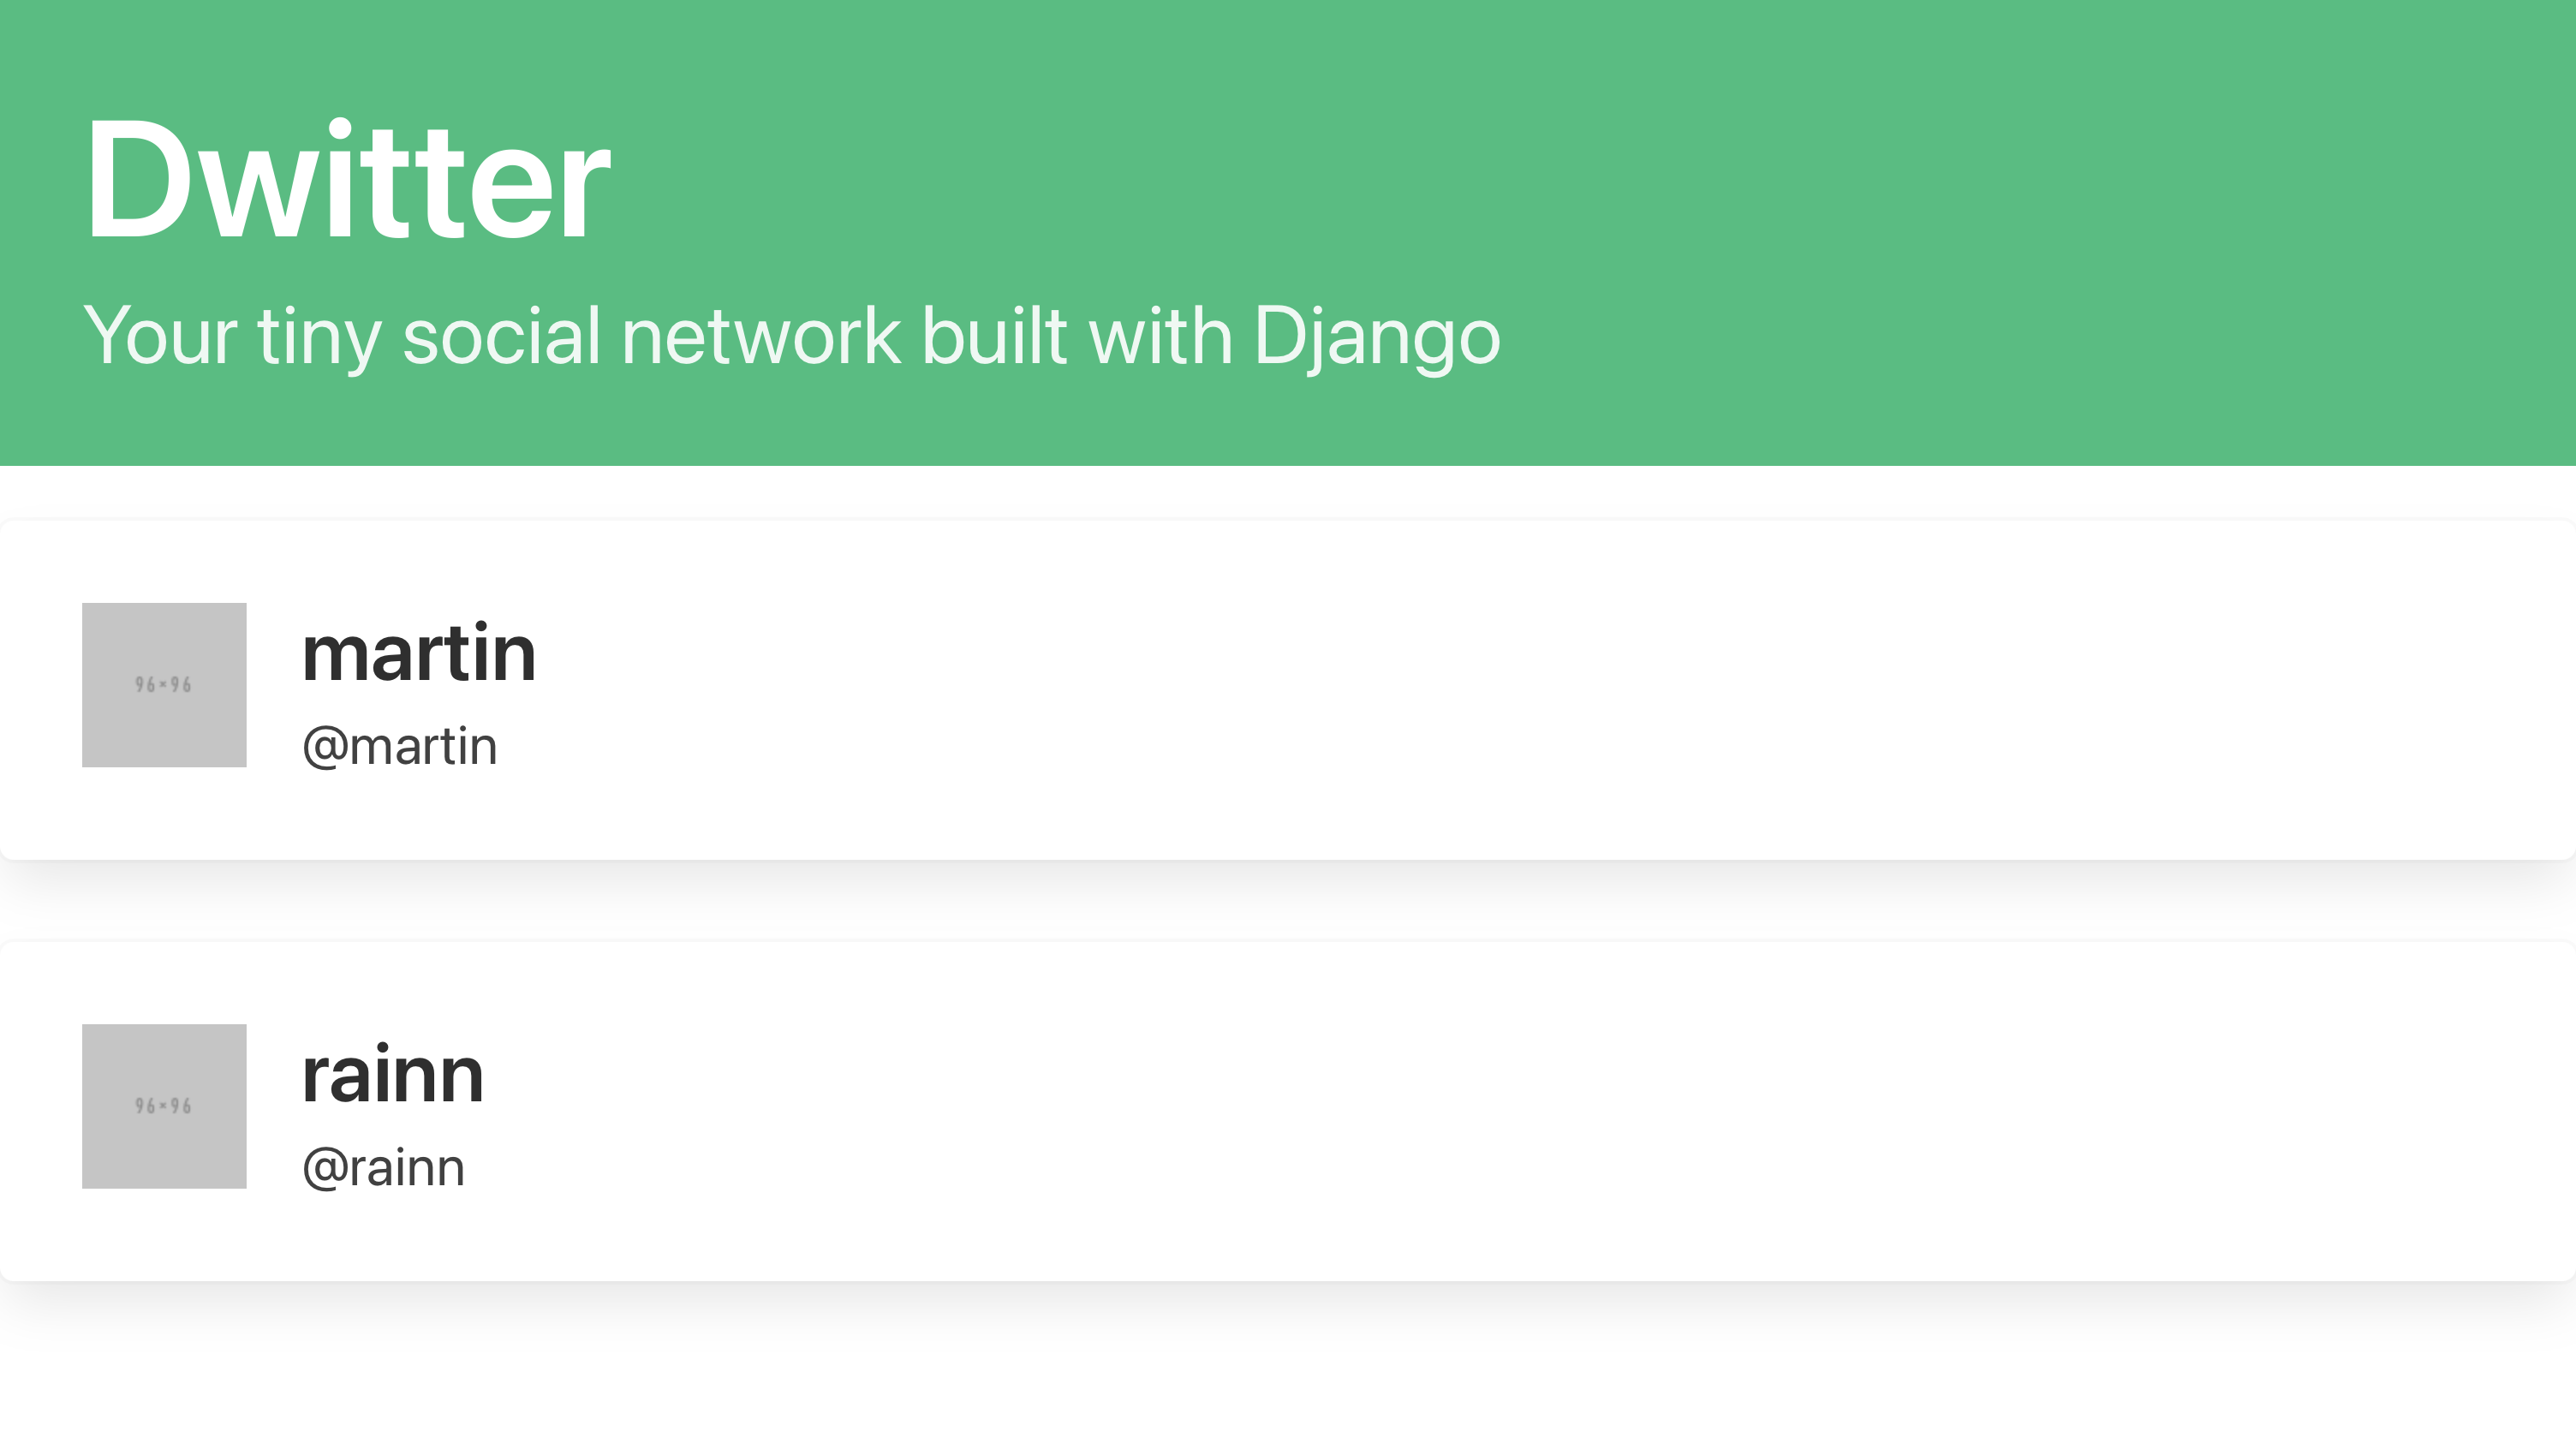
Looks much better than before! With your code logic set up correctly and your Bulma CSS styling applied to your /profile_list URL endpoint, you’ve finished creating a first proper front-end page for your Django web app.
In this step, you’ve routed incoming requests to /profile_list to a new view function, profile_list(). In that function, you fetched all user profiles, besides the current user’s profile, from the database and sent the data to a new template. You’ve placed that new template in a double-folder structure, extended your base template with it, and made it look better by applying CSS classes defined by Bulma.
Step 6: Access Individual Profile Pages
At this point, you can display all user profiles in a visually pleasing manner. At the end of this step, you’ll have built and linked a profile page for each user.
You’ll follow a similar process as before to build out the route, view function, and template for individual profile pages. Then you’ll learn how to link to these pages from profiles_list.html.
Build a Profile Page Template
You’ll start by building a page that you could previously only see in the Django admin interface. Later, you’ll add functionality to follow and unfollow a profile from this profile page.
Head back over to dwitter/urls.py and add routing for your new endpoint:
# dwitter/urls.py

from django.urls import path
from .views import dashboard, profile_list, profile

app_name = "dwitter"

urlpatterns = [
    path("", dashboard, name="dashboard"),
    path("profile_list/", profile_list, name="profile_list"),
    path("profile/<int:pk>", profile, name="profile"),
]
Similar to before, you’re importing a view function that doesn’t exist yet. You’ll create profile() soon enough. In the final element of urlpatterns, you assign a path that points users to individual profile pages.
Here, you’re using Django’s angled-bracket syntax, which allows you to capture path components. With <int:pk>, you’re indicating that any URL request that goes to profile/ followed by an integer number should be funneled to the profile() view function in dwitter/views.py. You’ll pass that integer as an argument named pk to profile() at the same time, which allows you to pick a specific profile from your database:
# dwitter/views.py

# ...

def profile(request, pk):
    profile = Profile.objects.get(pk=pk)
    return render(request, "dwitter/profile.html", {"profile": profile})
The profile() function takes both Django’s request object as well as an integer, pk. You use pk in a call to your database, which allows you to pick a specific profile by its primary key ID. Finally, you return another call to render() and instruct Django to send the gathered profile object to a template named dwitter/profile.html.
Note: In this tutorial series, you’re keeping the names and locations of your template files consistent with the structure that’s used in the tutorial on Django user management. This way, you’ll have a helpful resource to help you implement a proper front-end facing authentication flow for this Django project once you’re ready to explore that topic.
It’s time to appease Django and create dwitter/templates/dwitter/profile.html. In your new template, you’ll want to display detailed information about each user. You can display their username with {{ profile.user.username|upper }}, similar to how you did earlier in profile_list.html.
You’ve already implemented the follows field in your back-end code logic, which means that you can now display all the profiles that a user is following:
 1<!-- dwitter/templates/dwitter/profile.html -->
 2
 3<ul>
 4{% for following in profile.follows.all %}
 5    <li>{{ following }}</li>
 6{% endfor %}
 7</ul>
In line 4 of the code snippet shown above, you can see a syntax that you might not be familiar with yet. You’re accessing the user profile’s followers through profile.follows.all. This syntax gives you an excellent chance to revisit the Profile model that you set up in the first part of this tutorial series:
profileis the variable that you’re passing in your context dictionary torender()inprofile(). It holds the information that you pulled from your database about a user profile..followsgives you access to theManyRelatedManagerobject, which holds all the user profiles that the current profile follows..allfetches all those user profile instances and allows you to iterate over them.
Add this code to profile.html to confirm that it works as expected. You might have to go to your Django admin interface and set up some follower relationships between profiles so that you can see them rendered on a profile page.
In the same way that you’ve added a list that displays all the profiles that a user follows, try and create a second list that shows a list of all the profiles that follow the user whose profile page you’re on.
You can tackle this task by using "followed_by" for the related_name keyword argument when defining follows as a many-to-many field in Profile:
# dwitter/models.py

class Profile(models.Model):
    user = models.OneToOneField(User, on_delete=models.CASCADE)
    follows = models.ManyToManyField(
        "self",
        related_name="followed_by",
        symmetrical=False,
        blank=True
    )

    def __str__(self):
        return self.user.username
By explicitly passing a value to related_name, you’re setting the name you can use to refer to connected objects in the reverse direction:
<!-- dwitter/templates/dwitter/profile.html -->

<ul>
{% for follower in profile.followed_by.all %}
    <li>{{ follower }}</li>
{% endfor %}
</ul>
With this code snippet, you can list all the user profiles that follow the user. Keep in mind that you set the user-to-user relationships as asymmetrical, which means that a user can follow someone else’s profile without them following that user.
Explore the Bulma documentation as you write your version of how you want your profile pages to look. Alternatively, you can copy-paste the implementation that uses Bulma’s columns, blocks, and titles as shown in the collapsed code block below:
<!-- dwitter/templates/dwitter/profile.html -->

{% extends 'base.html' %}

{% block content %}

<div class="column">

    <div class="block">
    <h1 class="title is-1">
        {{profile.user.username|upper}}'s Dweets
    </h1>
    </div>

</div>

<div class="column is-one-third">

    <div class="block">
        <a href="#">
            <button class="button is-dark is-outlined is-fullwidth">
                All Profiles
            </button>
        </a>
    </div>

    <div class="block">
        <h3 class="title is-4">
            {{profile.user.username}} follows:
        </h3>
        <div class="content">
            <ul>
            {% for following in profile.follows.all %}
                <li>
                    <a href="#">
                        {{ following }}
                    </a>
                </li>
            {% endfor %}
            </ul>
        </div>
    </div>

    <div class="block">
        <h3 class="title is-4">
            {{profile.user.username}} is followed by:
        </h3>
        <div class="content">
            <ul>
            {% for follower in profile.followed_by.all %}
                <li>
                    <a href="#">
                        {{ follower }}
                    </a>
                </li>
            {% endfor %}
            </ul>
        </div>
    </div>

</div>

{% endblock content %}
With this change to your template for individual profiles, you can display each user’s followers and the profiles that they’re following by navigating to their profile page:
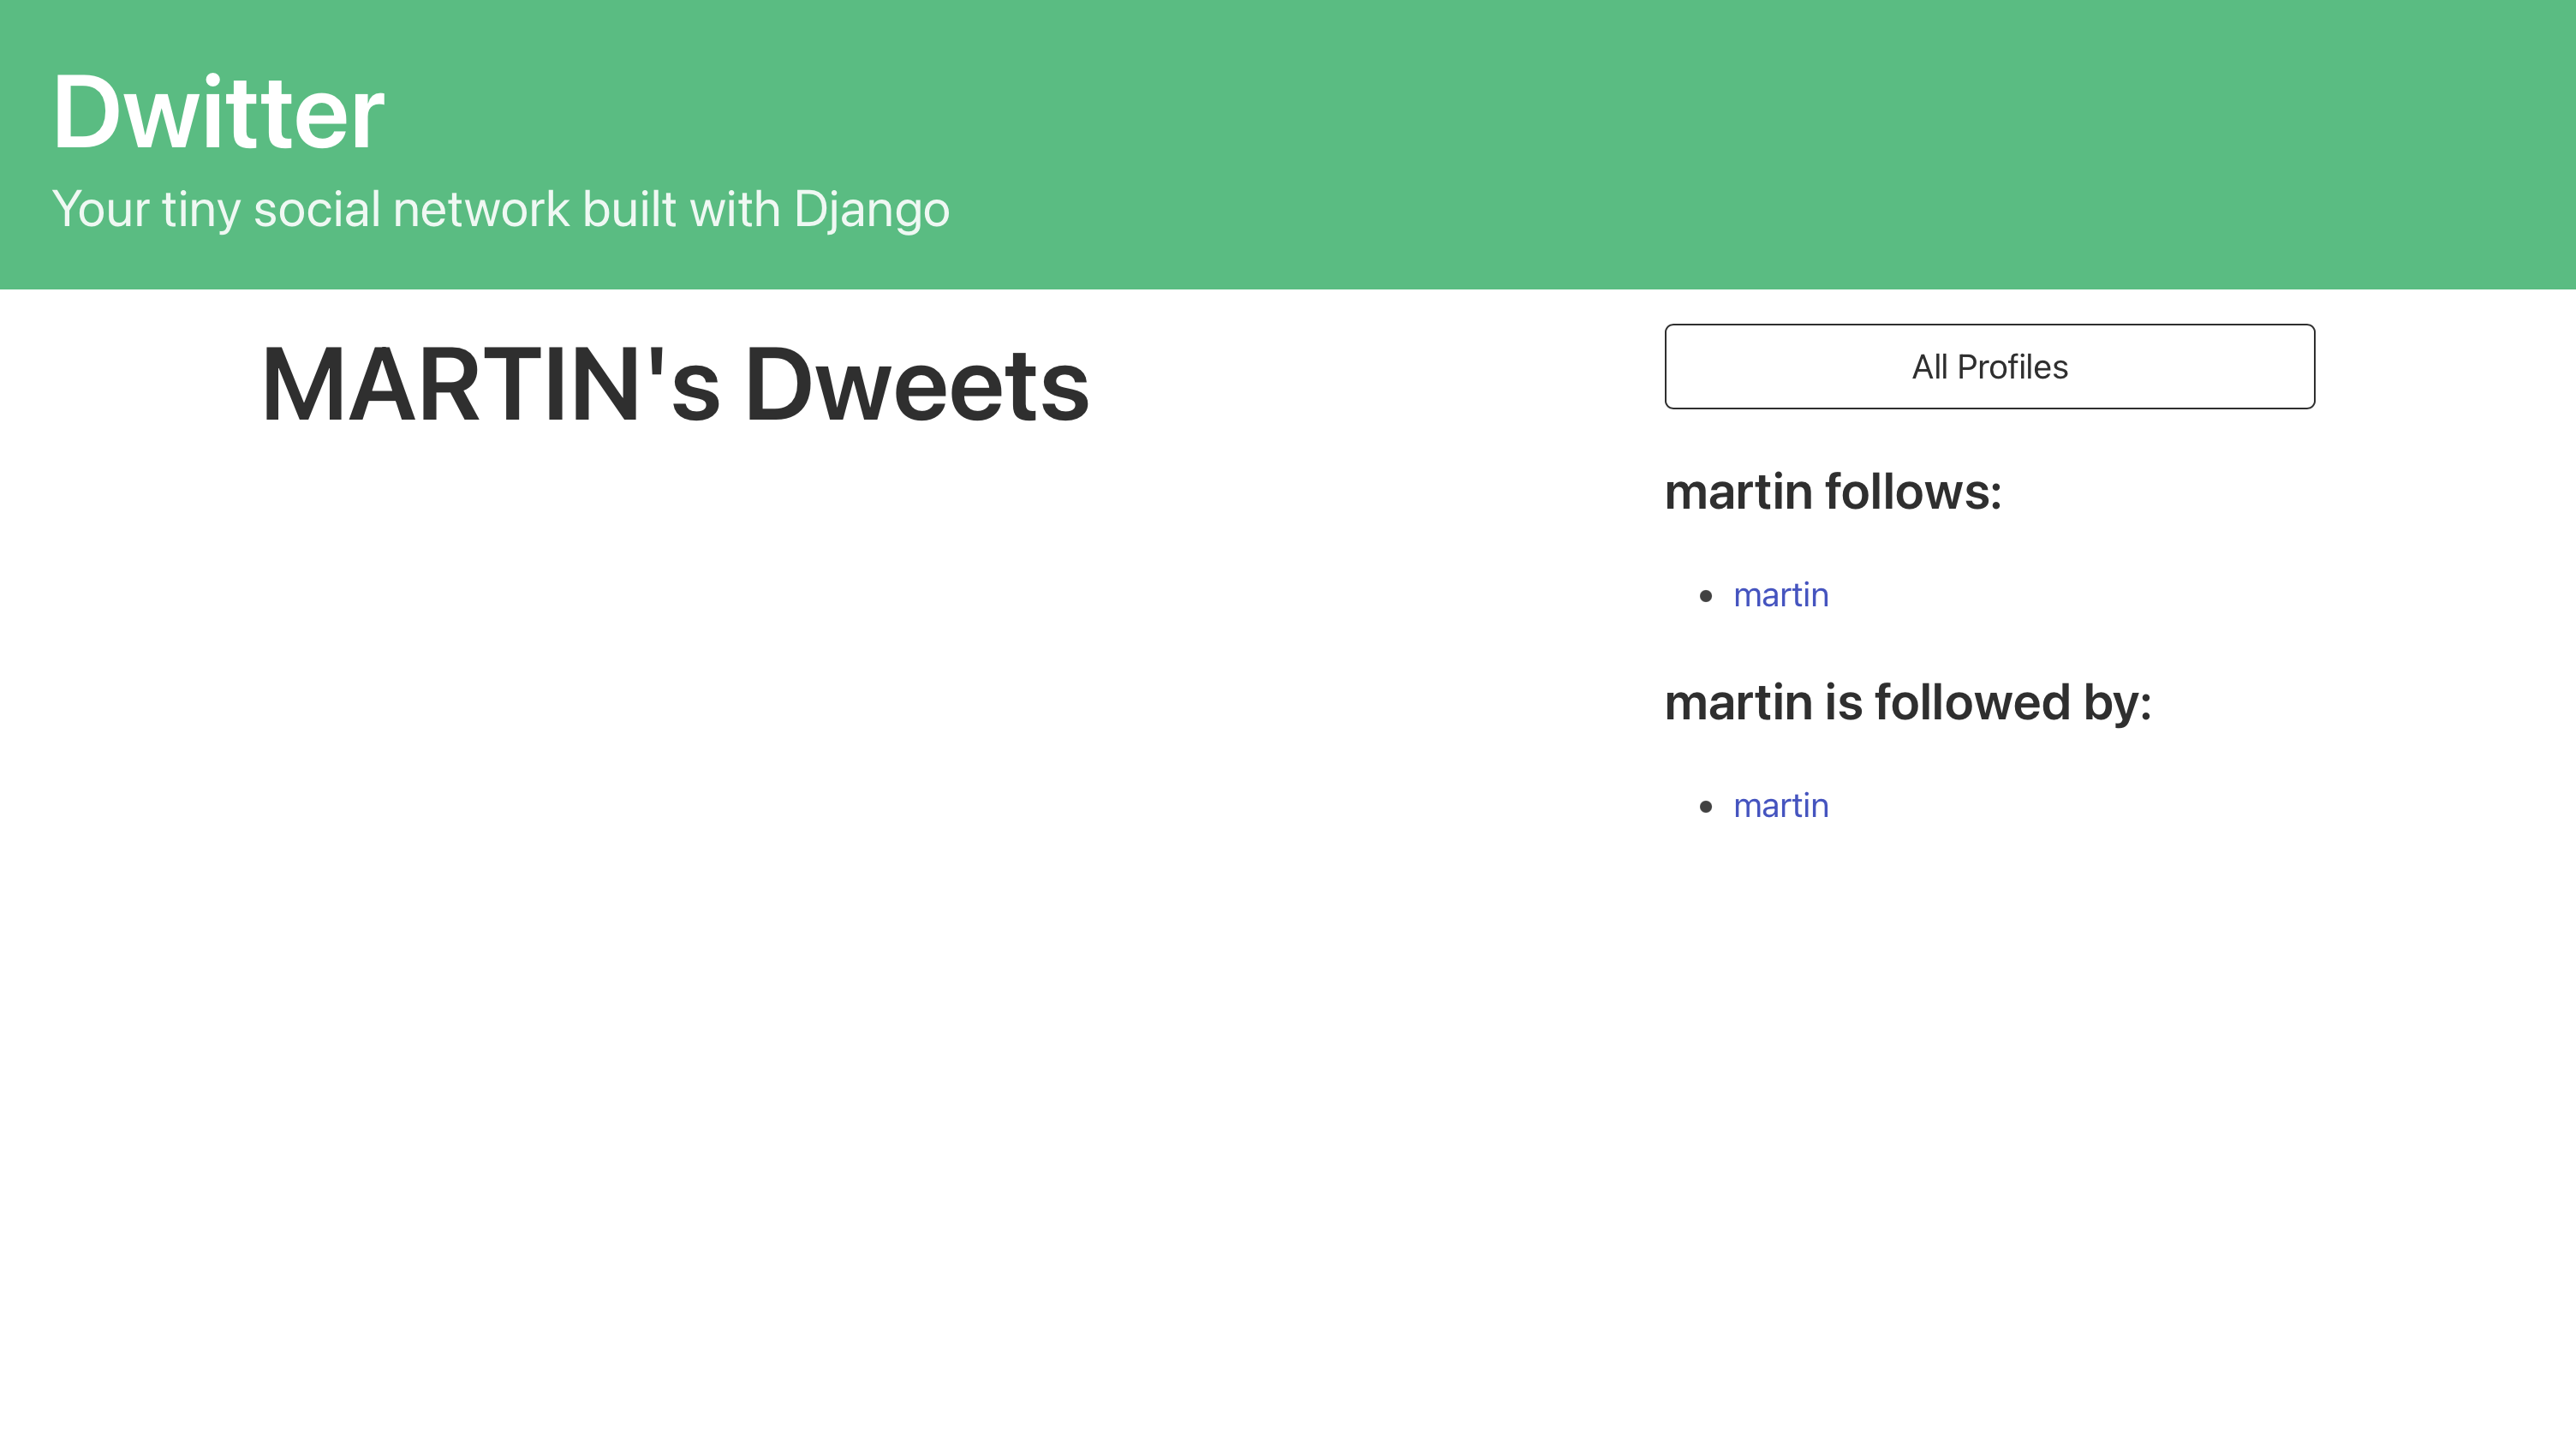
If you go to http://127.0.0.1:8000/profile/1, for example, then you can access a profile page on your localhost. This URL shows you the profile page of the user profile with the ID 1.
While you can view the individual page for each user, you currently need to guess the ID of a user profile if you want to see their profile page. This setup is far from ideal, so instead you’ll link the profile pages from your profile list page.
Link the Profile Pages
Now that you’ve set up the individual profile pages, you also need a way to find them. You’ll do that by adding a link to the profile pages for each profile displayed in profile_list.html.
Note: If you want to learn more about dynamic linking in Django and the URL template tag, you can watch a lesson about URL linking using app_name, path names, and arguments.
If you’ve copied the HTML code for profile_list.html shown earlier in the tutorial, then you’ll find that each profile card has an existing link element (<a>) with an href attribute that currently points to a pound symbol (#). Replace that pound symbol with a Django {% url %} tag that links to the individual profile page:
<!-- dwitter/templates/dwitter/profile_list.html -->

<!-- ... -->

{% for profile in profiles %}

    <div class="block">
        <div class="card">
            <a href="{% url 'dwitter:profile' profile.id %}">
                <div class="card-content">
                    <!-- ... More card code -->
                </div>
            </a>
        </div>
    </div>

{% endfor %}
When you update the href attribute in this way, you link to the path() call with the name profile in your dwitter app’s namespace and pass the .id value of each profile as an argument:
{% url %}: The URL template tag in Django allows you to create dynamic links to different endpoints of your web app.'dwitter:profile': This part of the template tag defines the namespace of your app (dwitter) and the path name (profile) that you want your link to redirect to. You define these indwitter/urls.pythroughapp_nameand thenameattribute topath().profile.id: The final part of your dynamic link is an argument that you’re passing along when redirecting to the defined path. In this case, you’re sending.idof the current profile, which is a necessary argument forprofile()to correctly resolve and renderprofile.htmlwith the associated user’s information.
With this change, you’ve finished setting up profile_list.html. You can now start your development server and visit /profile_list. You’ll see that you can click an individual user profile card to visit its profile page:
However, you can’t yet navigate back to the profile list. To round off the user experience, you’ll also add a {% url %} tag to the href attribute of the link containing the button in your profile page view so that it links back to the profile list:
<!-- dwitter/templates/dwitter/profile.html -->

<div class="block">
    <a href="{% url 'dwitter:profile_list' %}">
        <button class="button is-dark is-outlined is-fullwidth">
            All Profiles
        </button>
    </a>
</div>
By replacing the placeholder pound symbol (#) with {% url 'dwitter:profile_list' %}, you’ve set up a dynamic link that allows you to navigate back from a profile’s detail page to the list of all profiles.
You’re displaying the names of users that a profile follows in the follows and followed by lists. However, the href attributes of these links currently still point to the pound symbol (#). To improve the user experience of your web app, you can interlink the list items with the individual user profile pages.
You need to link back to the profile page of everyone the user is following and everyone that’s following the user, respectively. Since profile() requires a profile ID as an argument, you need to provide it when setting up the {% url %} tag:
<!-- dwitter/templates/dwitter/profile.html -->

<!-- ... -->

<ul>
{% for following in profile.follows.all %}
    <li>
        <a href="{% url 'dwitter:profile' following.id %}">
            {{ following }}
        </a>
    </li>
{% endfor %}
</ul>

<!-- ... -->

<ul>
{% for follower in profile.followed_by.all %}
    <li>
        <a href="{% url 'dwitter:profile' follower.id %}">
            {{ follower }}
        </a>
    </li>
{% endfor %}
</ul>

<!-- ... -->
You added two {% url %} tags to profile.html. Both of them follow the same structure:
- Namespace: The namespace
'dwitter:profile'allows Django to redirect toprofile()inviews.py. - Argument: The argument, which is either
following.idorfollower.idin these examples, will be passed on toprofile(), which uses it to pull the user profile from the database.
By adding this information to the href attributes, you’ve interlinked the follows and followed by lists with the user profile pages. The users of your social network now have an intuitive way to navigate between different user profiles.
In this step, you’ve created the routing, views, and template for individual user profile pages. You’ve again used the classes defined by the Bulma CSS framework to apply styling to your page, and you’ve successfully interlinked the profile list page so that you can access detail pages from there and navigate back to the profile list.
Conclusion
Congratulations! At this point, you’ve completed the second part of this tutorial series on building a basic social network with Django.
In the second part of this tutorial series, you learned how to:
- Integrate Bulma CSS to style your app
- Use template inheritance to reduce repetition
- Structure Django templates in a folder hierarchy
- Build routing and view functions
- Interlink pages of your app using dynamic URLs
You learned how to tackle the different steps you need to take for each page that you want to display using Django, including how to set up routing, views, and templates for it. You also learned how to apply CSS styling from a CSS framework into your Django app to improve the user experience with an interface that looks pleasant.
You can download the code that you should have by the end of this part of your project by clicking the link below and going to the source_code_final/ folder:
Get Source Code: Click here to get the source code for this part of building out your Django social network.
Next Steps for Your Basic Social Network With Django
Now that you’ve completed the second part of this tutorial series, you can continue to the next part, where you’ll build and handle POST requests in Django.
In the next part of the tutorial series, you’ll add the code logic that will allow your users to follow and unfollow profiles in the Django app’s front end. You’ll also set up the Dweet model, create dweets on the back end, and build the dashboard page, where users will access content on the platform.
Keep in mind that you can keep referring back to earlier steps while working on this project. For example, it might be helpful to consult the plan that you drafted in the project overview of the first part of the tutorial series and update your plan as you make your way through the rest of the steps.