There are multiple ways of interacting with Python, and each can be useful for different scenarios. You can quickly explore functionality in Python’s interactive mode using the built-in Read-Eval-Print Loop (REPL), or you can write larger applications to a script file using an editor or Integrated Development Environment (IDE).
In this tutorial, you’ll learn how to:
- Use Python interactively by typing code directly into the interpreter
- Execute code contained in a script file from the command line
- Work within a Python Integrated Development Environment (IDE)
- Assess additional options, such as the Jupyter Notebook and online interpreters
Before working through this tutorial, make sure that you have a functioning Python installation at hand. Once you’re set up with that, it’s time to write some Python code!
Get Your Code: Click here to get the free sample code that you’ll use to learn about interacting with Python.
Take the Quiz: Test your knowledge with our interactive “Interacting With Python” quiz. You’ll receive a score upon completion to help you track your learning progress:

Interactive Quiz
Interacting With PythonTest your knowledge of Python's REPL, running scripts from files, using IDEs and code editors, and Jupyter Notebooks.
Hello, World!
There’s a long-standing custom in computer programming that the first code written in a newly installed language is a short program that displays the text Hello, World! to the console.
In Python, running a “Hello, World!” program only takes a single line of code:
print("Hello, World!")
Here, print() will display the text Hello, World! in quotes to your screen. In this tutorial, you’ll explore several ways to execute this code.
Running Python in Interactive Mode
The quickest way to start interacting with Python is in a Read-Eval-Print Loop (REPL) environment. This means starting up the interpreter and typing commands to it directly.
When you interact with Python in this way, the interpreter will:
- Read the command you enter
- Evaluate and execute the command
- Print the output (if any) to the console
- Loop back and repeat the process
The interactive session continues like this until you instruct the interpreter to stop. Using Python in this interactive mode is a great way to test short snippets of Python code and get more familiar with the language.
If you’re unfamiliar with this application, then you can use your operating system’s search function to find it.
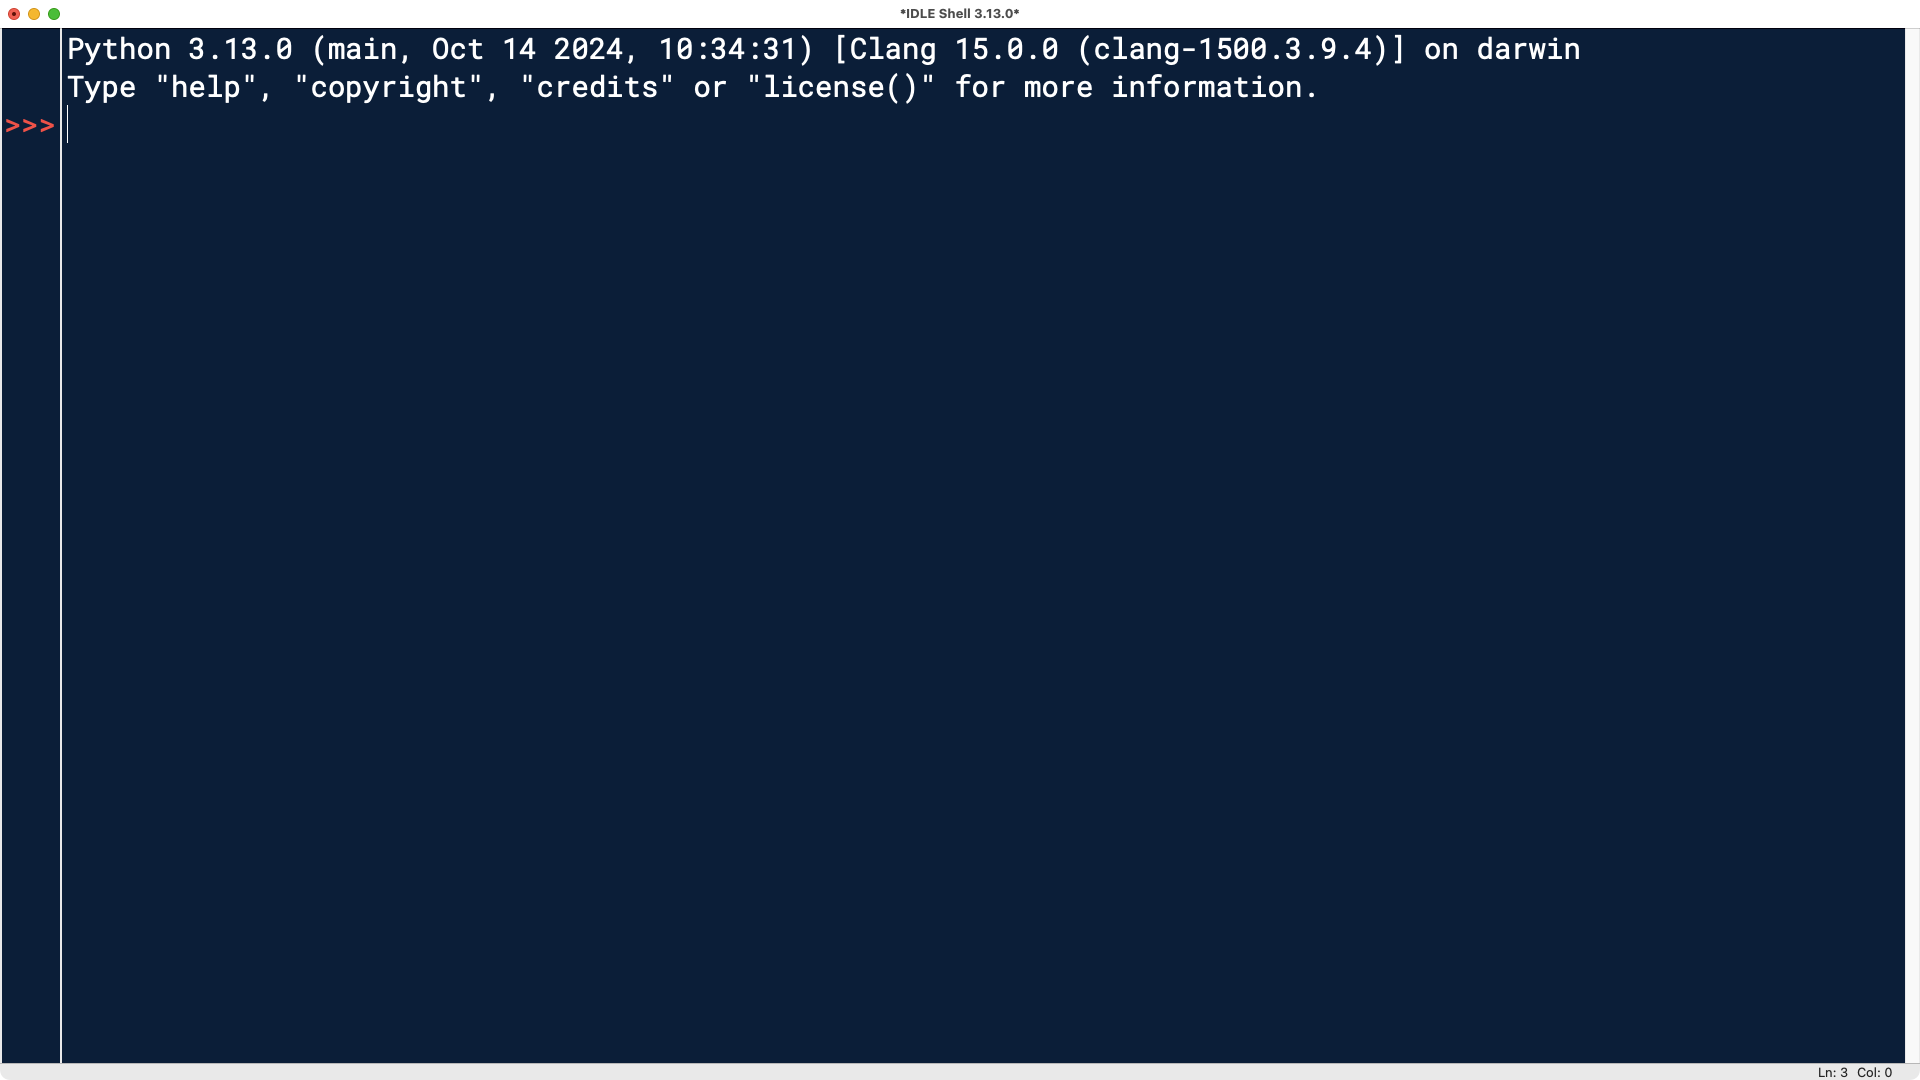
After pressing Enter, you should see a response from the Python interpreter similar to the one below:
Python 3.13.0 (main, Oct 14 2024, 10:34:31) [Clang 15.0.0 (clang-1500.3.9.4)] on darwin
Type "help", "copyright", "credits" or "license" for more information.
>>>
If you’re not seeing the >>> prompt, then you’re not talking to the Python interpreter. This could be because Python is either not installed or not in the path of your terminal window session.
Note: If you need additional help to get to this point, then you can check out the How to Install Python on Your System: A Guide tutorial.
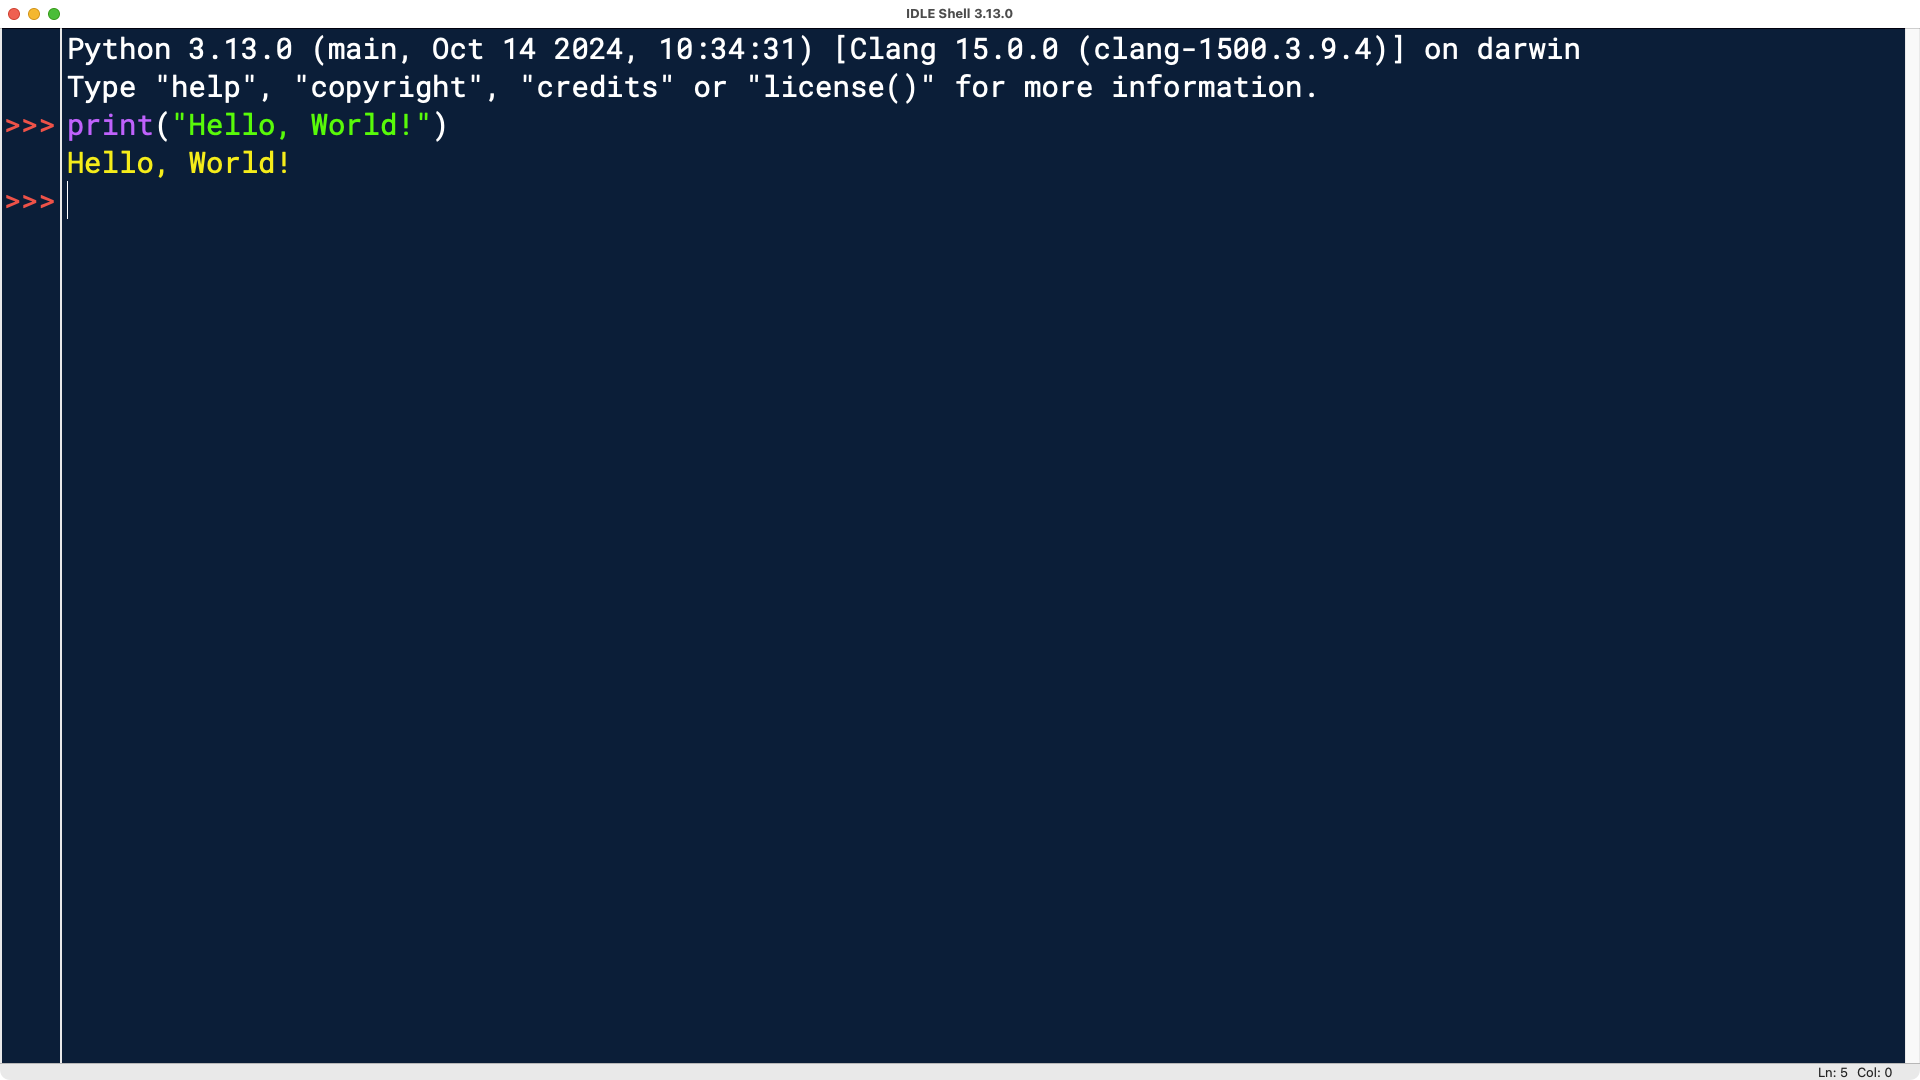
If you’re seeing the prompt, then you’re off and running! With these next steps, you’ll execute the statement that displays "Hello, World!" to the console:
- Ensure that Python displays the
>>>prompt, and that you position your cursor after it. - Type the command
print("Hello, World!")exactly as shown. - Press the Enter key.
The interpreter’s response should appear on the next line. You can tell that it’s console output because the >>> prompt is absent:
>>> print("Hello, World!")
Hello, World!
>>>
If your session looks like the one above, then you’ve successfully executed some Python code! Take a moment to celebrate!
If you got an error instead of the text, then something went wrong. Don’t worry, it’s just another learning opportunity.
Open the collapsible section below to take a look at some possible errors you may have received. Even if your code printed correctly the first time, you can still try out the following code snippets to learn how Python responds:
If you misspelled print(), then you’ll get a helpful error message that points you in the right direction:
>>> pint("Hello, world!")
Traceback (most recent call last):
  File "<python-input-0>", line 1, in <module>
    pint("Hello, world!")
    ^^^^
NameError: name 'pint' is not defined. Did you mean: 'print'?
Python won’t know what to do with undefined names, even if they’re only missing a single letter.
If you forgot to enclose the string that Python should print in quotation marks, then you’ll see the following syntax error:
>>> print(Hello, World!)
  File "<python-input-0>", line 1
    print(Hello, World!)
                      ^
SyntaxError: invalid syntax
You need to enclose Python strings in quotation marks. Otherwise, Python won’t know it’s meant to be text and will try to interpret it differently.
If you remembered the opening quotation mark but forgot the closing one, then you’ll get another syntax error:
>>> print("Hello, World!)
  File "<python-input-0>", line 1
    print("Hello, World!)
          ^
SyntaxError: unterminated string literal (detected at line 1)
One quotation mark isn’t enough. You’ll need to add them to both sides of the text so Python knows where the text ends.
You’ll get the same response if you use different opening and closing quotation marks:
>>> print("Hello, World!')
  File "<python-input-0>", line 1
    print("Hello, World!')
          ^
SyntaxError: unterminated string literal (detected at line 1)
In this case, since the opening quotation mark is double and the closing quotation mark is single, Python interprets the closing quotation mark as part of the text. It continues to look for another double quote to determine where the text ends.
If you forgot to add the parentheses, then Python will make sure you know about it and give you a good hint about how to fix it:
>>> print "Hello, World!"
  File "<python-input-0>", line 1
    print "Hello, World!"
    ^^^^^^^^^^^^^^^^^^^^^
SyntaxError: Missing parentheses in call to 'print'. Did you mean print(...)?
You may see Python code where print() doesn’t use parentheses. That’s because earlier versions of Python used to handle printing to the console differently. For all Python versions starting with 3.0, you’ll need to use the parentheses—or Python will complain!
If you entered extra whitespace characters before the command, then Python will raise an IndentationError:
>>>    print("Hello, World!")
  File "<python-input-0>", line 1
    print("Hello, World!")
IndentationError: unexpected indent
Indentation has meaning in Python, and in this case, you need to start typing print() at the very beginning of the prompt.
If you received an error message, then go back and verify that you typed the command exactly as shown in the instructions above the collapsible section.
You can do more than just print Hello, World! in Python’s interactive mode. Experiment a bit to see how different commands produce various results. Maybe you’ll even uncover some new errors along the way!
To get you started, try the following:
- Perform a mathematical operation, like adding
5and4. You can experiment with other operations as well. - Display some text, like your name. Remember to wrap it in quotation marks.
- Enter
import thisorimport antigravityto get a sneak peek at some of Python’s Easter Eggs.
When you’re finished interacting with the Python interpreter, then you can exit the REPL session by typing exit() or quit() and pressing Enter:
>>> exit()
Starting with Python 3.13, you can even leave off the parentheses and just type exit, or quit.
However, when you include the parentheses, then the commands will work across all Python versions.
You can also exit the interpreter using your operating system’s keyboard shortcut:
If all else fails, you can also close the interpreter window. This isn’t ideal as it may not properly save your session or close resources, but you won’t run into any issues if you’re just experimenting with your Hello, World! code.
Entering commands into the Python interpreter interactively is great for quick testing and exploring features or functionality.
Eventually though, as you create more complex applications, you’ll develop longer programs that you’ll want to edit and run repeatedly. You don’t want to retype the code into the interpreter every time! Instead, you’ll want to create a script file.
Running Python Scripts From a File
A Python script is a reusable sequence of Python instructions contained in a file. You can run a script by specifying the name of the script file to the interpreter.
Python scripts are just plain text, so you can edit them with any text editor. If you have a favorite editor that operates on text files, then it should be fine to use. If you don’t, the following editors are typically installed natively with their respective operating systems:
Alternatively, you can work with a program that’s specifically made for coding, which you’ll learn more about later. Using whatever editor you’ve chosen, create a script file called hello.py containing the following:
hello.py
print("Hello, World!")
Now save the file. Keep track of the directory that you chose to save the file in.
Note: A script file is not required to have a .py extension. The Python interpreter will run the file no matter what it’s called, so long as you properly specify the filename on the command line.
However, giving Python files a .py extension is a useful convention because it makes them more easily identifiable. In many popular operating systems, such as Windows and macOS, this will also typically allow for setting up an appropriate file association so you can run the script just by clicking its icon.
Open up a terminal window if you’re not already using one. If the current working directory is the same as the location where you saved the file, then you can specify the filename as a command-line argument to the Python interpreter:
You can still run the script even if it’s not in the current working directory. You’ll just have to specify the path that leads to it:
The advantage of saving your Python code in a file is that you can run the script many times without needing to retype the code over again. You can also make edits to the file, then run it again. If you want to develop any larger functionality, then using a script is the way to go.
Before you continue reading, try to practice working with your script file:
Make an edit in your script and add another line of code. For example, you can print your name and the output of a calculation that you previously executed in the REPL. Save the file, then run the script another time.
You should see that the output reflects your edits.
If it doesn’t, make sure that you used print() and that you saved your file after editing it.
It may seem a bit clunky to edit your Python script in the built-in text editor of your operating system. While there certainly are programmers who work with built-in text editors, many prefer to use IDEs when writing Python programs.
Using Python in an IDE
An Integrated Development Environment (IDE) is an application that combines all the functionality you’ve seen so far. IDEs usually provide REPL capabilities, along with an editor that allows you to create and modify code you can then submit to the interpreter for execution.
Any good IDE will also provide a host of additional cool features:
- Syntax highlighting: IDEs usually colorize different syntax elements in the code to make it more straightforward to read.
- Context-sensitive help: Advanced IDEs can display related information from the Python documentation or even suggested fixes for common types of code errors.
- Code completion: Some IDEs can complete partially typed pieces of code for you—a great time-saver and convenient feature.
- Debugging: IDEs usually include debuggers, which allow you to run code step-by-step and inspect program data as you go. This is invaluable when you’re trying to determine why a program is behaving improperly.
Most Python installations contain a basic IDE called IDLE. The name ostensibly stands for Integrated Development and Learning Environment. However, one member of the Monty Python troupe—which inspired the name of your favorite programming language—is named Eric Idle. This hardly seems like a coincidence!
The procedure for running IDLE varies from one operating system to another:
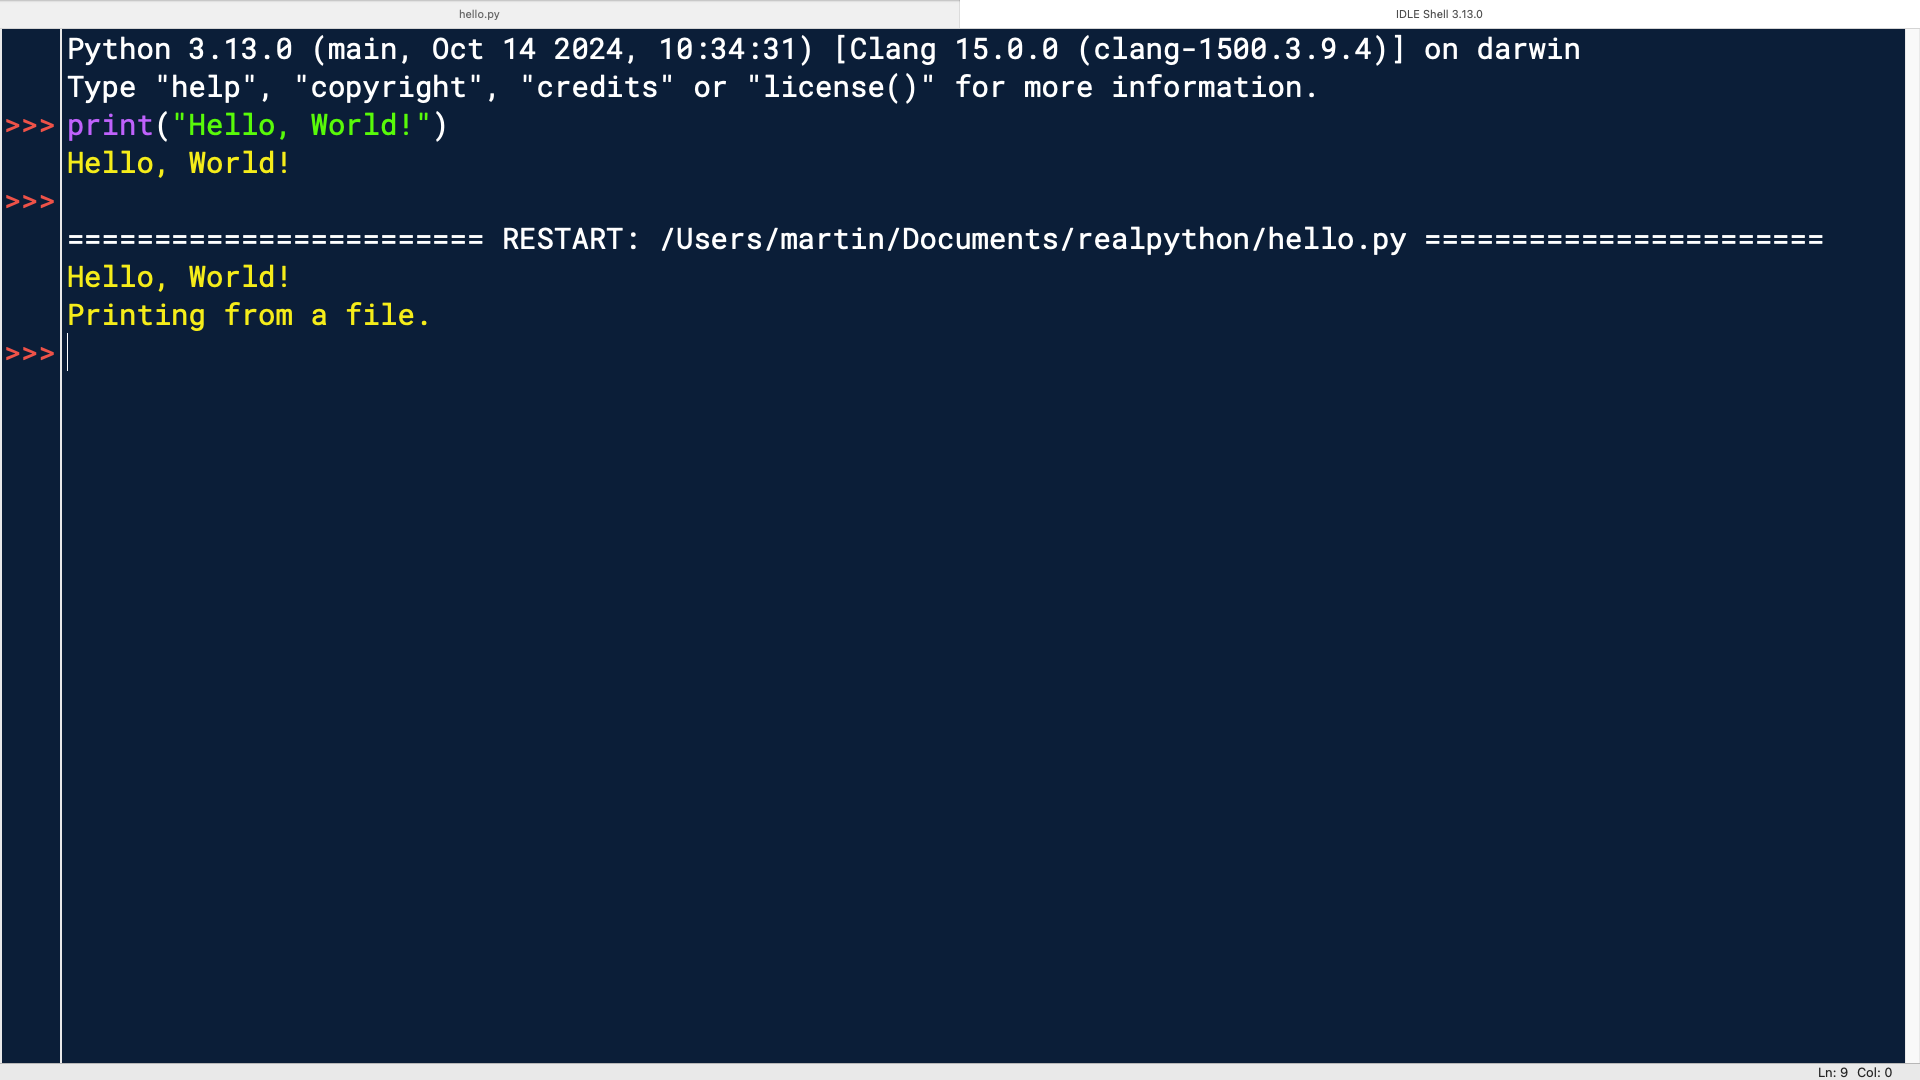
Once you’ve started IDLE successfully, you should see a window titled IDLE Shell 3.x.x, where 3.x.x corresponds to your version of Python:
The >>> prompt should look familiar. You can type REPL commands interactively, just like when you started the interpreter from a console window. Mindful of the ancestral tradition of programmers, you display Hello, World! again:
The interpreter behaves more or less the same as when you ran it directly from the console. The IDLE interface adds the perk of displaying different syntactic elements in distinct colors to make your code more readable.
It also provides context-sensitive help, meaning it gives you hints based on what you’re currently typing. For example, if you start typing print( and haven’t added any arguments or a closing parenthesis, a small pop-up called a tooltip will appear to show you helpful information about how to use the print() function:
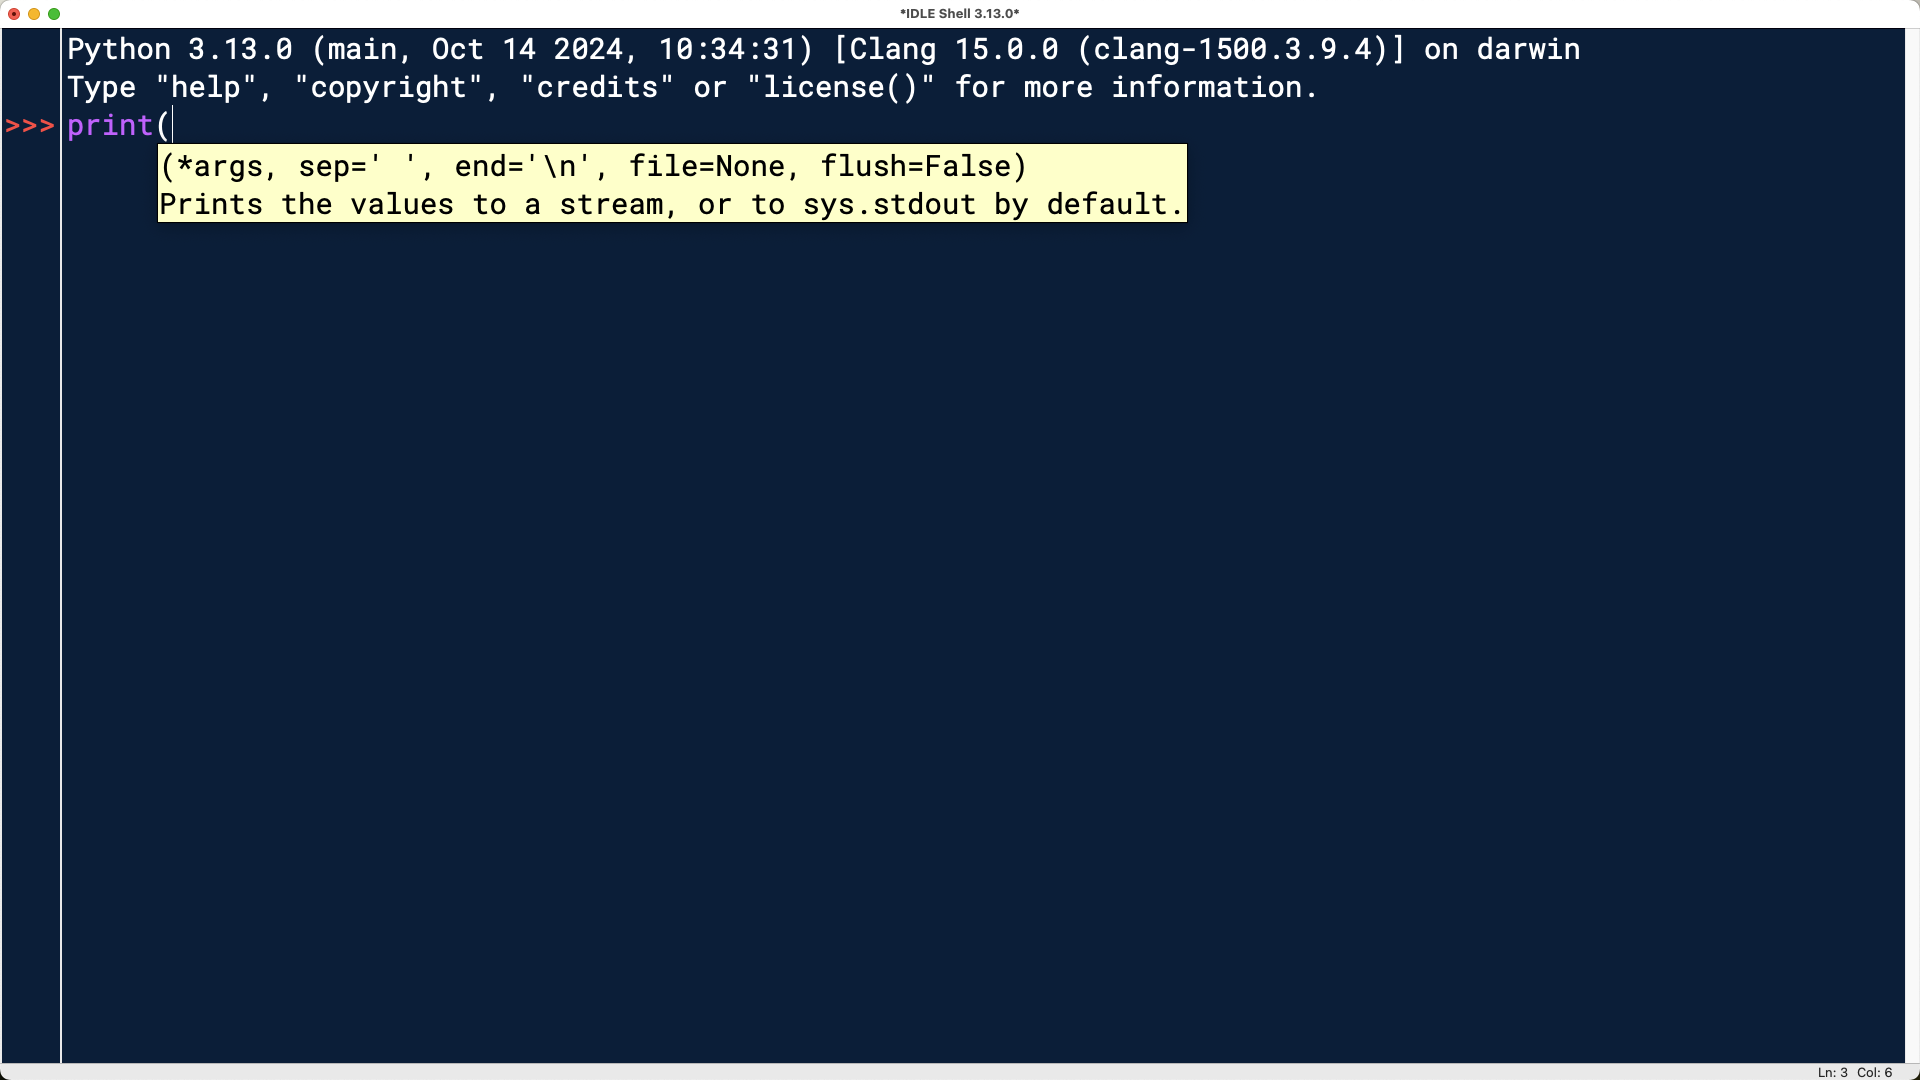
This feature may seem distracting or intimidating at first, but it can help you write your code without needing to look up details elsewhere.
Another feature IDLE provides is statement recall. If you’ve typed in several statements, then you can recall them with keyboard shortcuts:
Once you’ve asked IDLE to recall a statement, you can use your keyboard to edit it and then execute it again.
You can also create script files and run them in IDLE. From the Shell window menu, select File → New File. This menu option will open an additional editing window. Type in the code that you want to execute:
From the menu in that window, select File → Save or File → Save As… and save the file to disk. Then, select Run → Run Module. The output should appear back in the interpreter Shell window:
Once both windows are open, you can switch back and forth, editing the code in one window while running it and displaying the output in the other. While it may not be immediately obvious, IDLE does more than just display program output.
When you select Run Module, IDLE runs the script file in interactive mode and drops you in a REPL environment. It’ll execute all the code in your file first, then allow you to continue interacting with the code. In that way, IDLE gives you the best of both worlds—interactive mode and file editing—and provides a basic Python development platform.
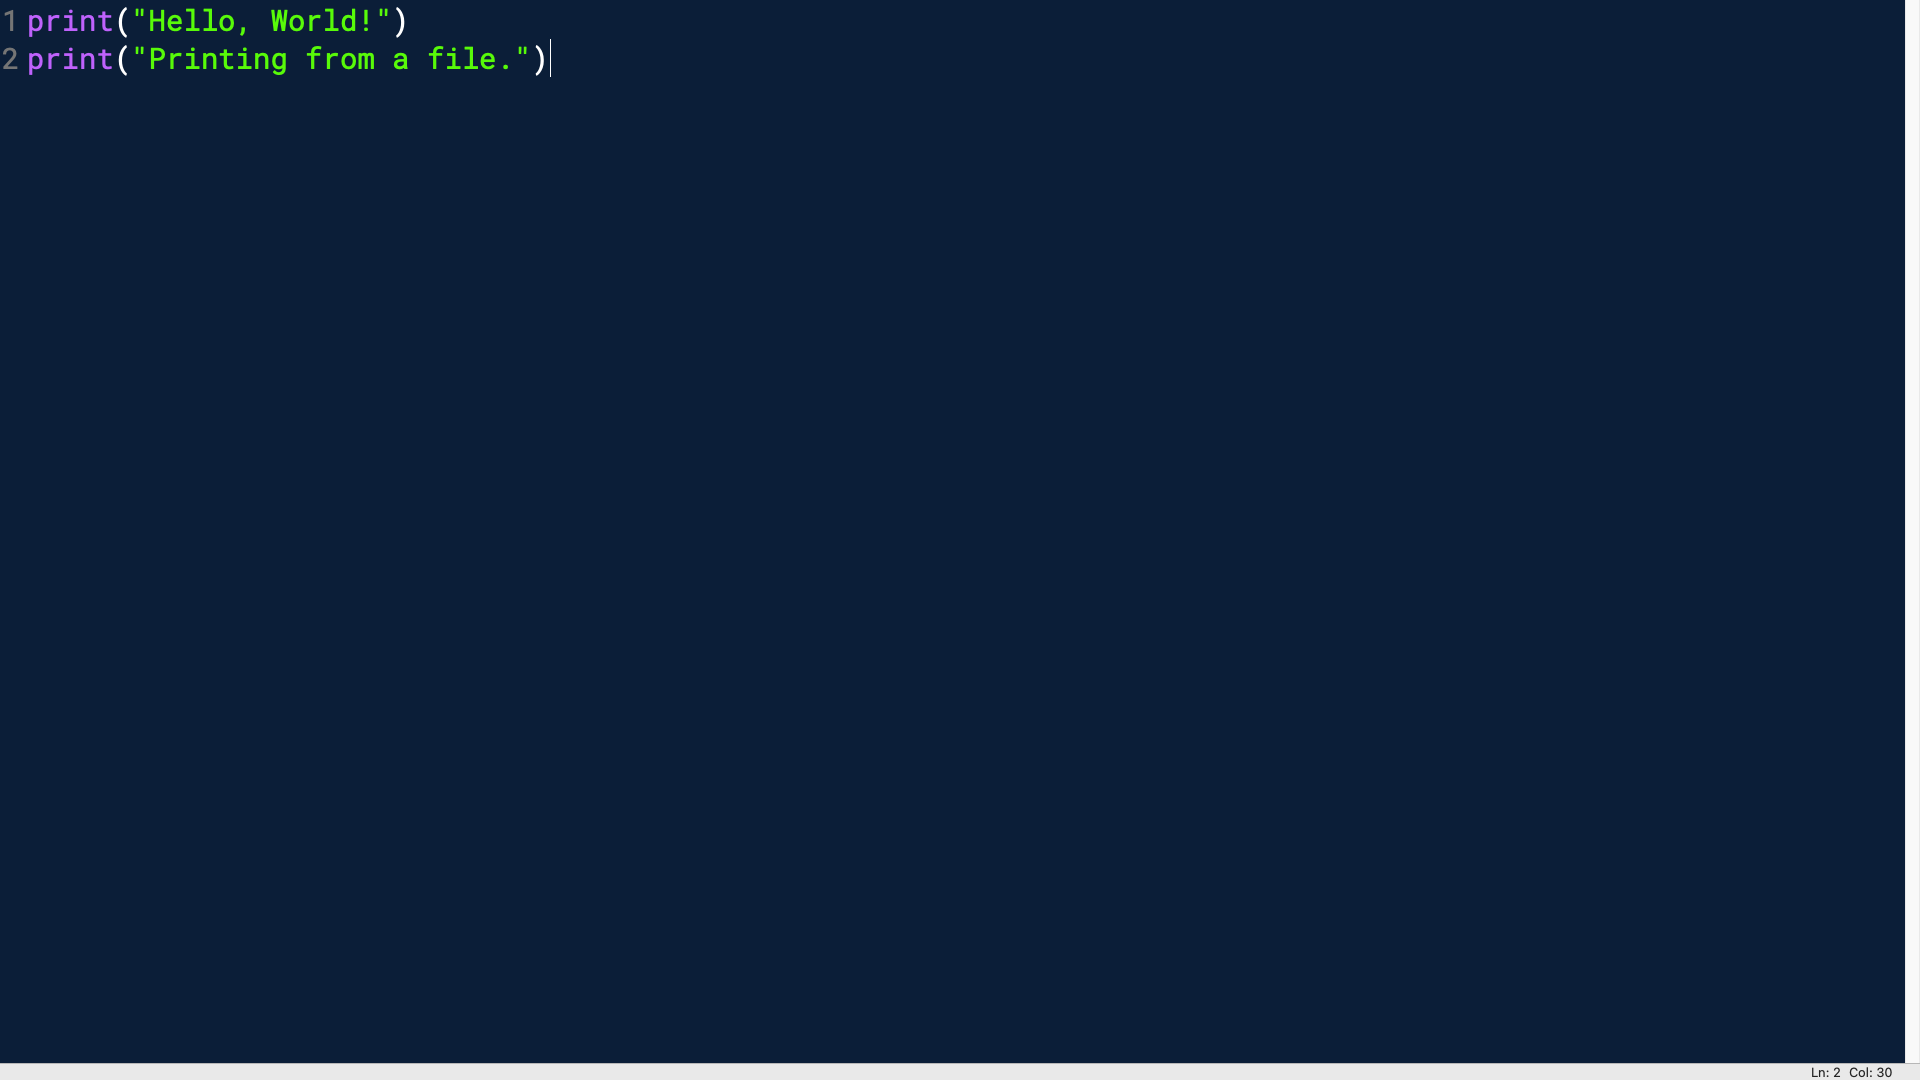
Syntax highlighting combined with executing scripts by default in interactive mode are powerful features of IDLE that make it a helpful tool for getting started with Python. Try it out by defining a variable in your script:
hello.py
 1greeting = "Hello, World!"
 2print(greeting)
 3print("Printing from a file.")
With this change, you assigned the string "Hello, World!" to the name greeting in line 1, which allows you to access the text through that name. You do just that in line 2. If you run this script in your terminal like you did in an earlier section, then Python will print both messages before immediately ending program execution.
When you run this script in IDLE, it’ll also print the messages. However, you’ll see that IDLE displays the >>> prompt afterwards, which means that it dropped you into an interactive REPL session that’s aware of any variables you assigned in the script:
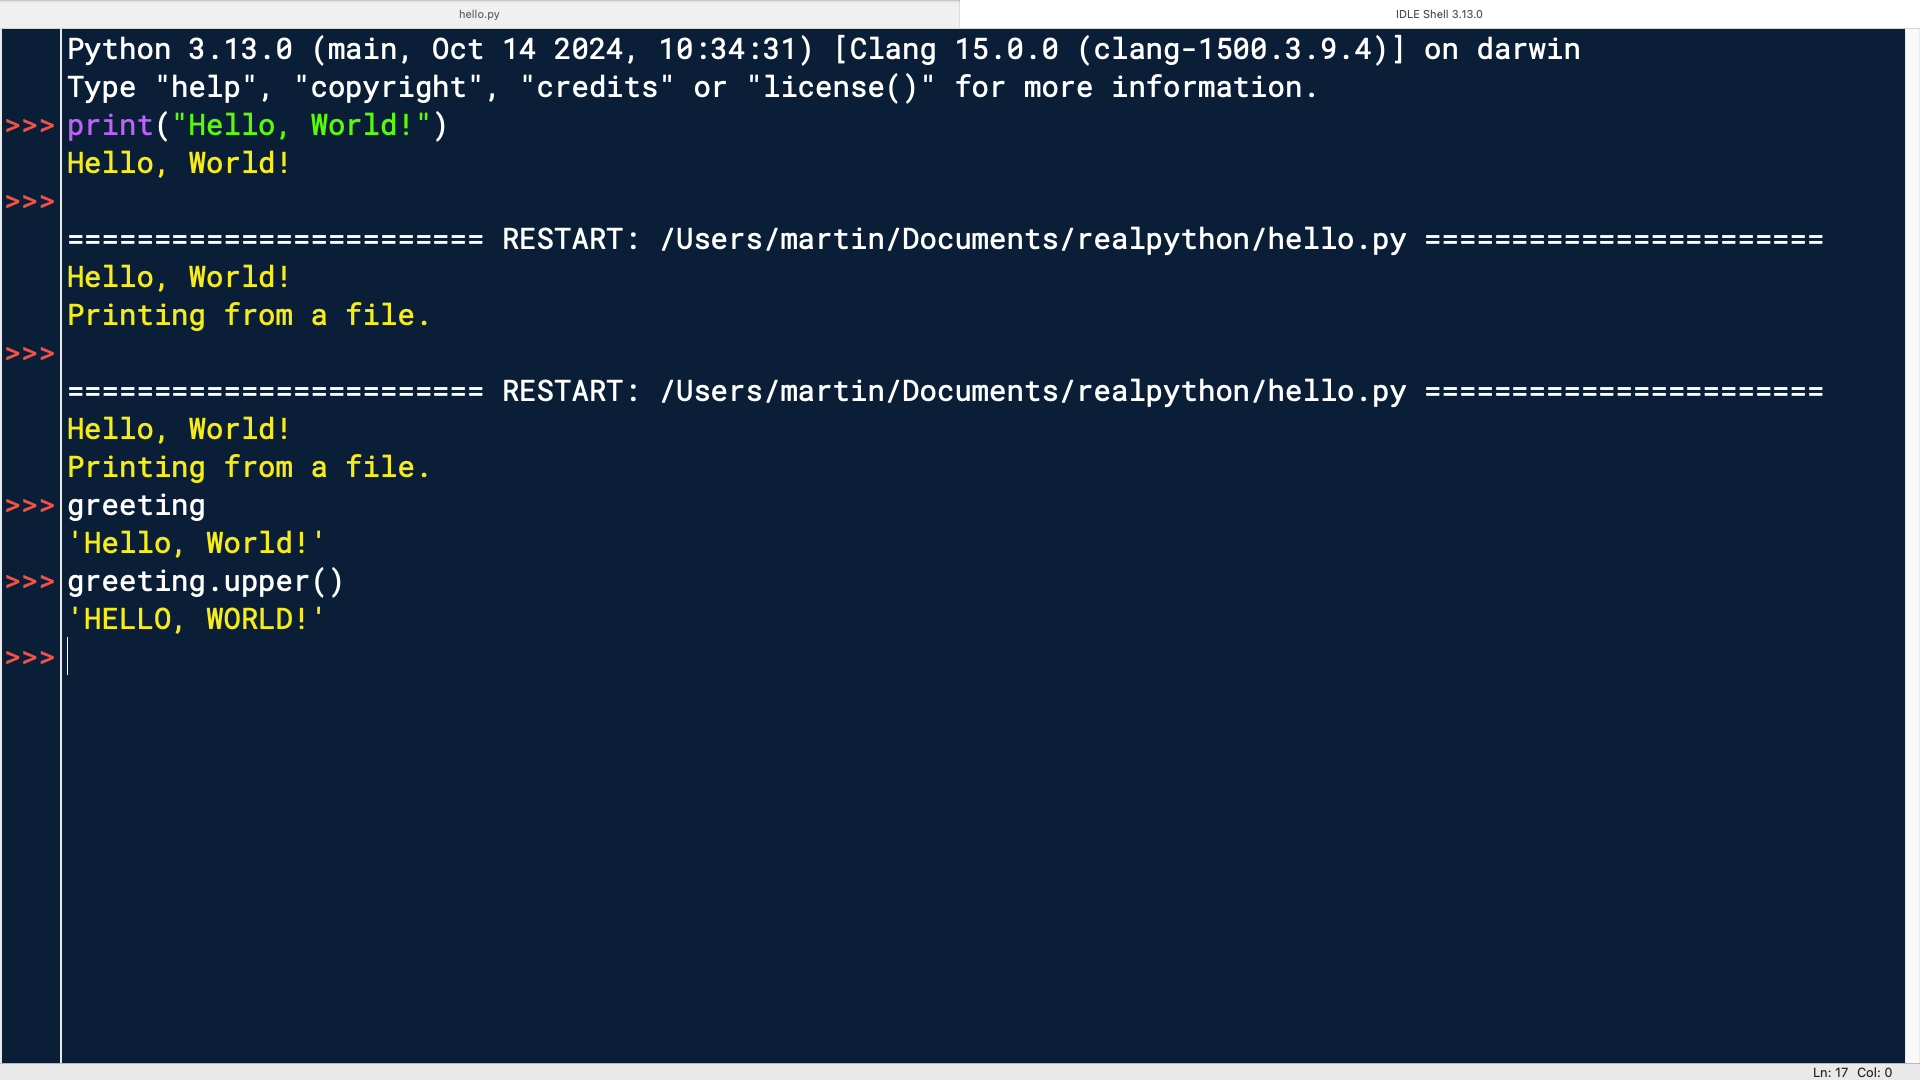
You can access the name greeting and continue interacting with it. For example, you can use the string method .upper() on the variable greeting. This string method builds a new string from the one you called it on using all uppercase letters. So, you get 'HELLO, WORLD!' as your output:
>>> greeting.upper()
'HELLO, WORLD!'
Within IDLE’s interactive REPL session, you can continue to work with the code that you defined in your script. This gives you the freedom to explore possible next steps and try out different approaches.
At the same time, you can incrementally build more complex code by quickly editing the script to save any of the code that you want to keep.
Note: You can reproduce IDLE’s feature of running a script in interactive mode on the terminal by passing the -i flag when executing the program:
$ python -i hello.py
IDLE does exactly that, by default, when you select Run Module.
Although IDLE is only a basic IDE, it supports quite a bit of functionality, including code completion, code formatting, and debugging. These tools can help bridge the gap between concepts and code, allowing you to focus more on learning programming fundamentals without getting bogged down by complex setup processes or hard-to-spot mistakes.
You can learn more about using IDLE for Python development in Getting Started With Python IDLE and the IDLE documentation.
Note: Thonny is another free Python IDE that’s specifically targeted at Python beginners, so the interface is simple and uncluttered. It’s designed so you can get comfortable with it quickly.
There are many other programs that you can use for Python development, and most programmers move on to more powerful IDEs as they continue their coding journey. Some of the most popular IDEs for Python development are VS Code and PyCharm.
More powerful IDEs can also streamline project organization by offering structured views of code files, folders, and assets. This organization allows you to visually grasp how different files in a large project connect and interact.
As you continue your Python developer journey, you’ll probably find a favorite professional IDE that you spend a lot of time using as you develop your Python programs. However, when you’re just starting with Python, you may want to explore additional tools that can make your learning more interactive and accessible.
Interacting With Python Using Other Tools
Two popular choices for interacting with Python outside of the options you’ve already looked at are the Jupyter Notebook and online Python interpreters.
The Jupyter Notebook is a browser-based tool that allows you to combine code, visualizations, and text in a single interactive document. Originally designed for data science, it has gained popularity in many fields because it’s excellent for experimenting, documenting, and sharing work in an accessible format.
The Jupyter Notebook is especially useful for beginners because it allows you to run small pieces of code, called cells, and immediately see the output.
When you open the Jupyter Notebook, you’ll see blank cells where you can enter Python code. You can execute each cell independently to display the result immediately below. This setup can support you in trying out new ideas, exploring different Python functions, and seeing how your changes impact the output without needing to run an entire script.
You can enter your code in a cell, then run the cell by pressing Shift+Enter. The output will appear directly below the cell:
To create a mix of explanations and code, you can add Markdown cells. Markdown cells allow you to write formatted text so you can describe the purpose of each code section, add context, or provide notes on how your code works. This combination of text and code makes the Jupyter Notebook a valuable resource for learning Python step-by-step or presenting a project with full documentation.
Note: A Jupyter Notebook stores all code objects in a shared state, which means that running cells out of order can produce unexpected results. To avoid confusion, it’s often best to run cells sequentially from top to bottom.
An online Python interpreter is a platform that lets you write and run Python code on a website. These interpreters are perfect if you don’t want to install Python on your computer but still want to start coding. With an online interpreter, you can begin experimenting with Python in seconds, just by visiting a website.
Many online platforms provide Python environments that are accessible, shareable, and straightforward to use. Some popular choices include:
- Replit: A versatile platform where you can write, run, and even collaborate on Python code with other users.
- Google Colab: A notebook environment, similar to Project Jupyter, but hosted on Google’s servers. It’s popular for projects that require more computational power, such as data science and machine learning.
- PythonAnywhere: A beginner-friendly platform that lets you run Python code online and includes options for hosting web applications.
Online interpreters and the Jupyter Notebook can both reduce the effort to share your code. Online platforms often support sharing your project with a link, making it low effort to show your work to others or collaborate with your friends. You can upload a Jupyter Notebook file directly to GitHub, which renders it by default, or you can share the Notebook file on a Jupyter Hub.
Conclusion
In this tutorial, you’ve explored various ways to interact with Python, ranging from using the interactive REPL environment to running scripts and using IDEs. You also learned about other tools for interacting with Python, specifically the Jupyter Notebook and online Python interpreters.
Knowing about the different ways to interact with Python allows you to choose the most appropriate tool for your specific task. Whether you’re testing snippets of code or developing complex applications, knowing how to effectively use these tools can enhance your productivity and coding experience.
In this tutorial, you’ve learned how to:
- Use Python interactively by typing code directly into the interpreter
- Execute code contained in a script file from the command line
- Work within a Python Integrated Development Environment (IDE)
- Assess additional options, such as the Jupyter Notebook and online interpreters
Now that you know about these options and have experience working with them, you can confidently choose the best way to interact with Python for any given project. That way, you’ll ensure that you can efficiently develop your Python code as you continue to learn and practice.
Get Your Code: Click here to get the free sample code that you’ll use to learn about interacting with Python.
Take the Quiz: Test your knowledge with our interactive “Interacting With Python” quiz. You’ll receive a score upon completion to help you track your learning progress:
Interactive Quiz
Interacting With PythonTest your knowledge of Python's REPL, running scripts from files, using IDEs and code editors, and Jupyter Notebooks.