Data analysis often starts with an unfamiliar spreadsheet or CSV file. Before you can write a single transformation, you need to know what’s in it and what’s wrong with it. Positron is a free IDE for data science projects that puts that inspection step in the same workspace as your code, so you can examine the data first and then watch your results take shape as you run your code.
In this tutorial, you’ll use Positron’s data tools to answer one question about a set of sales orders: How does median order value differ between retail and wholesale orders across product categories? You’ll inspect the raw data, clean it in a script, repeat the analysis in a notebook, and try Positron’s AI assistant. Then you’ll decide whether the tool fits the way you and your team work with data.
By the end of this tutorial, you’ll understand that:
- Data Explorer helps you find quality issues in your data before running cleanup steps in Python.
- Data cleaning belongs in saved code, whether that’s a script or a notebook, so that your fixes stay reproducible and your analysis starts from clean data.
- Scripts and notebooks let you produce and visualize intermediate results as your analysis develops.
- Posit Assistant is an AI agent that can suggest explanations, analyses, and visualizations for the data you’re working with.
Positron is built on Visual Studio Code’s open-source foundation and supports both Python and R workflows. You’ll focus on Python throughout, using a small dataset to explore Positron’s data tools.
Get Your Code: Click here to download the free sample code and sales dataset you’ll use to inspect, clean, analyze, and visualize data in Positron IDE.
Take the Quiz: Test your knowledge with our interactive “Positron IDE: A Hands-on Python Tutorial” quiz. You’ll receive a score upon completion to help you track your learning progress:
Interactive Quiz
Positron IDE: A Hands-on Python TutorialCheck your understanding of Positron IDE for Python data analysis, from exploring raw data to cleaning it in scripts and notebooks.
Get Started With Positron IDE
To follow along with this tutorial, you need basic familiarity with pandas DataFrames, Matplotlib, and uv. Make sure to install uv on your system if you don’t already have it.
Note: The examples use pandas 3.0.5 and Matplotlib 3.11.2. The interface instructions target Positron 2026.09.1-2.
Next, install Positron. Check the storage requirements first because the installer can require over 1 GB of space on some platforms. On Windows, you’ll also need the latest Visual C++ Redistributable installed. Then download the installer for your operating system, run it, and follow the on-screen instructions.
Once you’ve installed Positron, open the IDE. A fresh installation will look something like the following:
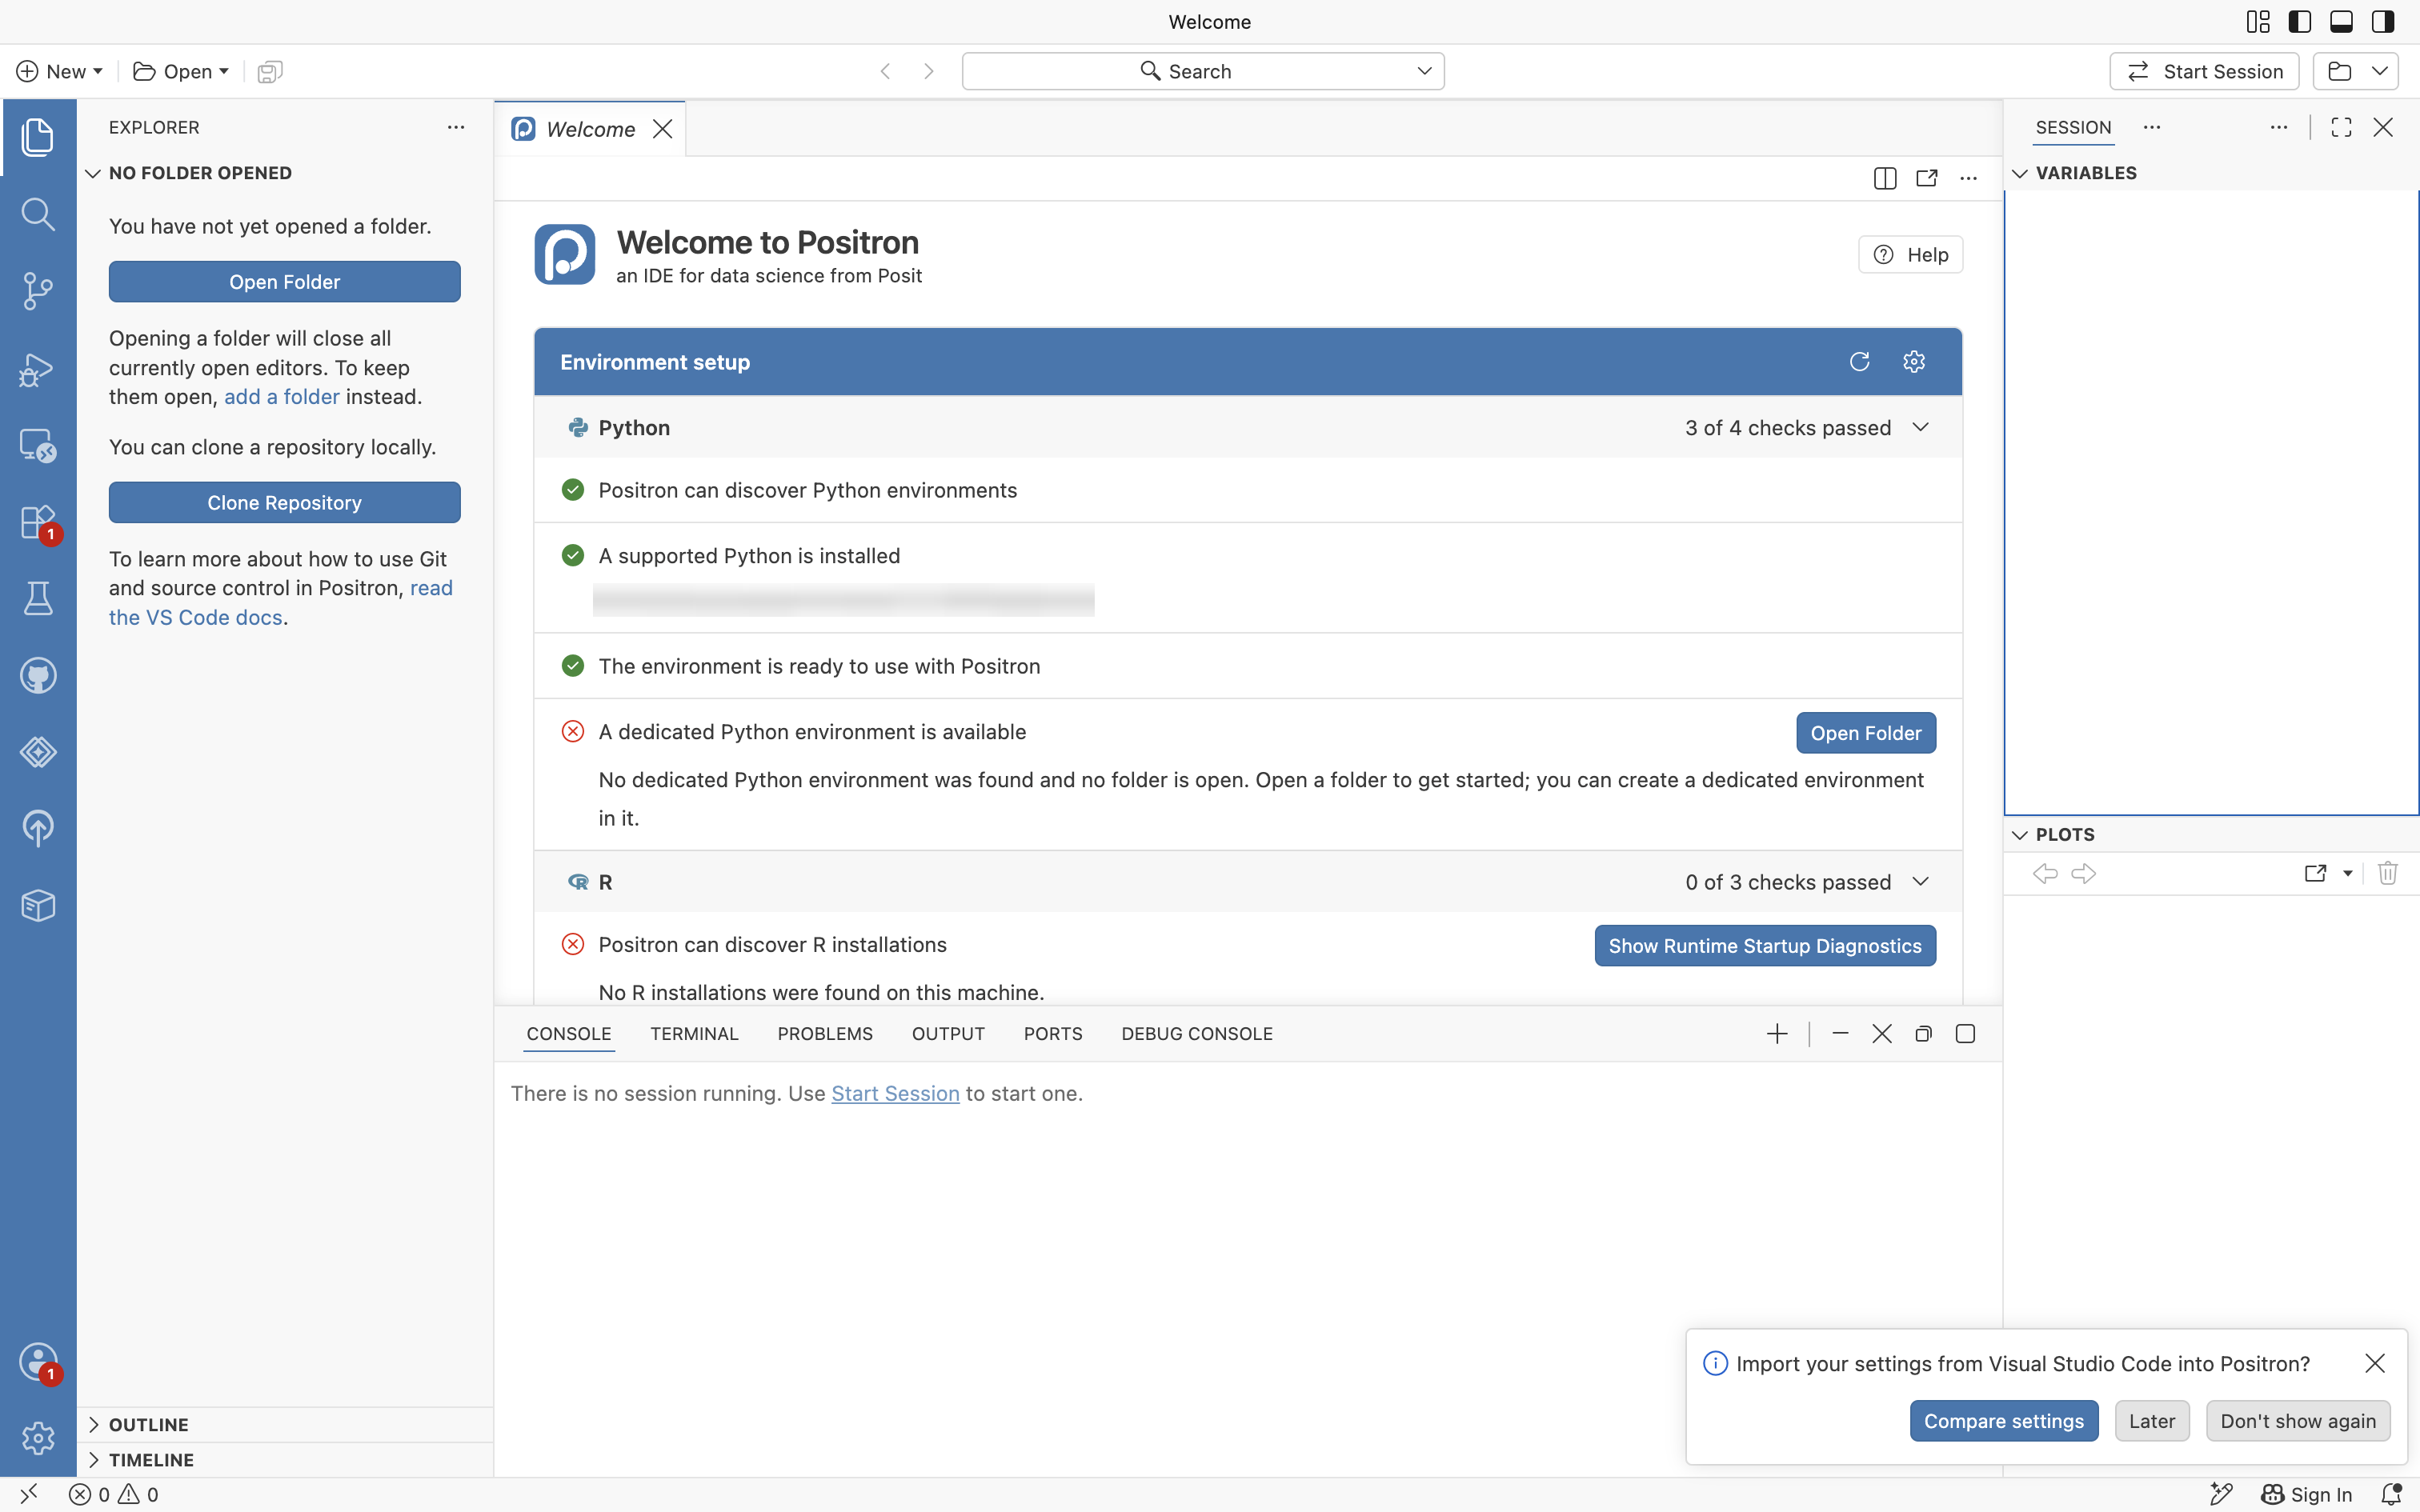
Because Positron is built on VS Code’s open-source codebase, you can import your existing VS Code settings. For this tutorial, you’ll skip that step by clicking Later in the pop-up box in the lower-left corner.
In the accompanying materials, you’ll find data/sales_data.csv, a dataset of 5,130 fictional orders for olive oil, bath products, and gift baskets. This is the sample data you’ll use in this tutorial, so make sure to download the materials before reading on.
In Positron, select Open Folder from the File menu or from the Primary Side Bar and open the folder containing the materials. The project has the following layout:
positron-ide/
│
├── data/
│   └── sales_data.csv
│
├── notebooks/
│   └── explore_sales.ipynb
│
├── src/
│   ├── analyze_sales.py
│   └── prepare_sales.py
│
├── pyproject.toml
└── uv.lock
In any data analysis workflow, data cleaning is probably the most important step. The prepare_sales.py script checks and cleans the source data for you.
The analyze_sales.py script analyzes the cleaned data, and the explore_sales.ipynb notebook reproduces the work of both scripts in one place. The project configuration file, pyproject.toml, lists your starting dependencies.
To manage the project, you’ll use uv, which generates the uv.lock file to record the resolved versions of your dependencies. You don’t have to edit this file by hand because uv keeps it up to date for you.
Now, you can create a Python virtual environment without leaving the editor. Open the Command Palette with Ctrl+Shift+P on Windows or Linux, or Cmd+Shift+P on macOS, and run Python: Create Environment:
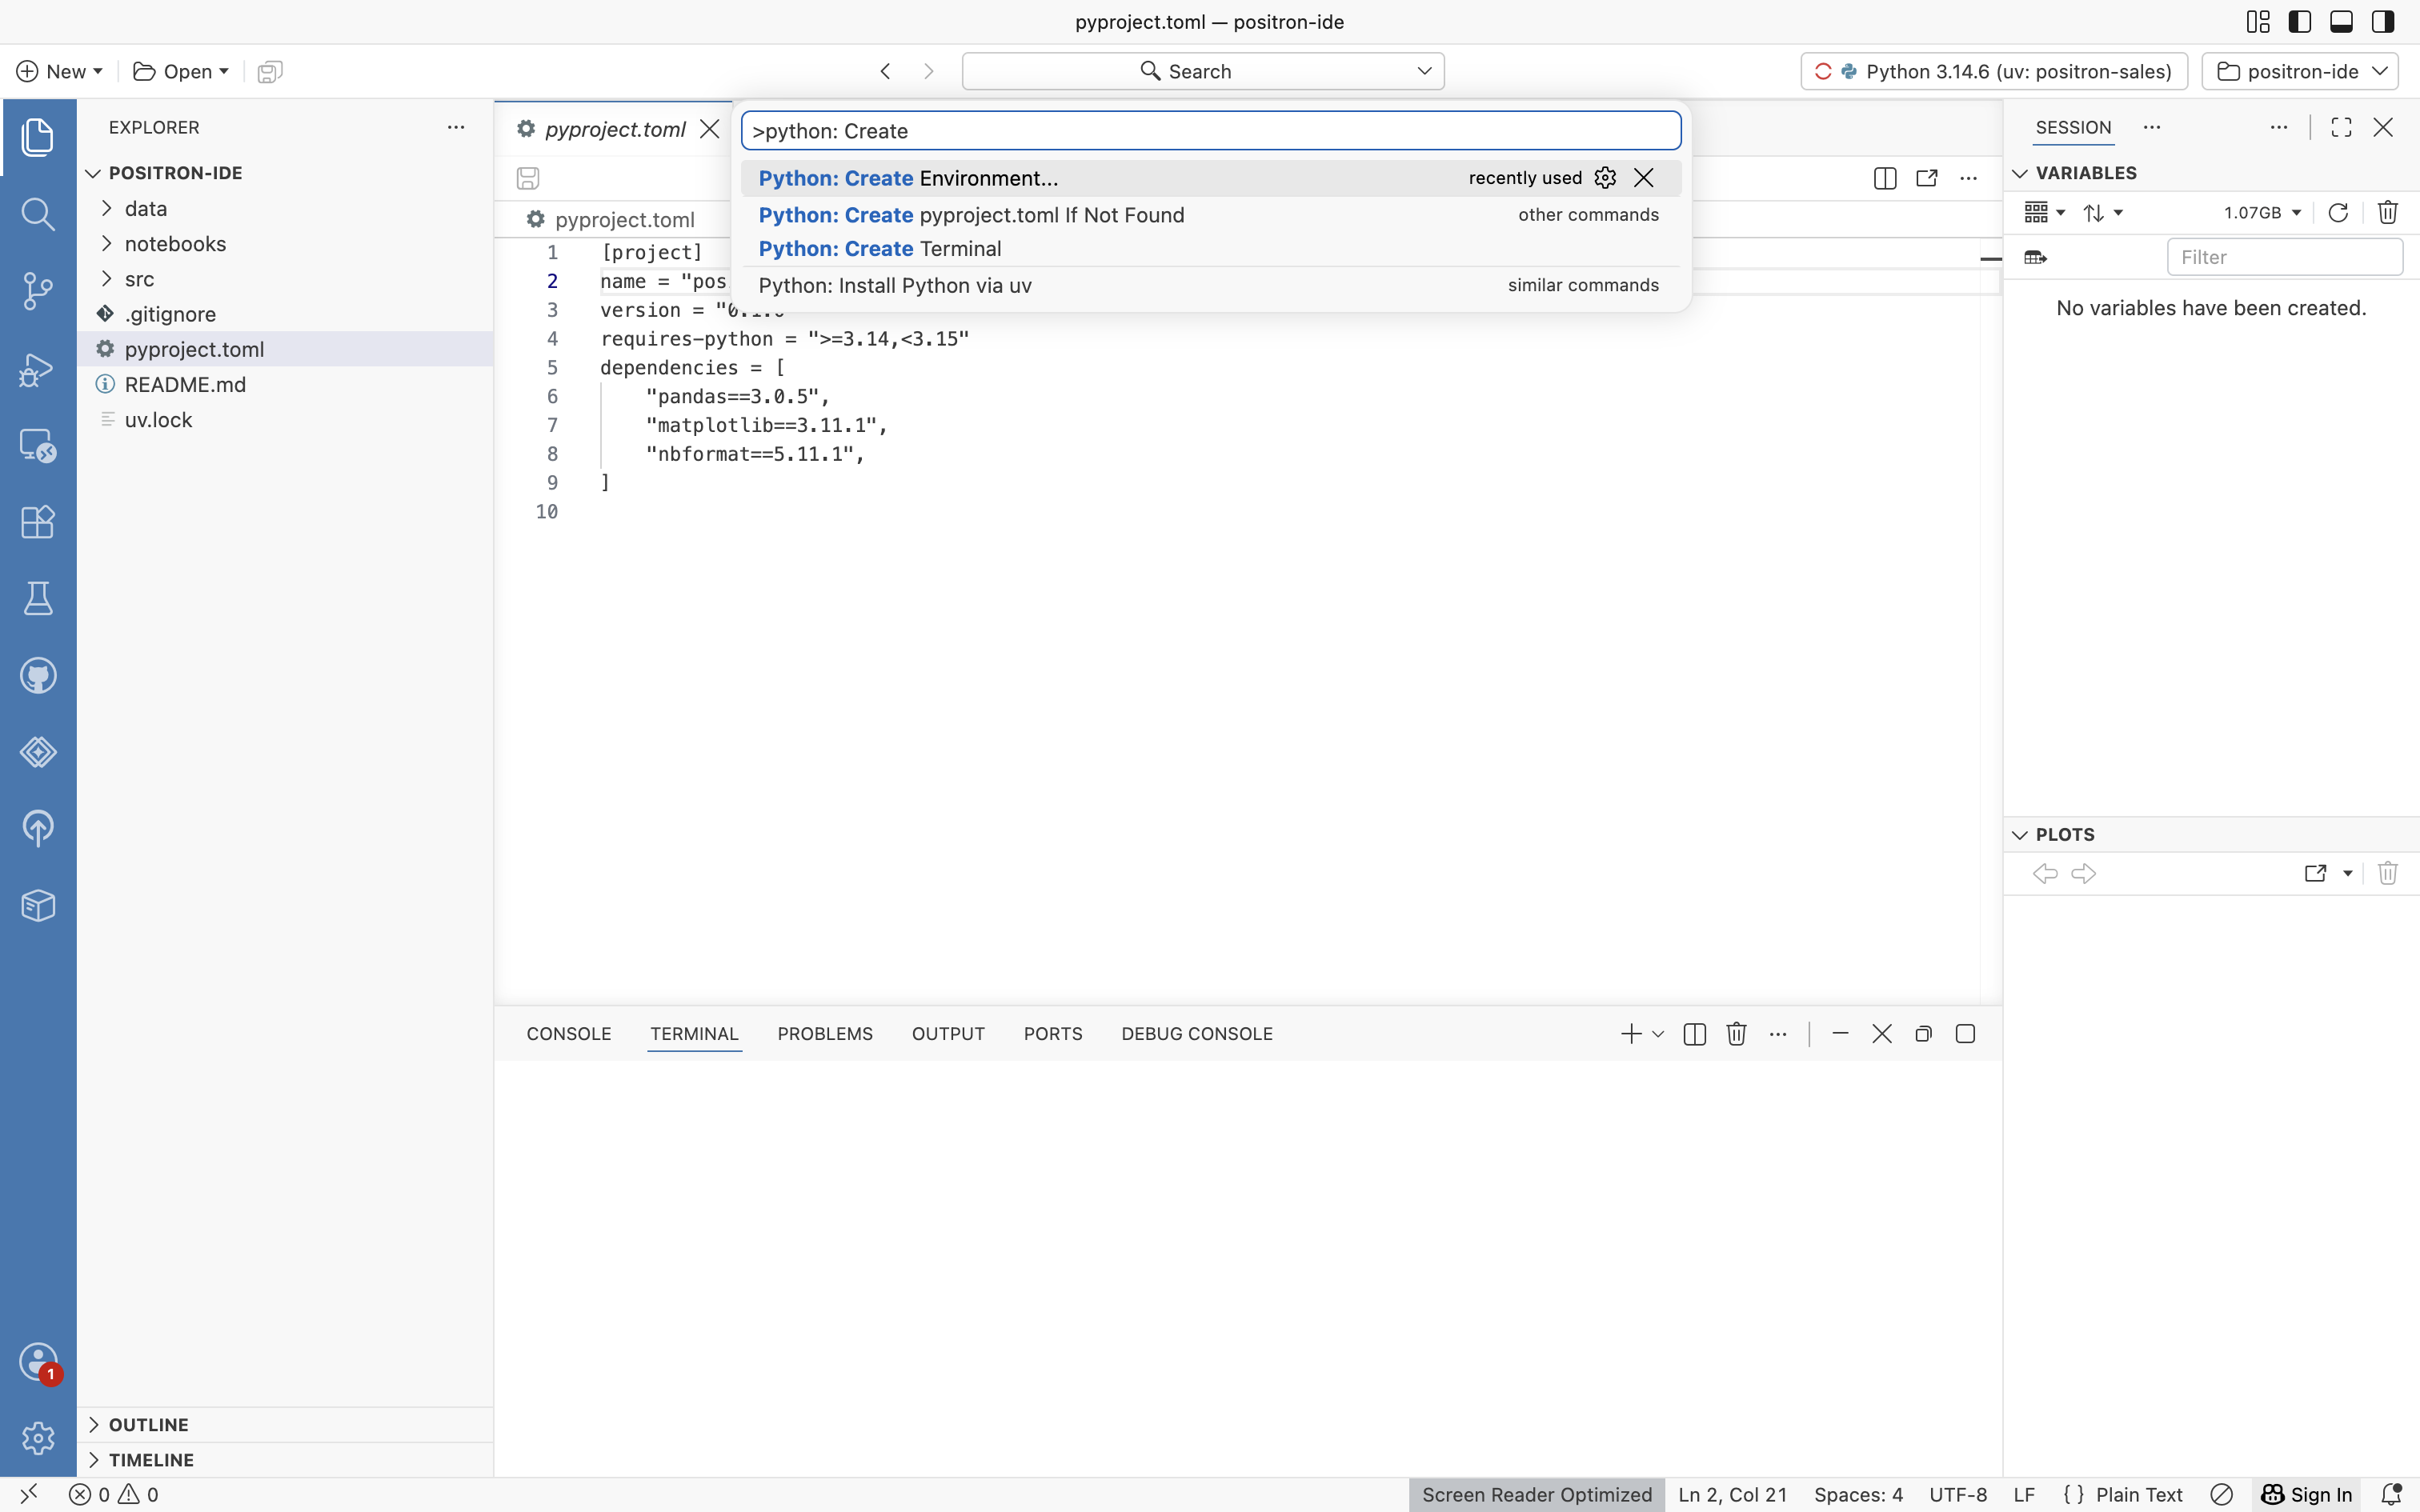
Positron asks which environment provider you want. Select uv. Then it asks which Python version to use. Select 3.14.
Positron creates a .venv folder in your project, discovers it, and selects it for your Python session. It also bundles the IPython kernel, so you can use the Console without installing anything else.
Next, install the project dependencies. Select View → Terminal from the app’s main menu. The Terminal opens in the Panel at the bottom, starting a new session with the Python environment activated. If you don’t see the environment name in parentheses, then activate the environment yourself. On Linux and macOS, run source .venv/bin/activate. On Windows, run .venv\Scripts\Activate.ps1 in PowerShell.