
Writing Python using IDLE or the Python shell is great for smaller tasks, but those tools quickly turn larger programming projects into frustrating pits of despair. Using an IDE, or even just a good dedicated code editor, makes coding fun—but which one is best for you?
Fear not, gentle reader! Here, you’ll demystify the myriad choices available to you. What works best for you will ultimately depend on you and your process, but you’ll get the pros and cons of each option so that you can make an informed decision.
To make things easier, you’ll break your list into two broad categories of tools: the ones built exclusively for Python development and the ones built for general development that you can use for Python. You’ll explore some Whys and Why Nots for each. Lastly, none of these options are mutually exclusive, so you can try them out on your own with very little penalty.
Join Now: Click here to join the Real Python Newsletter and you’ll never miss another Python tutorial, course, or news update.
But first, what are IDEs and code editors?
Introduction to IDEs and Code Editors
An integrated development environment (IDE) is a program dedicated to software development. As the name implies, IDEs integrate several tools specifically designed for software development. These tools usually include:
- An editor designed to handle code (with, for example, syntax highlighting and auto-completion)
- Build, execution, and debugging tools
- Some form of source control
Most IDEs support many different programming languages and contain many more features. They can, therefore, be large and take time to download and install. You may also need advanced knowledge to use them properly.
In contrast, a dedicated code editor can be as simple as a text editor with syntax highlighting and code formatting capabilities. Most good code editors can execute code and control a debugger. The very best ones interact with source control systems as well. Compared to an IDE, a good dedicated code editor is usually smaller and quicker, but often less feature rich.
Requirements for a Good Python Coding Environment
So what do you really need in a coding environment? Feature lists vary from app to app, but there are some core features that make coding easier:
- Save and reload code files: If an IDE or editor won’t let you save your work and reopen everything later, in the same state it was in when you left, then it’s not much of an IDE.
- Run code from within the environment: Similarly, if you have to drop out of the editor to run your Python code, then it’s not much more than a simple text editor.
- Debugging support: Being able to step through your code as it runs is a core feature of all IDEs and most good code editors.
- Syntax highlighting: Being able to quickly spot keywords, variables, and symbols in your code makes reading and understanding code much easier.
- Automatic code formatting: Any editor or IDE worth its salt will recognize the colon at the end of a
whileorforstatement and know the next line should be indented.
Of course, there are lots of other features that you might want, like source code control, an extension model, build and test tools, language help, and so on. But the above list gives you an idea of the core features that a good editing environment should support.
With these features in mind, take a look at some general-purpose tools that you can use for Python development.
General Editors and IDEs with Python Support
Visual Studio Code
Category: Code Editor
Website: https://code.visualstudio.com/
Python tools: https://marketplace.visualstudio.com/items?itemName=ms-python.python
Visual Studio Code (also known as VS Code) is a full-featured code editor available for Linux, macOS, and Windows platforms. Small and lightweight, but full-featured, VS Code is open source, extensible, and configurable for almost any task. VS Code is built on Electron, a framework for creating desktop applications using JavaScript, HTML, and CSS.
Installing Python support in VS Code is very accessible: the Marketplace is a quick button click away. Search for Python, click Install, and restart if necessary. VS Code will recognize your Python installation and libraries automatically.
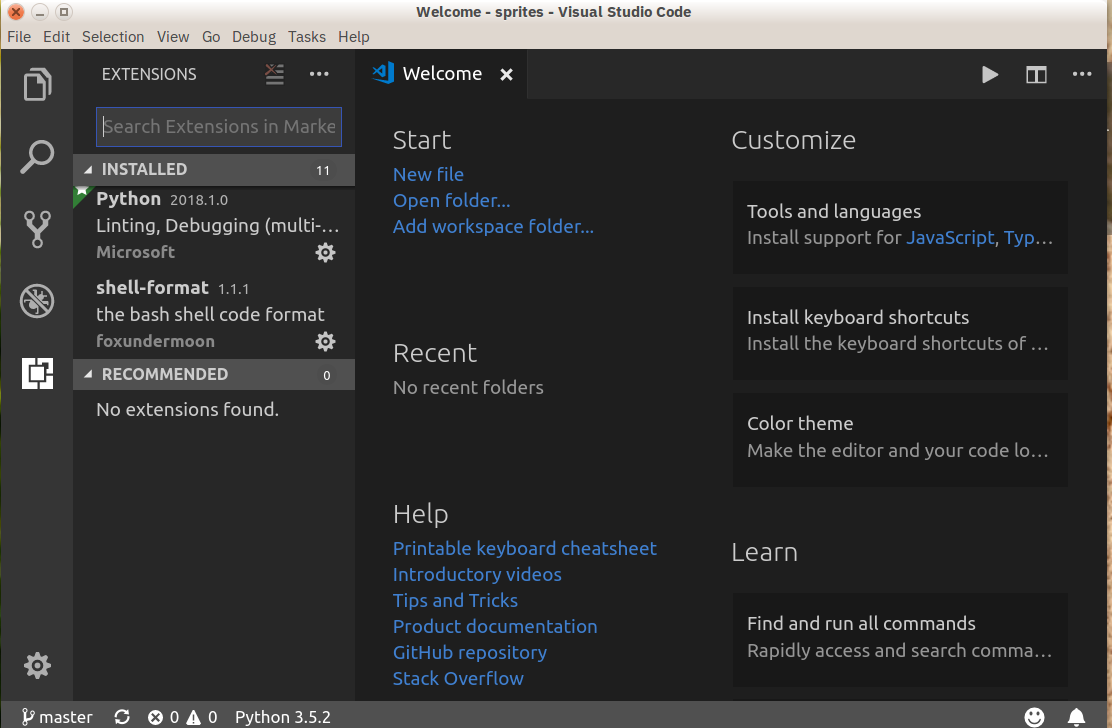
Pros: Thanks to Electron, VS Code is available on every platform, surprisingly full-featured despite having a small footprint, and open source.
Cons: Electron means VS Code isn’t a native app. Plus, some people may have principled reasons for not using Microsoft resources.
Be sure to consult the tutorial on using Visual Studio Code for Python development, as well as the follow-up tutorial going more in-depth, to make the most of this setup. If you’re working in Windows, then check out the Setting Up VS Code section in Your Python Coding Environment on Windows: Setup Guide.
Eclipse + PyDev
Category: IDE
Website: www.eclipse.org
Python tools: PyDev, www.pydev.org
If you’ve spent any amount of time in the open-source community, then you’ve probably heard about Eclipse. Available for Linux, Windows, and macOS, Eclipse is the de facto open-source IDE for Java development. It has a rich marketplace of extensions and add-ons, which makes Eclipse useful for a wide range of development activities.
One such extension is PyDev, which enables Python debugging, code completion, and an interactive Python console. Installing PyDev into Eclipse is straightforward: from Eclipse, select Help then Eclipse Marketplace, and search for PyDev. Click Install and restart Eclipse if necessary.
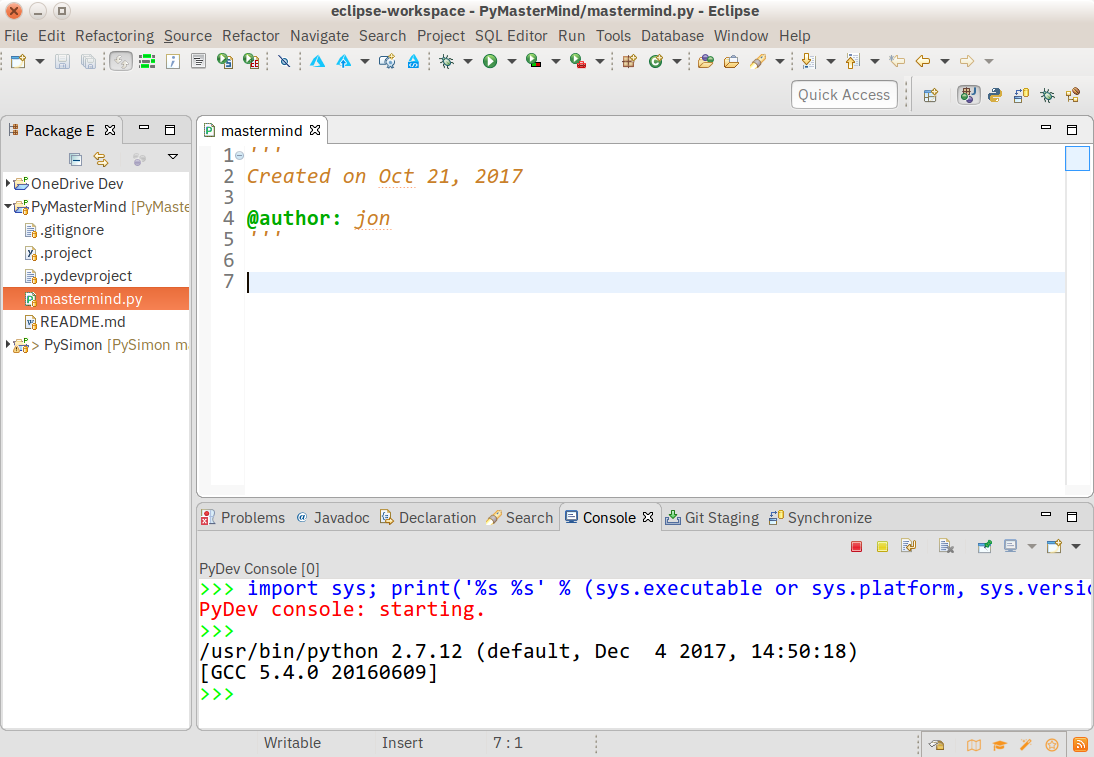
Pros: If you’ve already got Eclipse installed, then adding PyDev will be quicker and easier. PyDev is very accessible for the experienced Eclipse developer.
Cons: If you’re just starting out with Python, or with software development in general, Eclipse can be a lot to handle. Remember how IDEs are larger and require more knowledge to use properly? Eclipse is all that and a bag of (micro)chips.
Sublime Text
Category: Code Editor
Website: http://www.sublimetext.com
Written by a Google engineer with a dream for a better text editor, Sublime Text is an extremely popular code editor. Supported on all platforms, Sublime Text has built-in support for Python code editing and a rich set of extensions (called packages) that extend the syntax and editing features.
Installing additional Python packages can be tricky: all Sublime Text packages are written in Python itself, and installing community packages often requires you to execute Python scripts directly in Sublime Text.
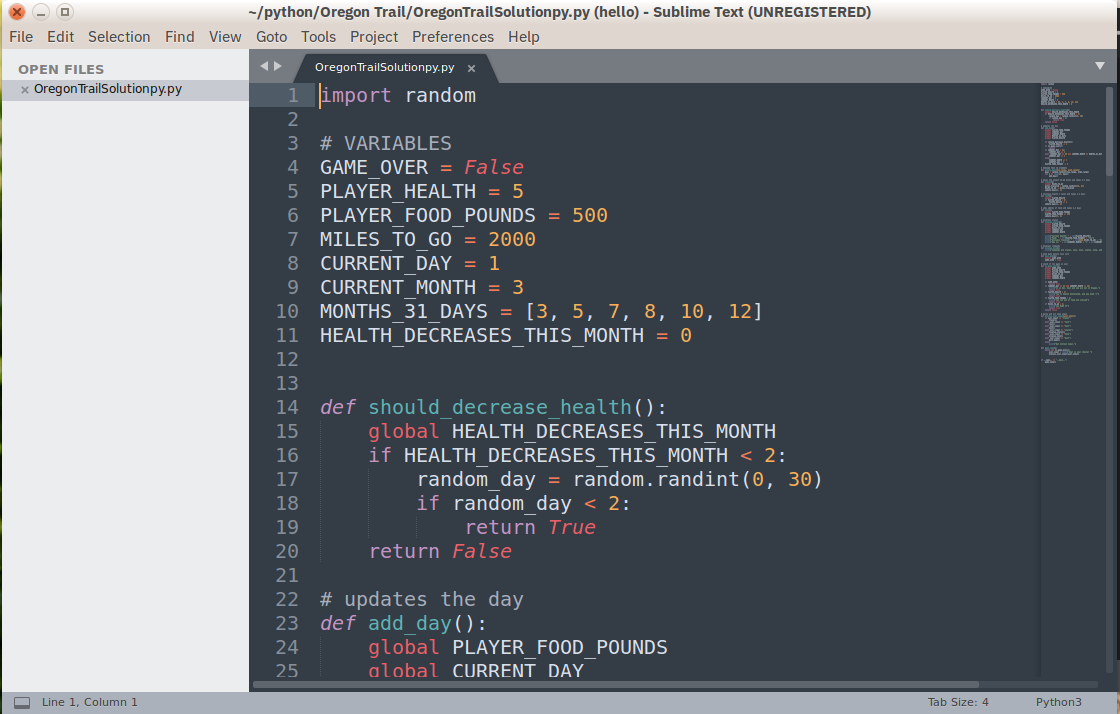
Pros: Sublime Text has a great following in the community. As a code editor alone, Sublime Text is fast, small, and well supported.
Cons: Sublime Text isn’t free, although you can use the evaluation version for an indefinite period of time. Installing extensions can be tricky, and there’s no direct support for executing or debugging code from within the editor.
To make the most of your Sublime Text setup, read Real Python’s Python + Sublime Text setup guide and consider the in-depth video course that shows you how to craft an effective Python development setup with Sublime Text 3.
GNU Emacs
Category: Code Editor
Website: https://www.gnu.org/software/emacs/
Back before the iPhone vs Android war, before the Linux vs Windows war, even before the PC vs Mac war, there was the Editor War, with GNU Emacs as one of the combatants. Billed as “the extensible, customizable, self-documenting, real-time display editor,” GNU Emacs has been around almost as long as UNIX and has a fervent following.
Always free and available on every platform (in one form or another), GNU Emacs uses a form of the powerful Lisp programming language for customization, and various customization scripts exist for Python development.
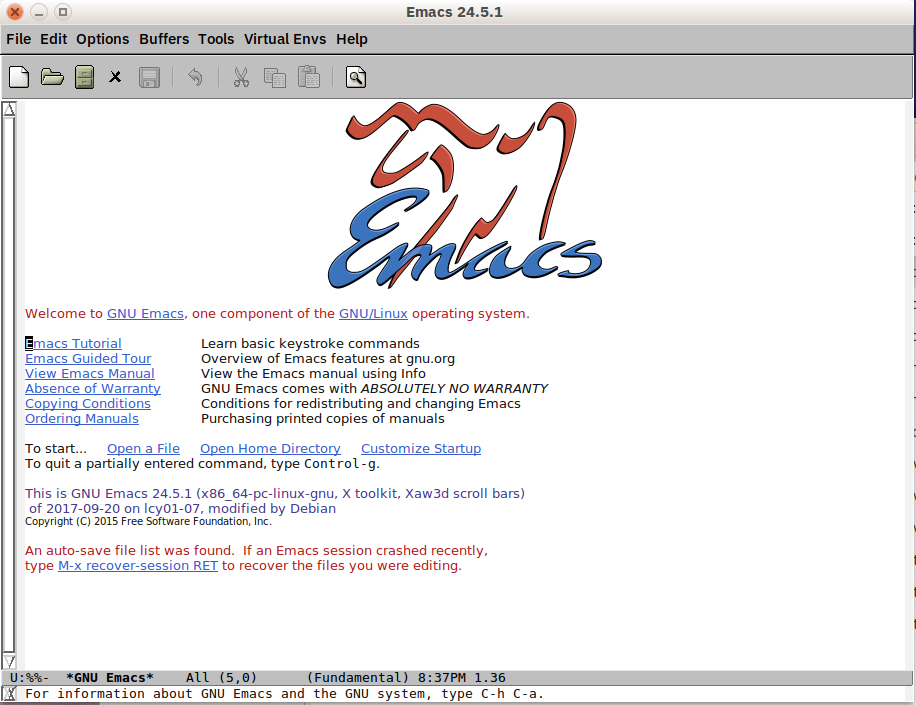
Pros: You know Emacs, you use Emacs, you love Emacs. Lisp is a second language, and you know the power it gives you means you can do anything.
Cons: Customization means writing (or copying and pasting) Lisp code into various script files. If a feature isn’t already provided, then you may have to learn Lisp to figure out how to do it.
Plus, you know that Emacs would be a great operating system, if only it had a good text editor…
Be sure to consult the Python + Emacs setup guide to make the most of this setup.
Vi / Vim
Category: Code Editor
Website: https://www.vim.org/
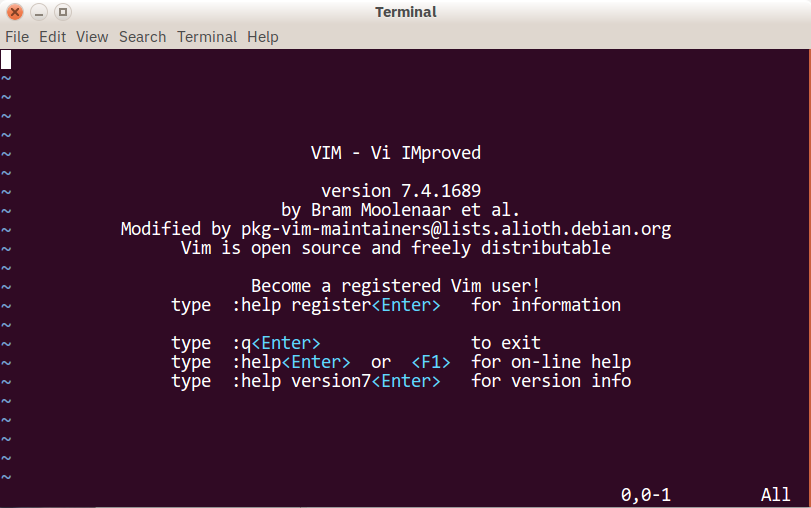
On the other side of the Text Editor War stands Vi (also known as Vim). Included by default on almost every UNIX system and macOS, Vi has an equally fervent following.
Vi and Vim are modal editors, separating the viewing of a file from the editing of a file. Vim includes many improvements on the original Vi, including an extensibility model and in-place code building. Vim Scripts are available for various Python development tasks.
Pros: You know Vi, you use Vi, you love Vi. Vim Scripts don’t scare you, and you know you can bend Vi to your will.
Cons: Like with Emacs, you’re not comfortable finding or writing your own scripts to enable Python development, and you’re not sure how a modal editor is supposed to work.
Plus, you know that Vi would be a great text editor, if only it had a decent operating system.
If you’re going with this combination, check out the Python + VIM setup guide with tips and plugin recommendations.
Visual Studio
Category: IDE
Website: https://www.visualstudio.com/vs/
Python tools: Python Tools for Visual Studio, aka PTVS
Built by Microsoft and not to be confused with Visual Studio Code, Visual Studio is a full-featured IDE, in many ways comparable to Eclipse. Built for Windows and macOS only, VS comes in both free (Community) and paid (Professional and Enterprise) versions. Visual Studio enables development for a variety of platforms and comes with its own marketplace for extensions.
Python Tools for Visual Studio (PTVS) enables Python coding in Visual Studio, as well as Intellisense for Python, debugging, and other tools.
Pros: If you already have Visual Studio installed for other development activities, then adding PTVS is quicker and easier.
Cons: Visual Studio is a big download for just Python. Plus, if you’re on Linux, you’re out of luck: there’s no Visual Studio install for that platform.
Python-Specific Editors and IDEs
PyCharm
Category: IDE
Website: https://www.jetbrains.com/pycharm/
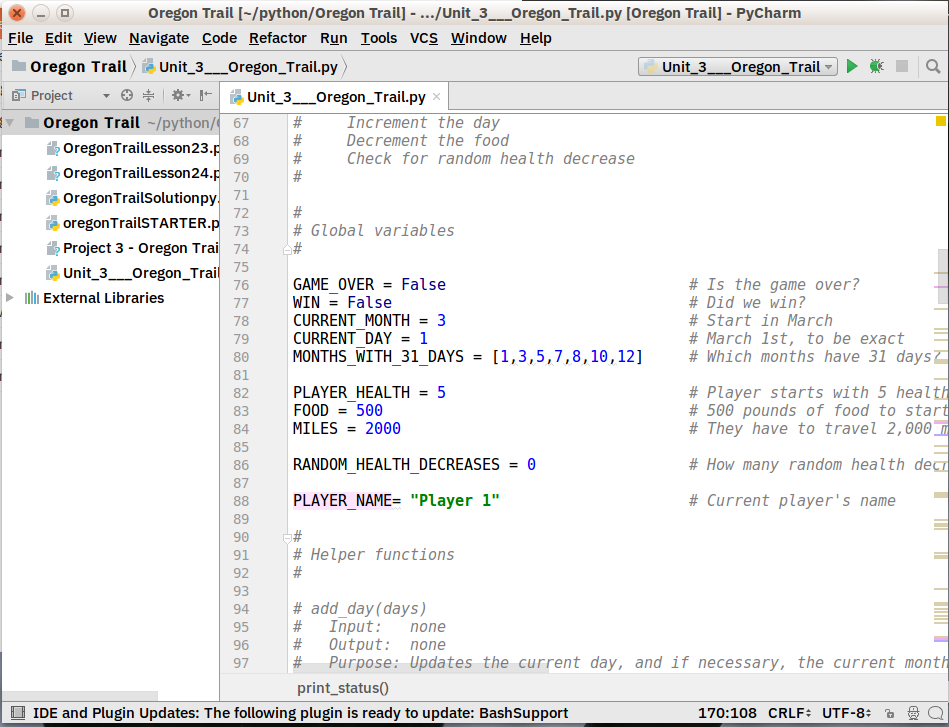
One of the best (and only) full-featured, dedicated IDEs for Python is PyCharm. Available in both paid (Professional) and free open-source (Community) editions, PyCharm installs quickly and easily on Windows, macOS, and Linux platforms.
Out of the box, PyCharm supports Python development directly. You can just open a new file and start writing code. You can run and debug Python directly inside PyCharm, and it has support for source control and projects.
Pros: It’s the de facto Python IDE environment, with tons of support and a supportive community. It edits, runs, and debugs Python out of the box.
Cons: PyCharm can be slow to load, and the default settings may need tweaking for existing projects.
You can learn more about using this environment in PyCharm for Productive Python Development.
Spyder
Category: IDE
Website: https://www.spyder-ide.org/
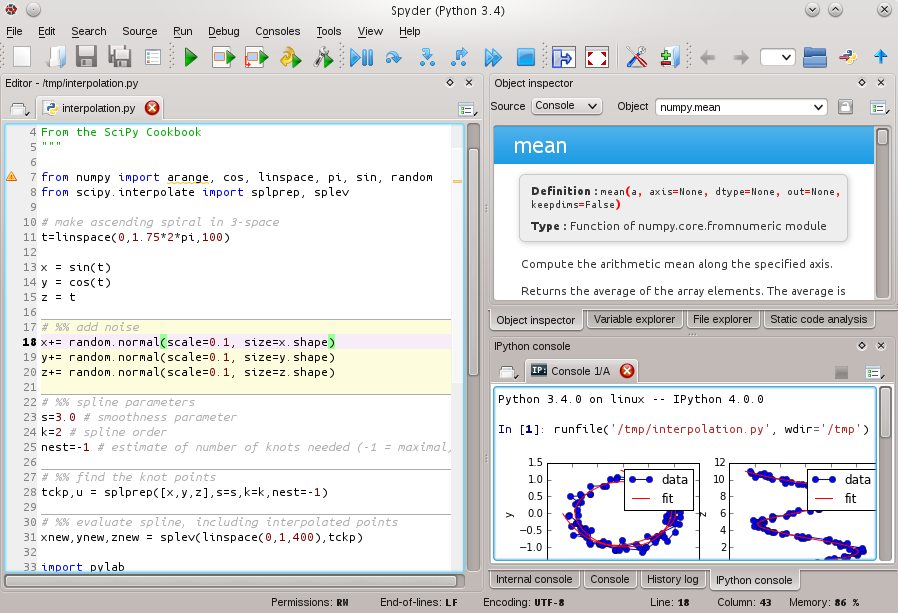
Spyder is an open-source Python IDE that’s optimized for data science workflows. Spyder comes included with the Anaconda package manager distribution, so depending on your setup, you may already have it installed on your machine.
What’s interesting about Spyder is that its target audience is data scientists using Python. You’ll notice this throughout. For example, Spyder integrates well with common Python data science libraries like SciPy, NumPy, and Matplotlib.
Spyder features most of the common IDE features that you might expect, such as a code editor with robust syntax highlighting, Python code completion, and even an integrated documentation browser.
A special feature that you probably won’t see in other Python editing environments is Spyder’s variable explorer, which allows you to display data using a table-based layout right inside your IDE. You might not have a need for this, but it’s still pretty neat. If you regularly do data science work using Python, then you might fall in love with this unique feature. The IPython/Jupyter integration is nice as well.
Overall, Spyder might feel more basic than other IDEs. You might want to view it more as a special-purpose tool rather than something that you’d use as your primary editing environment every day. What’s nice about this Python IDE is that it’s available for free on Windows, macOS, and Linux, and it’s a fully open-source software.
Pros: You’re a data scientist using the Anaconda Python distribution.
Cons: More experienced Python developers might find Spyder too basic to work with on a daily basis and instead opt for a more complete IDE or customized editor solution.
Thonny
Category: IDE
Website: http://thonny.org/
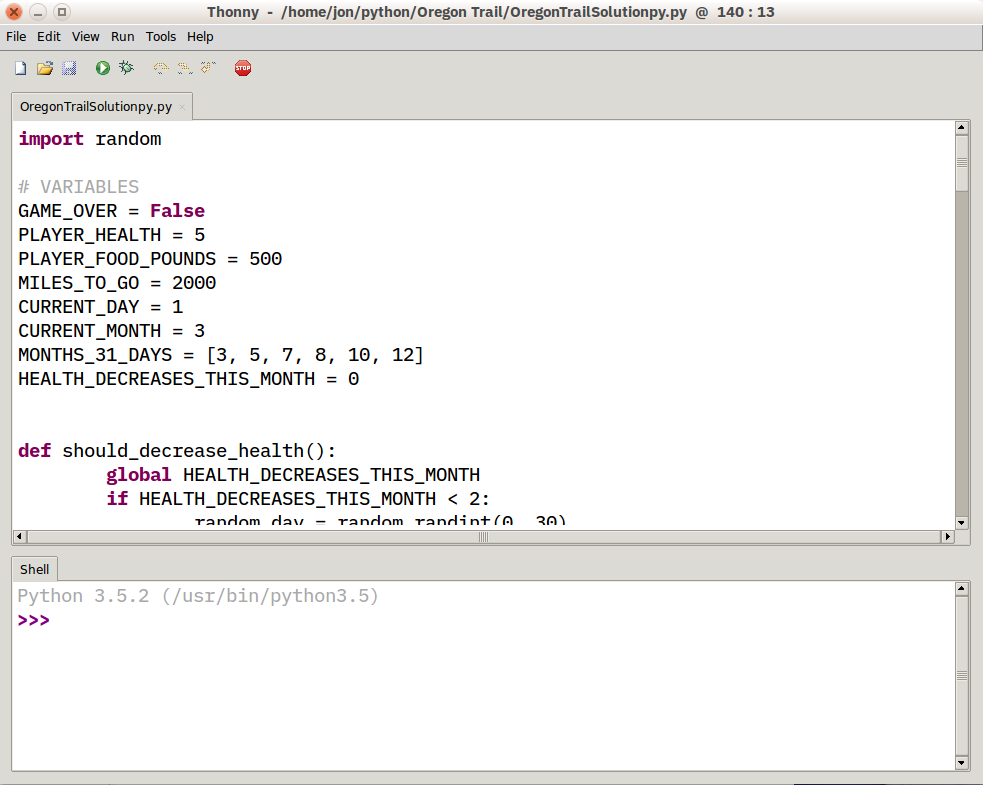
A more recent addition to the Python IDE family, Thonny is billed as an IDE for beginners. Written and maintained by the Institute of Computer Science at the University of Tartu in Estonia, Thonny is available for all major platforms, with installation instructions on the site.
By default, Thonny installs with its own bundled version of Python, so you don’t need to install anything else new. More experienced users may need to tweak this setting so that Thonny will find and use libraries that are already installed.
Pros: You’re a beginning Python user and want an IDE that’s ready to roll.
Cons: More experienced Python developers will find Thonny too basic for most uses, and the built-in interpreter is something to work around, not with.
If you’re interested in using Thonny as your Python editor, be sure to read Real Python’s dedicated tutorial on Thonny, which goes into more depth and shows you additional features.
FAQs
So, which code editor is right for you? Only you can decide that, but in this tutorial, you’ve gotten a taste of your options. Before you continue your quest for the perfect development environment, why not check your understanding of what you’ve learned in this tutorial?
Below, you’ll find some questions that you can use to recap and solidify what you’ve just learned. After each question, you’ll find a brief explanation hidden in a collapsible section. Click the Show/Hide toggle to reveal the answer. Time to dive in!
An integrated development environment (IDE) is a software application that provides a comprehensive set of features. IDEs integrate several tools specifically designed for software development, including a code editor and tools for building, executing, and debugging programs. It usually includes version control, as well.
On the other hand, a dedicated code editor doesn’t have as many features, but it’ll typically provide syntax highlighting and code formatting. While code editors might not come with as many features, they can often work with debuggers and source control systems. The plus is that they’re typically smaller and faster than IDEs.
A good Python coding environment should be able to save and reload code files, run code from within the environment, provide debugging support, and offer syntax highlighting. Additionally, it should have automatic code formatting capabilities in line with Python’s syntax. These core features make coding easier and more efficient by providing an integrated environment for development.
Several general editors and IDEs support Python development. These include Visual Studio Code, Eclipse with PyDev, Sublime Text, GNU Emacs, Vi/Vim, and Visual Studio with PTVS.
Each of these tools has its own advantages and disadvantages. For instance, Eclipse with PyDev is an open-source IDE that’s very accessible for experienced Eclipse developers, but it can be overwhelming for beginners. Sublime Text is a popular code editor with a great community following, but it’s not free and lacks direct support for executing or debugging code.
For more on all of these general editors and IDEs, check out the associated sections of this tutorial.
Python-specific editors and IDEs are built exclusively for Python development. PyCharm, Spyder, and Thonny are among the most popular ones.
PyCharm is a full-featured IDE that supports Python development directly, with support for source control and projects. Spyder is an open-source Python IDE optimized for data science workflows, integrating well with Python data science libraries. Thonny is designed specifically for beginners and has a built-in version of Python, so it doesn’t require any extra downloads.
Your choice of a Python IDE or code editor largely depends on your needs and experience level. If you’re a beginner, then you might want to start with something that’s ready to go right out of the box and requires few customizations, as this will be easier to navigate and use. If you’re already using text editors for other tasks or developing other software, then you may find it easier to add Python capabilities to your existing tool kit.
Maybe you need more advanced features and could benefit from the extensive features of a full-fledged IDE like PyCharm or the flexibility of a code editor like Sublime Text or VS Code. Ultimately, your specific needs, preferences, and comfort level should guide your choice.
Join Now: Click here to join the Real Python Newsletter and you’ll never miss another Python tutorial, course, or news update.
So, what will you pick? Share your thoughts in the comments!